
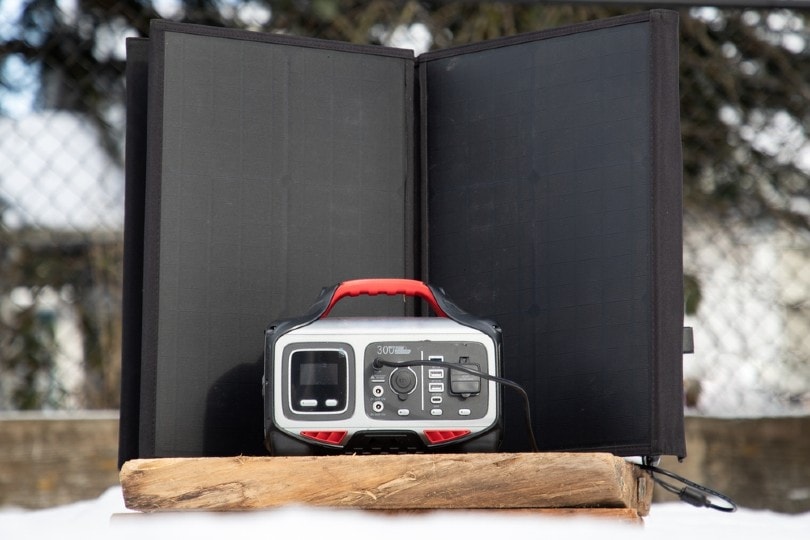
Solar generators can be a great way to reduce your carbon footprint, and they can also help reduce your dependence on fossil fuel, reducing your energy costs. However, commercial generators can be quite expensive. Building one isn’t that difficult if you have the tools and a few supplies. If you would like to build your generator but aren’t sure how to get started, you’ve come to the right place. Keep reading as we provide you with a step-by-step guide to building a solar generator from scratch.

Building a Solar Generator
Before You Begin
Before you begin your project, be aware that you will be working with electricity. If you don’t have much electricity experience and don’t feel comfortable with wiring, it might be a good idea to call a professional to build the generator for you. Only tackle this project if you have already done basic wiring and feel confident that you won’t mix up the hot and ground wires.
Safety
We highly recommend adopting a safety-first policy when tackling any DIY project, to minimize the risk of personal injury. During this project, you will be drilling, so we highly recommend wearing work gloves to protect your hands and safety goggles to protect your eyes. You might also choose to wear earplugs, especially with a loud drill.
- Safety goggles
- Work gloves
- Power drill
- Wire cutters
- Velcro
- One or more solar panels
- Long power cord for the panels
- Battery
- Power inverter
- Charge controller
- Container


Choosing Solar Panels
There are several types of solar panels, but the most common ones are monocrystalline and polycrystalline. These have a lower cost and higher efficiency than most other types, like thin-film cells. Their efficiency is better than 24%, and you can purchase them in different cell configurations, including 36, 60, and 72 cell formats. An additional number of cells helps them create more power, and they usually generate between 100 and 350 watts.

How Many Solar Panels Do I Need?
The number of solar panels that you require will depend on your power requirements. If you are looking to generate enough power to keep things running on a camping trip, you will likely need only one or two, but if you want to power a multi-floor home, you will need many more. Each device requires a certain number of watts to operate, so you will need to add up the ones that you want to power and divide it by the panels’ output.

Choosing a Battery
You will need to purchase at least one battery to store any power that you create and don’t use. Storing your power will also give you energy when the sun goes down. Most people either use lead-acid batteries or lithium.
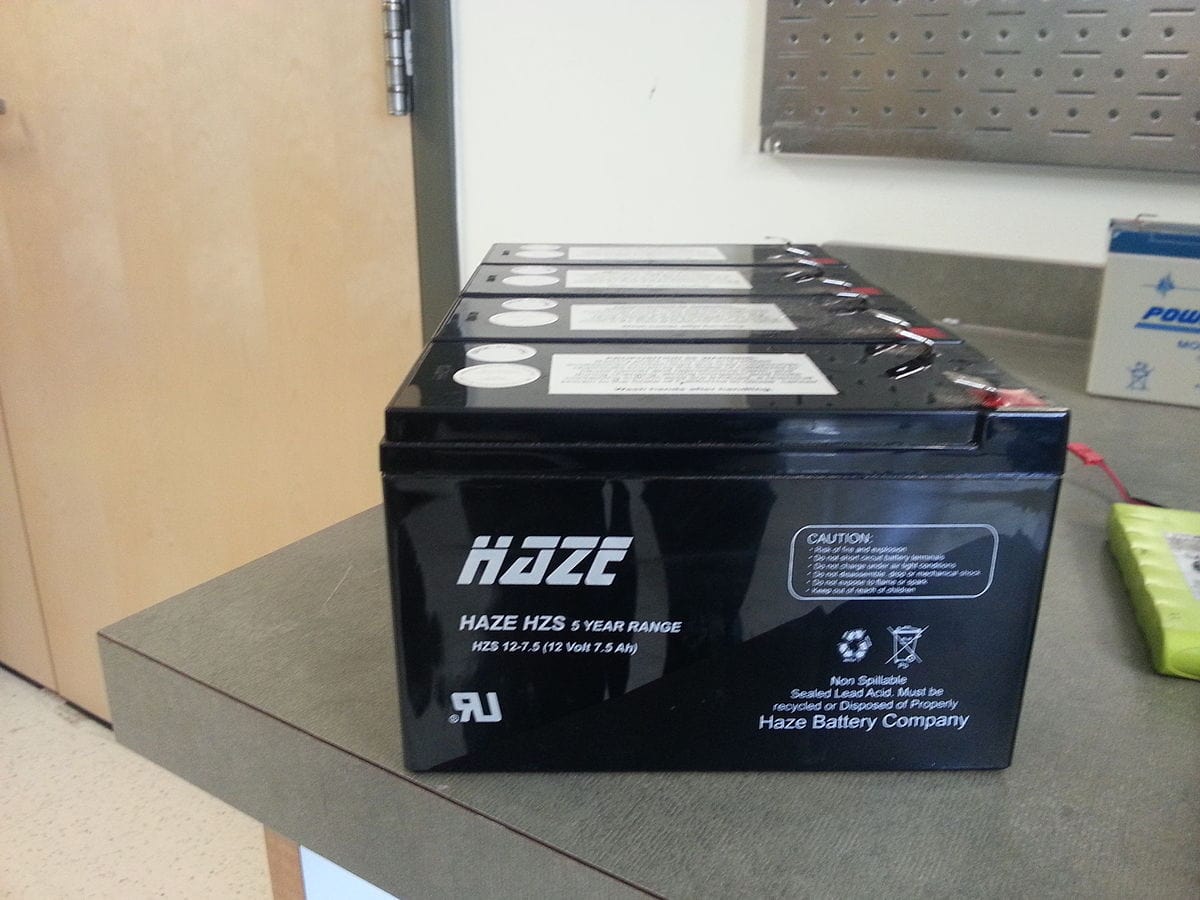
Lead-Acid Batteries
A lead-acid battery is the type that is in your car. However, most cars use SLI batteries, which provide a large amount of power for a short time and charge quickly. The problem is that they also dissipate quickly.
Another type of battery that you can choose is the deep-cycle battery, which provides a little less power for a much longer time. Since you won’t need a sudden surge of power to start an engine, the longer-lasting power of the deep cycle is often preferable. Lead-acid batteries are the lower-cost alternative, and you may need more than one to hold the power that you generate.
Lithium-Ion Batteries
The technology behind lithium batteries is increasing at a tremendous rate. These lightweight batteries can hold much more power in a smaller container than lead-acid batteries, but the materials are rarer, making them much more expensive. The battery that you choose will depend on your budget, space, and power requirements. The only recommendation is that you use the same type of battery to store all leftover power in your generator.
Choosing a Power Inverter
A power inverter converts the direct current that the solar pane generates into an alternating current that your appliances can use. It comes in a wide variety of sizes, and you will need to choose one based on your power requirements.
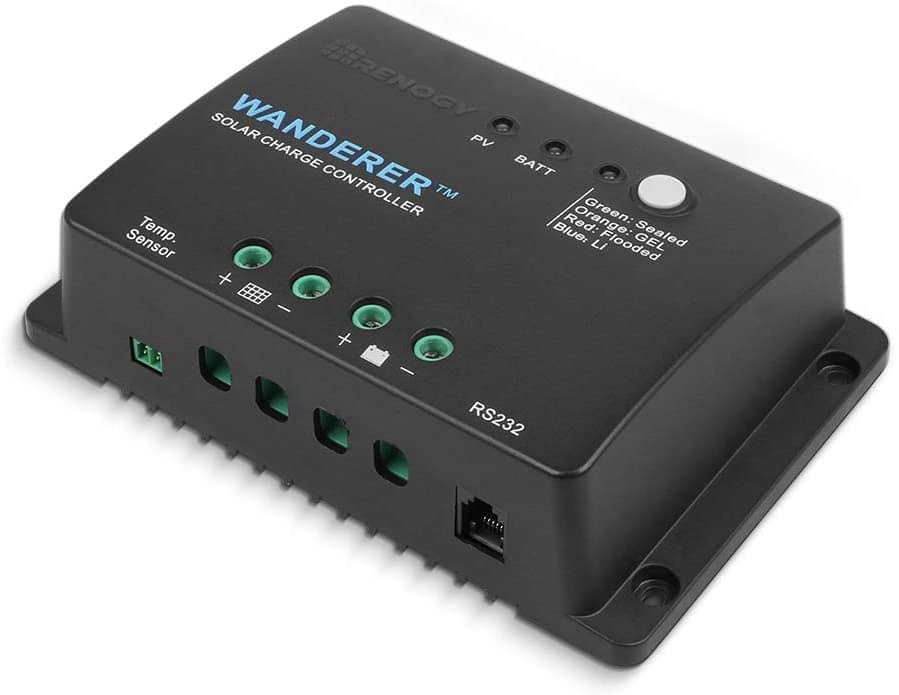
Choosing a Charge Controller
A charge controller is an important mechanism in your solar generator because it prevents the electricity that you store in the battery from escaping through the solar panel at night, when it is no longer collecting sunlight. Without the charge controller, your battery will begin to power the panel once the sun goes down.
Choosing AWG Cable
You will also need American wire gauge (AWG) cable to move the power from one place to another. AWG cable comes in various thicknesses, and the more power you generate, the thicker the wire needs to be. The thickest wire that you can purchase is 0000, or 4/0, and it can carry up to 302 amps. The next largest is 000 (3/0) and it can carry 239 amps. You can also purchase AWG wire in 00 and 0–40 gauge. Each is able to carry a different current so you can get exactly what you need. Once you know how much power you will create, several online guides are available to help you determine the wire thickness.
Choosing a Container
When creating your generator, one important thing that you will need is a container to store all the components. What you choose will depend on what you need to put in it. You want it to be a plastic or other non-conductive material, so it doesn’t cause shorts or create an electrical hazard. Large plastic storage containers are great for large generators. Many people have had success with tackle boxes and toolboxes for smaller ones.
Building the Generator (6 Steps)
1. Charge the Batteries
Once you’ve assembled all the materials that you need to build your generator, the first step is to charge any batteries that you intend to use in its construction. Charging will help prevent them from dissipating too much energy before the generator is up and running, which can cause damage to the battery and shorten its lifespan.
2. Connect the Batteries
With the batteries charged, you will connect them in series to preserve voltage. To connect two batteries in a series, attach the positive terminal from the first battery to the second battery’s negative terminal using the AWG cable. You then connect the negative of the first to the positive of the second. You can do this with as many batteries as you are using in your generator, and they will feed each other as they drain.
3. Connect the Charge Controller
The next step is to connect your batteries to the charge controller. It’s usually a simple matter of connecting the AWG cable to the proper inserts, and the instructions will be in the manual. You will also need to insert your solar panel into the charge controller. The solar panel may have wires or plugs that insert directly into the controller, or you may need to purchase an adapter separately, depending on the brands that you purchase.
4. Connect the Inverter
In the next step, you will need to connect the power inverter. This component connects directly to the batteries instead of the charge controller. It will have positive and negative wires to attach to the battery terminals.
5. Install the Items Into the Container
Your generators should be ready to go, but it’s currently just a bunch of parts scattered about. It’s time to install them into your container. Carefully put the batteries inside and secure them if possible using plastic straps or Velcro. You may need to drill and cut your container so you can attach the charge controller and inverter, both of which you will need access to so you can operate your generator. Only the solar panel should remain outside the container when you are finished.
6. Test
With the container constructed, it’s time to test your generator. Connect the output of the inverter to your breaker and place the solar panel in the sun. You should be able to operate any device connected to the breaker that requires less power than the generator creates without issue. Any extra power produced will go toward recharging the batteries, and the batteries will power your equipment when there is no sunlight for as long as they maintain their charge.

Summary
Building a solar generator is quite easy; the most difficult parts are collecting the various components and creating the container to hold them. After these two steps are done, your generator will take mere minutes to assemble and begin creating environmentally friendly energy that doesn’t cost you anything more than occasional repairs. Building your own generator is fun, and it allows you to create what you need, so you are not stuck with too much or too little power.
Featured Image Credit: CL Shebley, Shutterstock
Contents
