
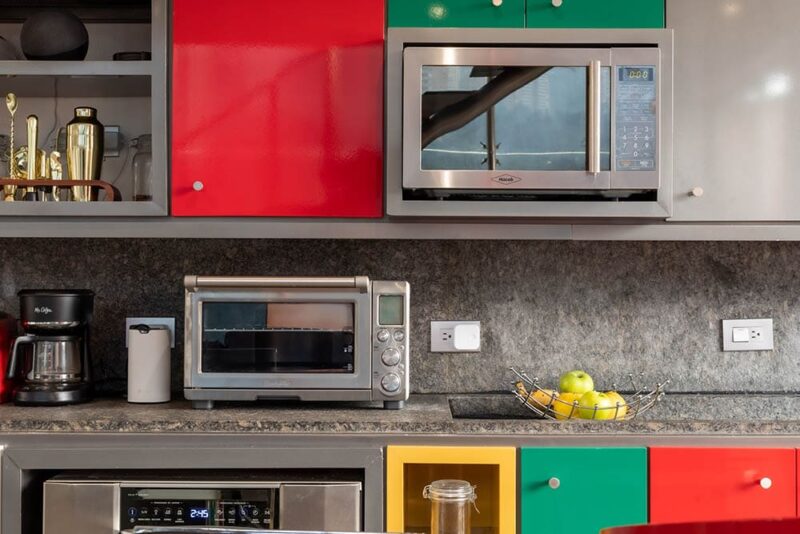
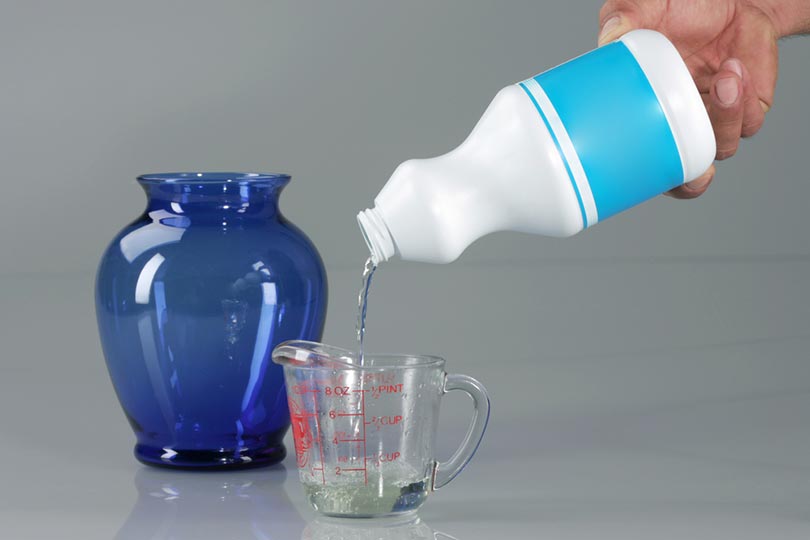
Everyone knows to cover food with a paper towel or other microwave-safe material before you nuke it. However, despite our best efforts, sometimes microwaved contents still explode, spewing hot tomato soup all over the white walls. Once it cools off, you might wonder how to scrub away the mess. Since bleach is an antibacterial agent, it makes sense that some people might try to use it to clean their microwave. However, this isn’t recommended since it can strip the plastic, making it brittle and possibly causing damage over time. Here’s the best way to clean your microwave—and prevent future messes.
 Why Bleach Isn’t the Best
 Why Bleach Isn’t the Best
You can use bleach to sanitize your pool, keep your sheets white, and kill mold in your bathroom, so why not in your microwave? Well, it won’t kill you, but it probably won’t kill the bacteria that are harbored in your microwave, either.
Unlike the fungus growing in your shower drain, kitchen bacteria aren’t as likely to be affected by bleach. Plus, it’s a harsh chemical that can damage appliances, and its strong odor might leech into your leftover pizza (yuck).
It’s actually best to keep bleach out of your kitchen altogether since it isn’t food-safe, relegating its powers to the laundry, bathroom, and yard instead. Just be sure not to touch it or let it onto your clothing because bleach burns and discolors.
What to Use Instead
Cleaning your microwave is actually much simpler than employing smelly bleach. If the stains are still new, you can probably get away with hot, soapy water and a couple paper towels. We prefer to use a dab of castile soap on a wet paper towel because it’s a stronger formula that easily cuts grime and tough stains while taking care of the germs.
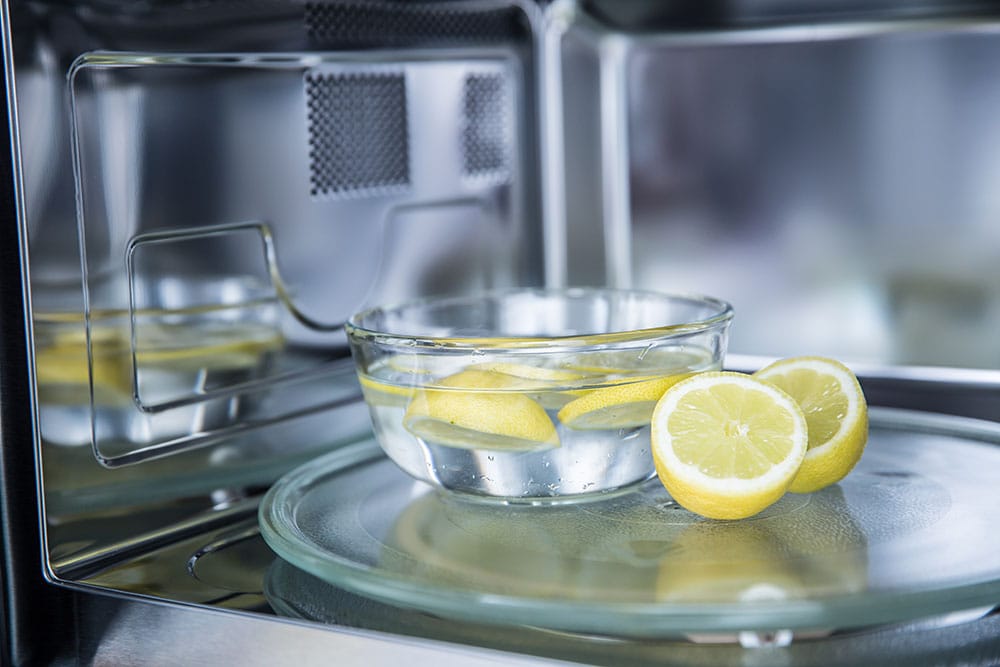
However, if that splattered scrambled egg has been sitting there for a while or if something smells rotten, you might want to also use some vinegar or lemon to help purge the stench.
Some people also use a disinfectant such as Clorox wipes, but not everyone agrees that it’s a wise idea to do so. Harsh chemical wipes can also damage the plastic, and we find that the previous cleaning solutions usually suffice.
When Should You Clean Your Microwave? How Often?
When something splatters, you should wait just long enough for the microwave to cool down so you don’t burn yourself, and then clean it up right away. It’s easier to wipe away sauce before it has time to stain and turn crusty. Microwaves are mostly for convenience, however, so there may be times you’re running out the door with what’s remaining of the ramen and have to settle on cleaning up the spills later. In this case, you just want to clean it up as soon as you can. If you wait longer, you’ll just have to scrub harder and you’ll probably want to use the vinegar-water trick to absorb the odors.
If your microwave is perpetually dirty, we recommend cleaning it as needed, and including it in your weekly cleaning regimen as well to keep bacteria from building up. Even if you always cover your dishes and know the magical heating times for each meal so that it never explodes, you should still aim to periodically clean your microwave because it might still be cooking up some bacteria. At the very least, it’ll start to smell funny as the aromas from all the different foods you’ve cooked mix into something funky.
The bottom line: you should clean your microwave as needed but aim for at least once a week to keep it fresh and free from bacteria.
How to Clean Your Microwave
Here’s how to easily deep-clean your microwave to remove even the most stubborn stains and odors. The best news is it’ll only take ten minutes or less, and then you’re ready to cook your next meal.
- Castile soap
- Paper towels (or reusable cleaning towels that you can bleach in the wash)
- Vinegar or lemon
- Water
- Sink
- Place a bowl of water and vinegar or lemon juice in a bowl in the microwave. Add one cup of water with a few tablespoons of vinegar or lemon juice. Microwave on high for about 3 minutes, or until steamy. You don’t want the mixture to boil over, but you want it to steam the walls to loosen the stains. This step also purifies the air in the microwave, removing the smelly concoction of last week’s leftovers.
- Wash the microwave walls with a dab of castile soap on a damp paper towel. Being careful not to burn yourself, wipe down the walls as soon as you reasonably can. The stains should easily come off, but if they’ve been taking residence for a few days then it might require a few patient minutes of work and some elbow grease. Make sure you only add a little bit of soap to the paper towel because you’re not trying to create soap suds, just enough to cut through the grime.
- Towel dry. Wipe down the inside to clear any residual soap, stains, or extra water.
- Remove the glass microwave plate. Lift the microwave plate from the ring. Wash the plate with hot water and soap over the sink. Once it’s clean, wipe it off with a towel.
- Return the microwave plate to the ring. Sit the microwave tray back on the ring, making sure it lines up with the grooves. If you want, you can close the door and start the microwave to make sure it’s aligned correctly. Then you’re done! Time to warm up some nachos.
Conclusion
While it might be tempting to tackle tough stains with bleach, a gentler solution gets the job done much safer and more efficiently. The next time your can of soup boils over in the microwave, don’t fret. It only takes some water, soap, vinegar, towels, and about ten minutes to get your microwave glowing again. If your meals are habitually exploding, perhaps consider another way to cover them or reduce the cooking time to avoid excessively hot temperatures that result in pops and splatters.
Related Reads:
- What Bowls Are Microwave-Safe? – 4 Different Types
- Why Cover Food in the Microwave? 4 Clever Reasons
Featured Image Credit: Lissete Laverde, Unsplash
Contents
