5 DIY Bucket Mouse Traps You Can Make Today
-
Codee Chessher
- Last updated:

Mice are smarter than we give them credit for, and that intelligence is a curse when you find them sneaking around your home. When commercial mouse traps are too expensive for you or you’re confident in your DIY skills, consider rigging up your very own DIY mouse trap with just a bucket and some other basic gear.
Check out the plans below to make your choice and get started today.
The 5 DIY Bucket Mouse Traps
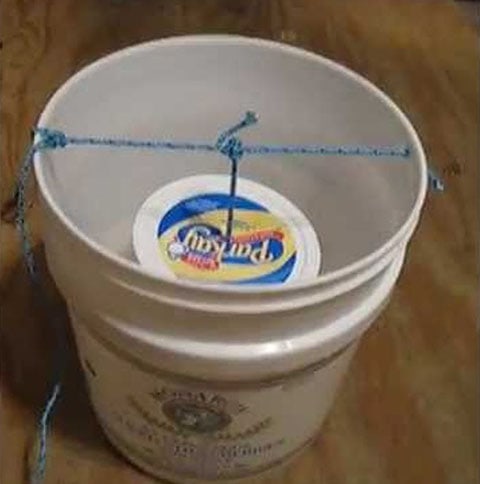
1. Self-Resetting DIY Mouse Bucket Trap
| Difficulty: | Easy |
| Supplies: | 5-gallon bucket, aluminum can, wooden dowel, scrap wood, power drill |
Tired of resetting your homemade mouse traps? Using a 5-gallon bucket and a handful of stuff you may have lying around already, you can make a sweet self-resetting mouse trap. Depending on how you set it up and the severity of your infestation, you can adapt the plan for a lethal or no-kill trap. There’s no special modification necessary to make the change—just add water to turn a no-kill trap into a fatal mistake for mice.
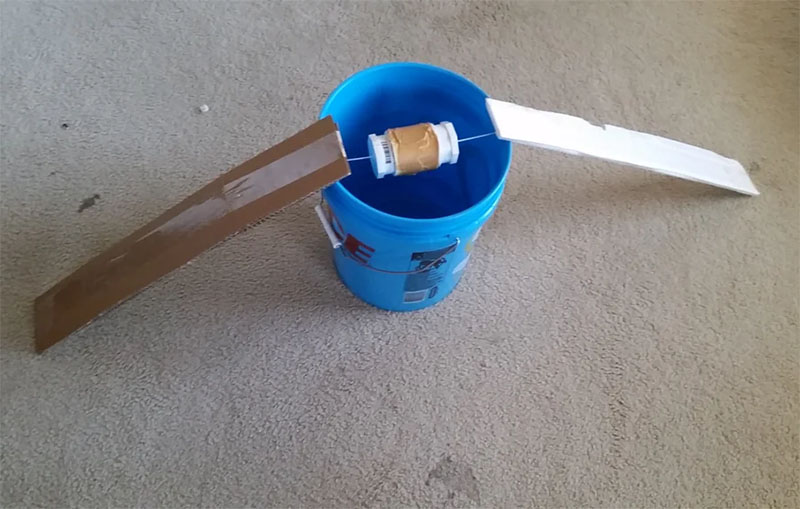
2. DIY Kill or No-Kill Bucket Mouse Trap
| Difficulty: | Easy |
| Supplies: | 5-gallon bucket, PVC coupler, PVC end caps, wire coat hanger, power drill, pliers |
Similar to the last plan but with more PVC, this 5-gallon bucket mouse trap can also be turned lethal by adding water. If you have lots of PVC stuff lying around, this is easy to put together within just minutes.
Use scrapboards or even rulers to form the ramps—nearly anything flat will work, though. As far as basic mouse traps go, it’s very effective. For no-kill, just take the bucket of mice outside and release them far, far away.
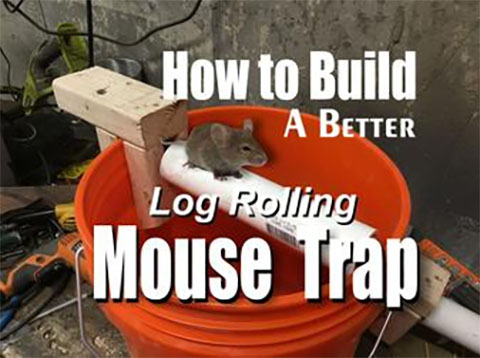
3. DIY Log Roller Mouse Bucket Trap
| Difficulty: | Intermediate |
| Supplies: | 5-gallon bucket, old paint rollers, scrap wood, power drill, power saw, PVC pipe |
At first, it might seem like you’re making a toy for the mice with this PVC log roller bucket trap, but you can just add water to make the trap 100% lethal. It takes more work than the above plans but proves more effective. With the others, more dexterous mice are able to evade the trap to get your bait.
Our favorite part is that the trap doesn’t need to be reset and stays effective forever. If you don’t mind some more work, this trap is certainly more foolproof.
Consult a PEST-CONTROL expert
Find a pest-control specialist in your area, and get free, no-commitment estimates for your project.

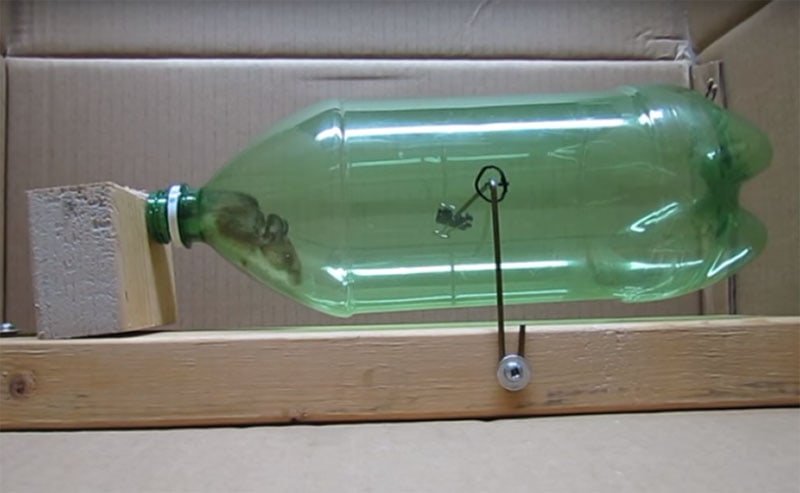
4. Non-Lethal Soda Bottle Mouse Trap
| Difficulty: | Easy |
| Supplies: | Soda bottle, wire pivot, scrap wood |
If you’re hard up on buckets and prefer catch-and-release style traps, a soda bottle makes a great nonlethal trap. There’s no drilling necessary, and you can put it together in just minutes.
We admit that this trap can’t hold as many mice, so it’s best used as a preventive measure and for small infestations. It would also be really good in cramped areas where you can’t fit a bucket, like in small gaps between your walls.
5. DIY Spinning Rod Bucket Trap
| Difficulty: | Easy |
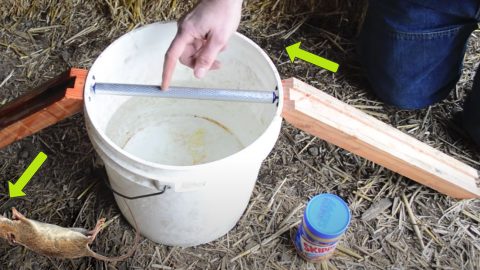
| Supplies: | 5-gallon bucket, cylindrical metal rod, power drill, ramp material |
A metal rod makes this bucket mouse trap more effective at tripping up mice on their way to chow down on your peanut butter bait. We should note that this is a lethal trap according to the plan, but you can just not add water to make it a catch-and-release trap.
As with all the bucket traps, it’s very simple but effective. A smoother metal rod than the one in the photo would probably offer less grip to little mice’ feet, but that’s a tiny nitpick.
In Conclusion
Mice are extremely clever, persistent critters, but they become a menace when they destroy your food or other items around the house. If you don’t have a cat or they’re just not a very good hunter, take a little time to rig one of these bucket traps up. You’ll thank us later.
Featured Image Credit: MainelyPhotos, Shutterstock
Contents
