How & When to Plant Black-Eyed Susan’s: Tips, Tricks & FAQ
-
Ed Malaker
- Last updated:

Black-Eyed Susans are eye-catching flowers that grow all across the United States. They look fantastic in any setting, so it’s no surprise that they’re popular with homeowners. However, many people find that these flowers can be difficult to grow, and it’s a struggle to keep them alive. If this sounds like your situation, keep reading, as we provide you with a step-by-step guide to growing Black-Eyed Susans.
The Black-Eyed Susan’s Appearance

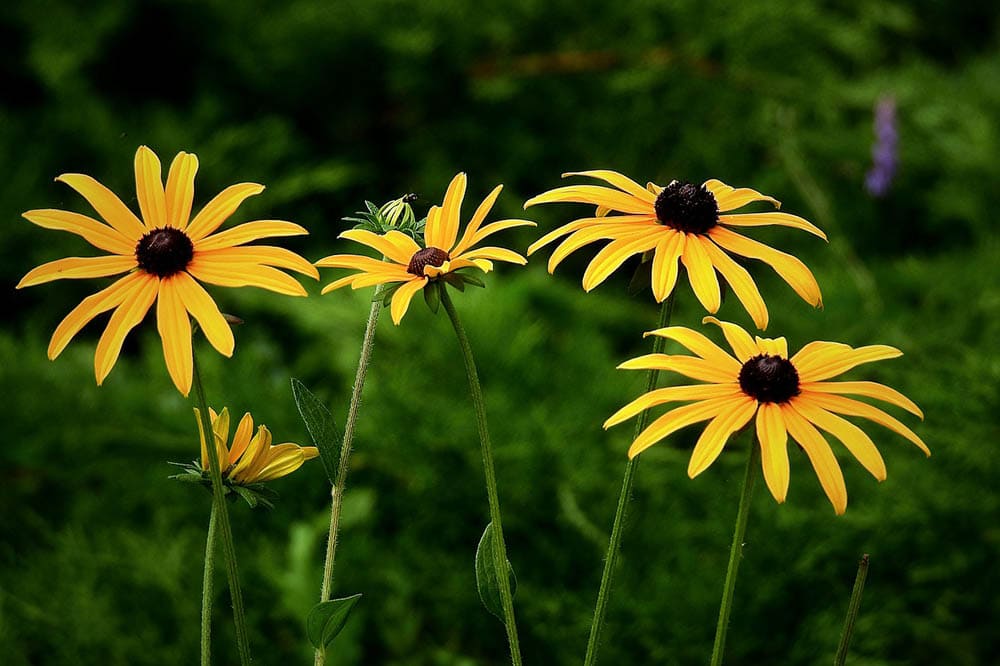
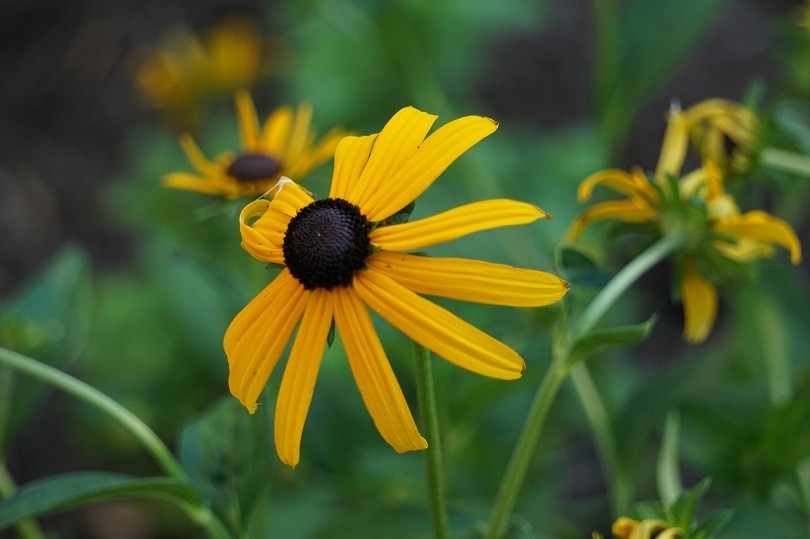
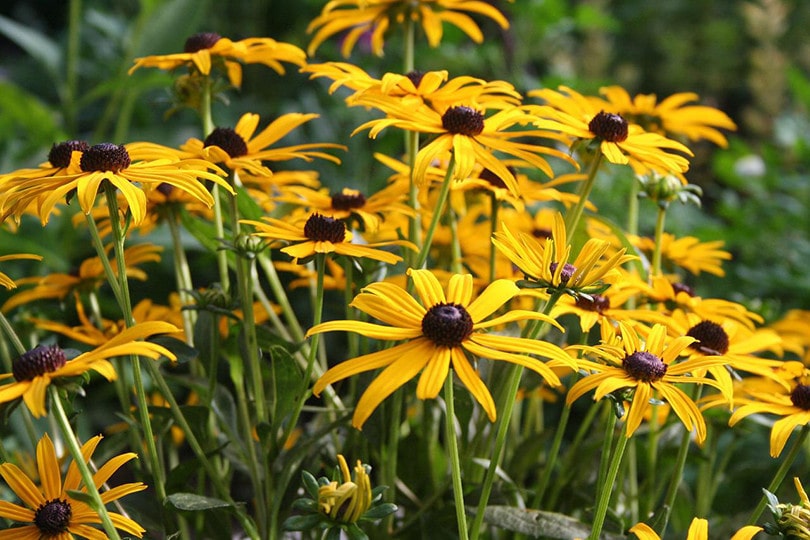
The Black-Eyed Susan is a type of aster, a flower that looks similar to a daisy. It can come in many colors. A Black-Eyed Susan typically has yellow or orange petals, with a round brown to purple center, which gives it its name. It can grow to more than 3 feet tall, and its leaves can extend 6 inches from the stalk. The flowers usually have a diameter of 2–3 inches.
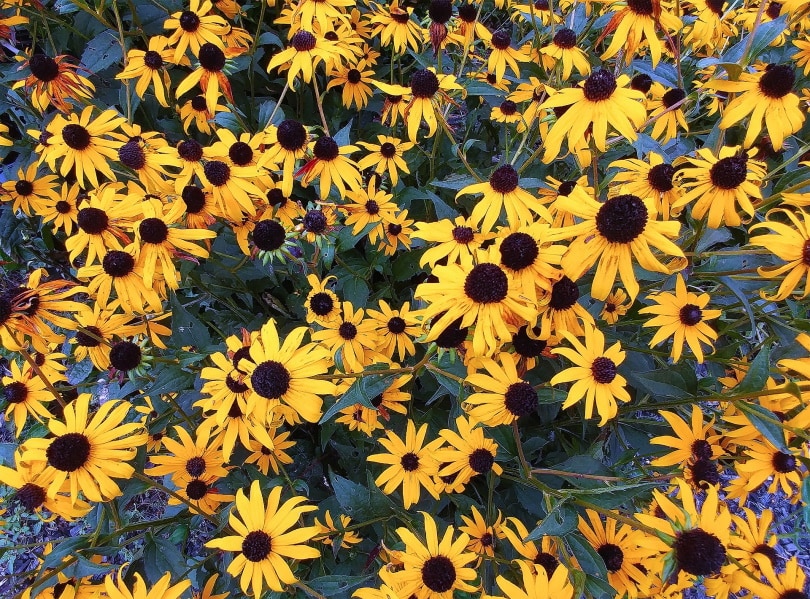
- Black-Eyed Susans enjoy plenty of sunshine, and the amount that they receive will dramatically affect when they bloom. Unfortunately, many people who struggle with these flowers simply aren’t providing enough light. If you see a field of them growing wild, it’s because the field receives near-constant sunlight.
- Black-Eyed Susans need well-drained soil and will not grow where water sits or is too compact. Nutrient-rich soil is best but it will tolerate poor soil.
When Should I Plant Black-Eyed Susans?
Indoors
When planting your Black-Eyed Susans from seeds indoors, it’s best to start them 8–10 weeks before you think the last frost will be. Indoor planting is a good option for northern states that can receive frost as late as April.
Outdoors
You can place seeds directly in the ground once the soil reaches a temperature of at least 70 degrees Fahrenheit. Warm soil temperatures usually won’t occur until late April or May in many northern states, but direct planting is a great option in the lower states, where temperatures are much higher.

The 4 Tips on How to Grow Black-Eyed Susans
1. Plant
To plant your seeds, place them on the ground and cover them lightly with soil. Put them where they will get plenty of sunlight to encourage germination. If you don’t want them to spread, place the seeds close together, though putting them farther apart will prevent the spread of any disease that they might catch. For best results, choose an area with fertile, well-drained soil, and plant the seeds 12–18 inches apart.
2. Water
Your Black-Eyed Susans will do best if you water them frequently, especially during the first season. About 1 inch of water per week is sufficient, and once you get them established, they will be hardy and resistant to drought.

3. Remove Dead Flowers
Remove flowers after they bloom to encourage more blooms, especially if you get them started early. However, if it’s getting late in the season, you can leave them on to attract birds and encourage spreading.
4. Remove Dead Leaves
After you get your plants established, you will need to go over them each spring to remove any dead leaves, flowers, and other parts to help minimize the spread of disease.
What Dangers Do Black-Eyed Susans Face?
Fungus
The Black-Eyed Suzan faces the biggest problems from septoria and angular leaf spots, which are two types of fungi that appear as black spots on the plant’s leaves and stem. To help prevent the spread of these fungi, ensure plenty of air circulation by removing dead leaves and placing the plants farther apart. Wet leaves will also encourage the growth of these molds, so only water them close to the ground.
Nitrogen
Nitrogen is an important nutrient for plants, but if you aren’t getting any flowers despite there being plenty of sunlight and thick green foliage, there might be too much nitrogen in the soil. Adding a fertilizer that contains phosphorus may help produce more flowers.
Summary
Growing Black-Eyed Susans is not too difficult because once established, they can withstand drought, they don’t care that much about the soil as long as it’s well-drained, and they don’t require fertilization in most cases. Some people have trouble growing them because the plants aren’t receiving enough sunlight to produce flowers or the soil needs better drainage. If your plants frequently have black spots, place them farther apart and try to keep the leaves dry. Remove dead flowers to promote new growth or leave them to attract birds and encourage spreading.
Featured Image Credit: 5892437, Pixabay
Contents
