
When you first buy a new car, your headlights are crystal clear. However, you may notice over time that the transparency of your headlights has diminished, only to be replaced by a dusty, yellow haze. The hazier your headlights get, the dimmer they are. This can lead to serious danger while traveling in the dark.
But what do you do about it? Well, the most common cause of hazy headlights is dirt and chemicals from the roads you drive on. This is normally a problem a good cleaning can fix. While professional car cleaning will take care of your headlights, it can be expensive to do so every time your headlights begin to dim. Thankfully, headlight cleaning is completely doable on your own, thanks to WD-40!
WD-40 is a multi-use aerosol product traditionally used to remove rust, lubricate hinges and chains, and loosen tough grime on mechanical parts. This product is available in nearly any store that sells automobile or hardware parts.
If you want your headlights to look good as new for a good price, follow these instructions.

Materials Needed
- One can of WD-40 Multi-Use Product.
- Two or more clean microfiber cloths—new microfiber cloths are best to ensure no particles are waiting to scratch your headlight covers.
- One abrasive sponge or loofah. New is best; however, any clean one will do.

How to Clean Headlights With WD-40 in 4 Steps
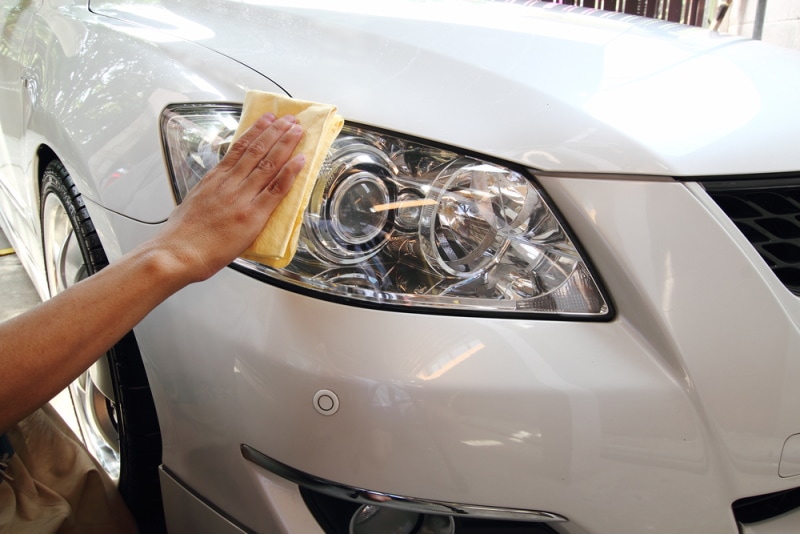
1. Wipe off your headlights with a damp cloth
Begin by dampening one of your microfiber cloths in warm water and wiping away any surface grime accumulated on your headlights. The warmth of the water will loosen the dirt, making it easier to remove. Get as much dirt and muck as possible while wiping in a gentle, circular pattern, but don’t worry about the tougher stains. Those will be dealt with later on.
2. Spray WD-40 on your headlights
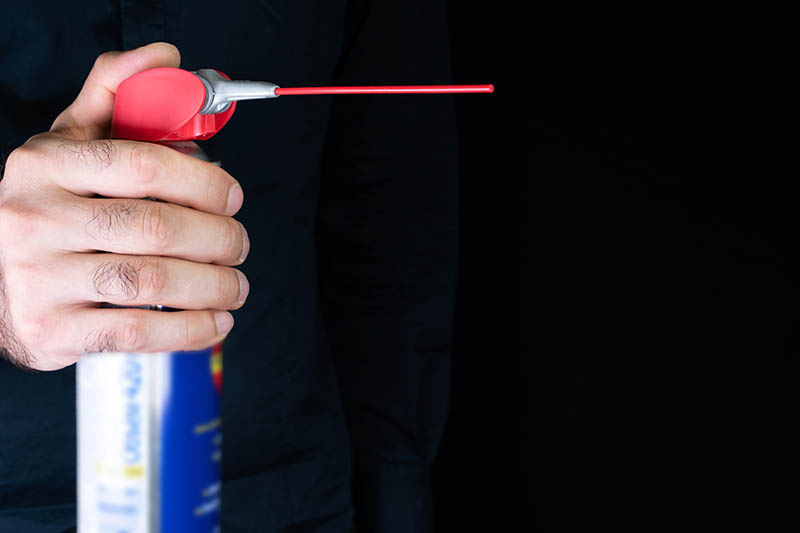
Once your headlight covers have been wiped off, it’s time to apply your product. Spray a decent layer of WD-40 Multi-Use Product over your headlight covers, making sure to cover the entire thing in foam. You’ll want to let it sit for 5–10 minutes. This allows WD-40’s special formula to work its magic on the plastic, cleaning and protecting it against future wear and tear.
3. Scrub your headlights
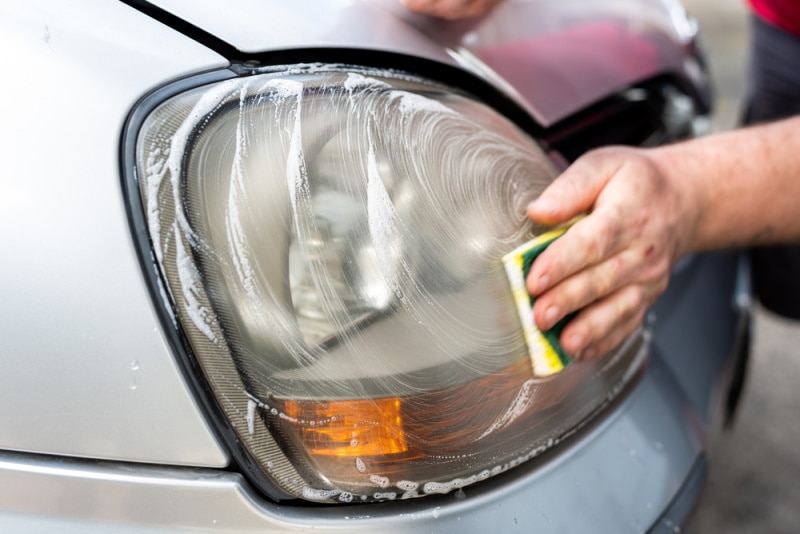
When the waiting time is over, take your car sponge or loofah and gently scrub your headlights in the same circular motion as before. This will loosen any remaining dirt and really ensure that your headlights look fresh at the end of the process.
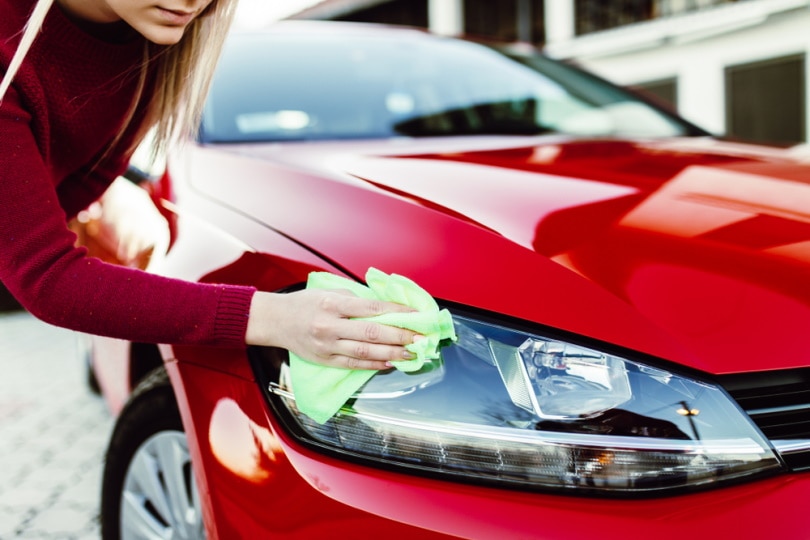
4. Wipe your headlights with a fresh cloth
Finally, take your other cloth, dampen it, and wipe off any excess product to reveal your newly-cleaned headlights! As a bonus step, you may also take a third dry cloth and dry your headlights to prevent any watermarks from remaining after air-drying.
In Conclusion
And you’re done! What was once an unsightly driving hazard has been restored to a nearly transparent, bright beacon for your nighttime travels—all for an affordable price. As an added bonus, you’ve also protected your lights from further damage, thanks to WD-40’s special formula.
Headlight maintenance is important, but don’t forget about the rest of your vehicle. A well-maintained car is safer, meaning you’re less likely to run into sudden breakdowns and costly mechanic bills. Here’s a bonus tip—the steps above will also work for your brake lights!
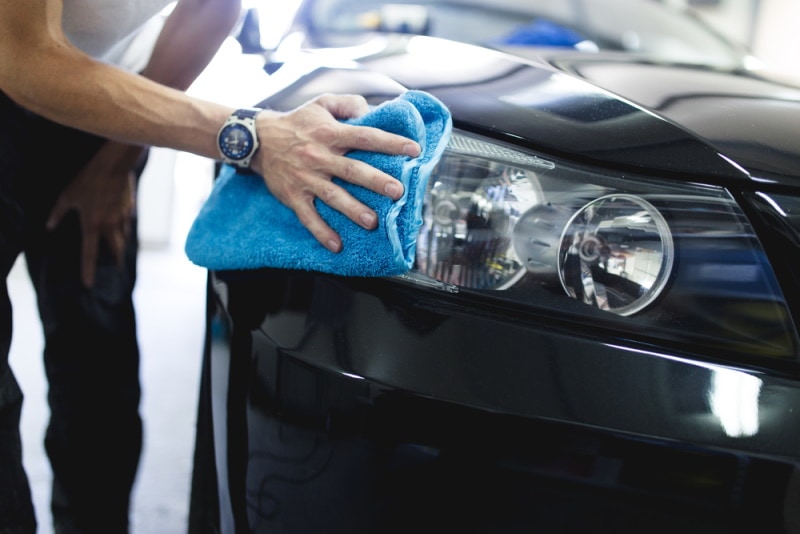
Featured Image Credit: PKK Studio, Shutterstock
Contents
