How to Install Sliding Closet Doors in 7 Steps (with Pictures)
-
Pete Ortiz
- Last updated:
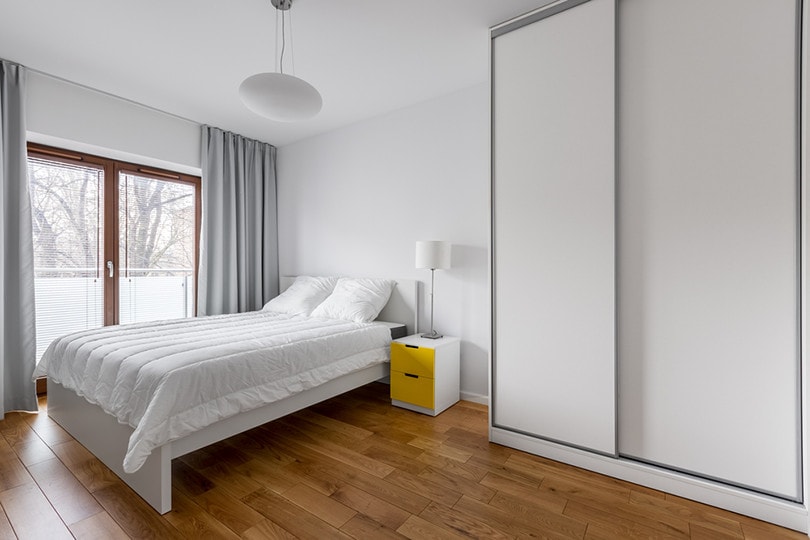
There’s a reason that sliding doors are among the most popular ways to close off your closet. If your closets don’t have sliding doors but you want to install them, you’ve come to the right place. Sliding doors can dramatically change the look of the room, and it’s something that you can do yourself with a bit of determination. So, just keep reading, and we walk you through everything that you need to know to install sliding closet doors!
Tools You’ll Need
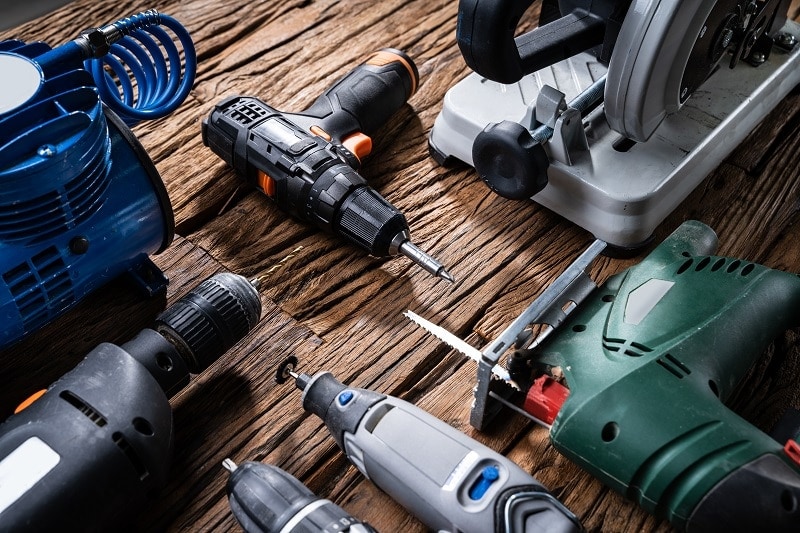
The last thing that you want is to get halfway through a job only to realize that you don’t everything you need to get it done. To save yourself the frustration, here are the required tools:
- Drill
- Screwdriver
- Tape measure
- Hacksaw
Preparing Your Workspace
While getting all the right tools is essential, if you don’t properly prepare your workspace before you get started, you’re setting yourself up for a ton of frustration and extra work.
You need to be able to have a clear working area around the closet and a clear path to remove the doors. You should also have a separate area for hardware, so you don’t lose anything while you’re working.
It doesn’t take much work or time to set up a good work environment, and the few moments of preparation can make all the difference when you get started.
Installing Sliding Closet Doors (7 Steps)
Now that you have all the tools you need and the area prepared, it’s time to start installing the sliding doors. It might seem like a huge task, but we break it down step by step for you here.
1. Remove the Existing Doors
Before you can install the new sliding doors, you need to take off the existing doors! The exact process for removing the doors depends on the current doors in place. Look at the hinges, and remove any screws with either a screwdriver or a drill.
When you’re removing the screws, have somebody else hold the door in place so it doesn’t fall over and damage the frame or injure you. Once all the screws on the hinges are out, you should be able to lift and slide the door out of place.
2. Measure the Opening
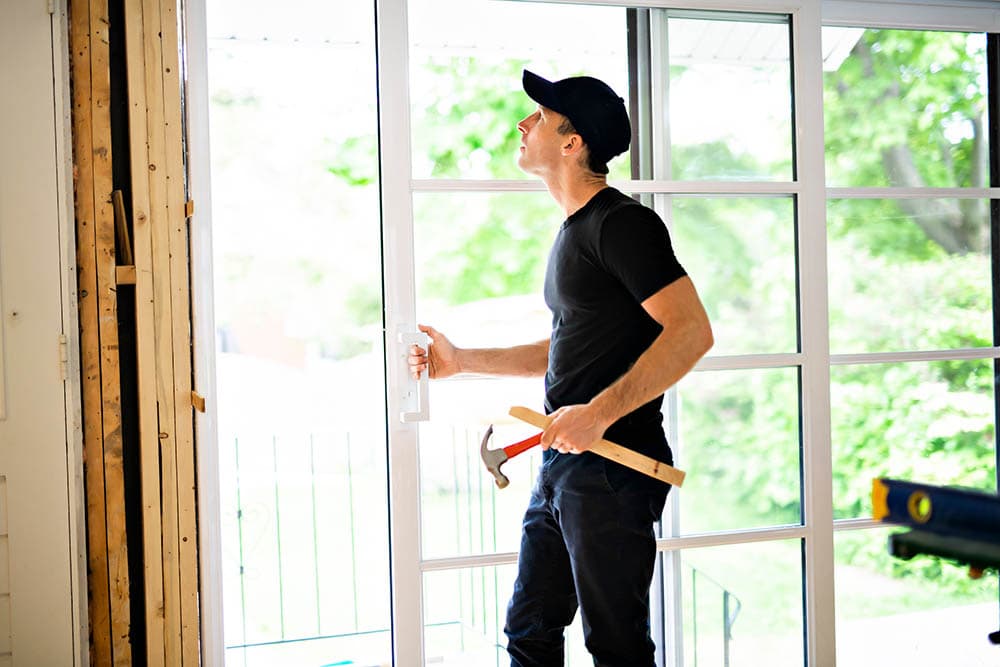
Once the old door is off and out of the way, you need to measure the opening. Measure both the height and width. You need both these measurements to get the right-sized door and the right-sized sliding track.
We highly recommend taking several measurements so you don’t accidentally get the wrong sized door or tracks.
3. Get the Correct Closet Door and Tracks
Now that you have the measurements, it’s time to head out and get the right doors and tracks. When you’re shopping, look for doors that are a few inches lower than the height measurement of the opening.
This gives you space for the track, so you can get it in place after installing everything. For the track itself, you want to try to get it as close as possible to the width of the door. If it’s too small, you won’t be able to close the doors completely, and if it’s large, you won’t be able to install them at all.
That said, you want to err on the side of too long. You can always trim down the excess with a hacksaw if something doesn’t fit.
4. Install the Top Door Track
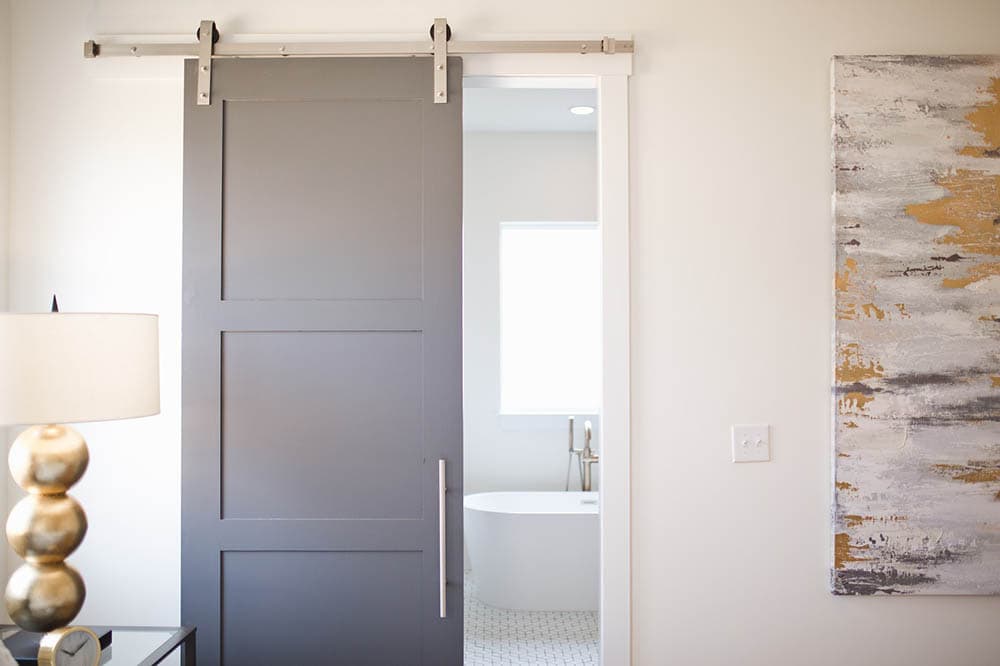
Installing the top track is easier than you might think, but you might need another set of hands to get the job done. Simply place the track along the top of the door frame. If it’s too long, cut it down to size with a hacksaw, and do your best to fit it as snug as possible in the frame.
To install it, use a drill to put in screws along the openings and screw the track directly into the frame. The door track should come with the appropriate screws, but if they don’t, any hardware store should have what you need.
Just ensure that they’re the correct width and can go at least ¾” to 1″ past the track so you get a secure fit that can withstand the door’s weight.
5. Install the Bottom Door Track
Once you have the top door track in place it’s time to install the bottom door track. It’s the same process as the top door track, but you shouldn’t need anyone to hold it in place during installation. However, if you’re buying up the screws yourself, ensure that they’re longer than the track.
There’s a good chance that you’ll need to screw through the carpet or other flooring to get a snug fit for the track.

6. Install the Doors
Once the tracks are in place, it’s time to install the doors. Start by putting the first door on the back runner on the track. Push the wheels into place, then drop the runner on the bottom track.
Next, do the same thing with the front door, but put it on the front runner on the track. This will give you a full range of motion on the doors and let you operate them independently.
7. Test the Doors!
After installing the doors, the only thing that you need to do is double-check that they’re working as they should! If so, you’re good to go and you have successfully installed sliding doors for your closet!
How Do You Fix a Sliding Closet Door?
Start by removing the door from the track and inspecting all the different components.
You might need to lubricate or replace rollers or straighten out the track. With a little determination and grit, there shouldn’t be a problem fixing a slider door. However, that doesn’t mean you won’t need any parts.
If you find a broken component, it’s best to hit up a local hardware store and purchase new parts instead of trying to make something work with a defective part.
How Do I Get My Sliding Door to Slide Easier?
While it depends on why the door is struggling to slide, one of the easiest things that you can do is spray WD-40 on the rollers. Give it about five minutes to soak in, then the door should slide easier.
However, double-check the tracks themselves if you’re having issues sliding the doors. There could be an obstruction or a bent track, and if that’s the case, you’ll need to remove the obstruction or repair the track to get the door to slide smoothly.
Either way, WD-40 is a great way to keep your sliding doors moving smoothly month after month and year after year!
Final Thoughts
While it might seem a bit overwhelming at first, with the proper tools, installing a new sliding door for your closet is easy! Hopefully, reading this guide has given you the confidence that you need to get the parts and tools to do the job and have sliding doors in your home!
Featured Image Credit: Jarzabek, Shutterstock
Contents


