

Sliding windows are similar to sliding doors. They slide horizontally rather than vertically like sash windows. They require more horizontal space than a single-panel window takes up, but they don’t need the vertical space that a sash demands.
Also known as gliding windows, sliding windows are lighter and easier to operate than sash windows, and replacing a sliding window is a relatively easy job. However, there are a few essential steps and potential hazards to consider. If you’ve never replaced windows, it may be best to get a professional to replace the sliding window. It can save money in the long run and may prevent you from getting injured.
 Safety First
 Safety First
When dealing with windows and any type of glass, safety is paramount. Smashed glass is a serious hazard and can be very difficult to clear up. If the window is on the ground floor, the replacement should be relatively easy, but if it is above the ground floor you will need secure ladders and assistance from another person. Ensure you have good gloves, strong boots, and someone to help carry a large window.
Equipment And Materials
As with most DIY projects, having the right tools and materials will make the job much easier. Depending on the type and size of sliding windows you have, you will need some or all of the following items:
- Caulk
- Caulk Gun
- Hammer
- Measure
- Pry Bar
- Putty Knife
- Paint Scraper
- Screwdriver
- Window
- Assistant
Can I Replace Just the Slider Window?
If the stationary pane of glass is not broken and you can find a replacement that fits into the slider, you can replace the slider window without replacing the stationary panes or window frame sections.
How Do I Remove a Stationary Sliding Window?
There may be occasions when you need to remove the stationary panels of a sliding window installation. Hold the top of the panel firmly with one hand and strike the upper section of the vertical frame with a rubber mallet. This should loosen the top section and allow you to lift the panel out of the bottom of the frame.

Replacing Slider Windows (7 Steps)
Once you have your equipment, have called in assistance, and are wearing the proper safety equipment, follow these steps to safely replace the gliding window.
1. Measure Up
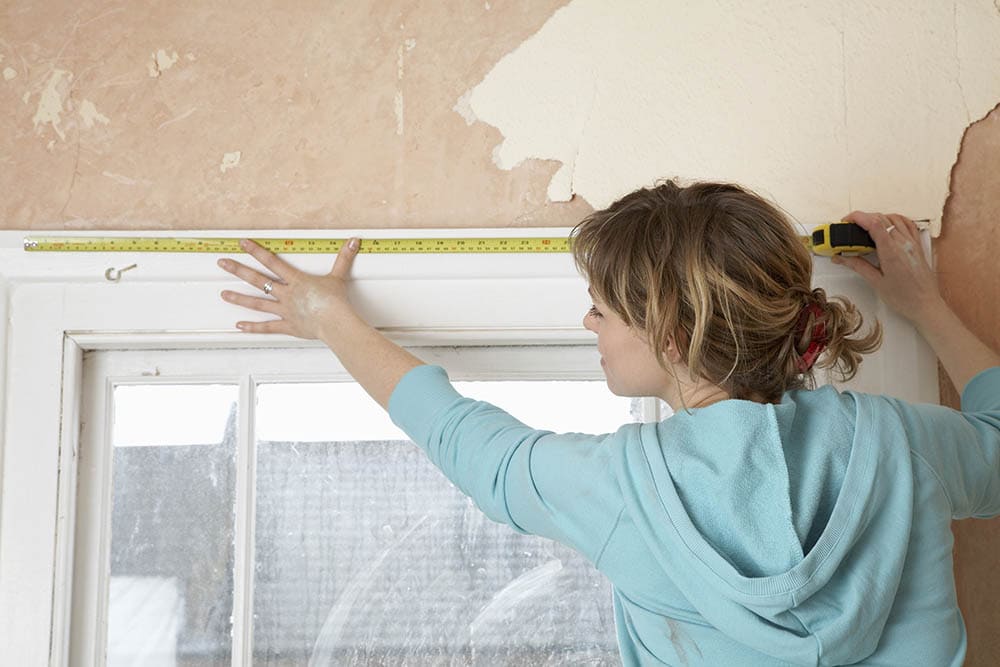
Ensure you take precise measurements of the window that you’re replacing. If your measurements are wrong, even by a small amount, the window will not work correctly when reinstalled. Write the measurements down and take them with you to order a replacement.
2. Remove the Sliding Window
Different windows have different methods of removal. Open the window entirely and look for retaining screws and adjusting knobs. They can be used to tighten and loosen the sliding window, and you will need to remove them completely or loosen them to get the window out.
You may need to knock the vertical frame away from the window carefully to loosen it further and remove the sliding panel. Once you’ve removed the window, put it down somewhere safe.
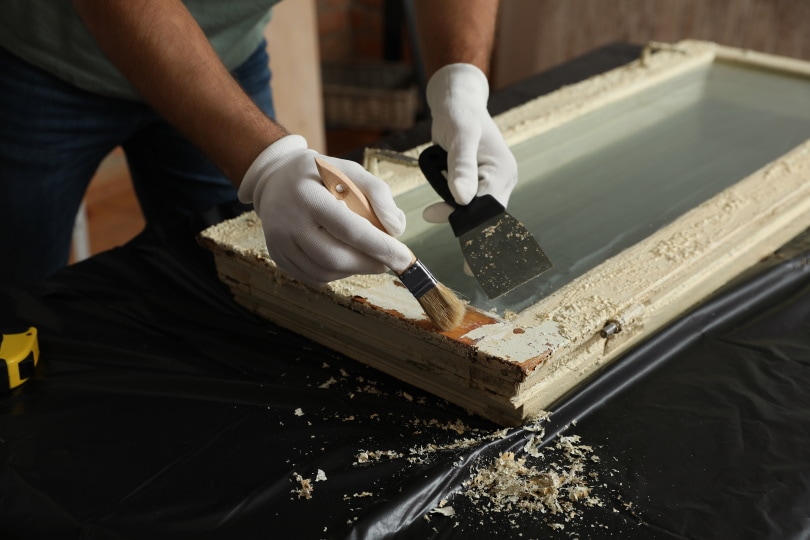
3. Clean the Frame

If you keep the existing frame, ensure it is clean and free from dirt, debris, and protrusions. Sand it, if necessary, and clean it with a damp cloth. Remove any bits that might prevent the window from closing properly.
If you remove the frame, find the fastenings holding it to the wall. Unscrew the screws, pull the nails, or use a saw to cut nails between the frame and the window.
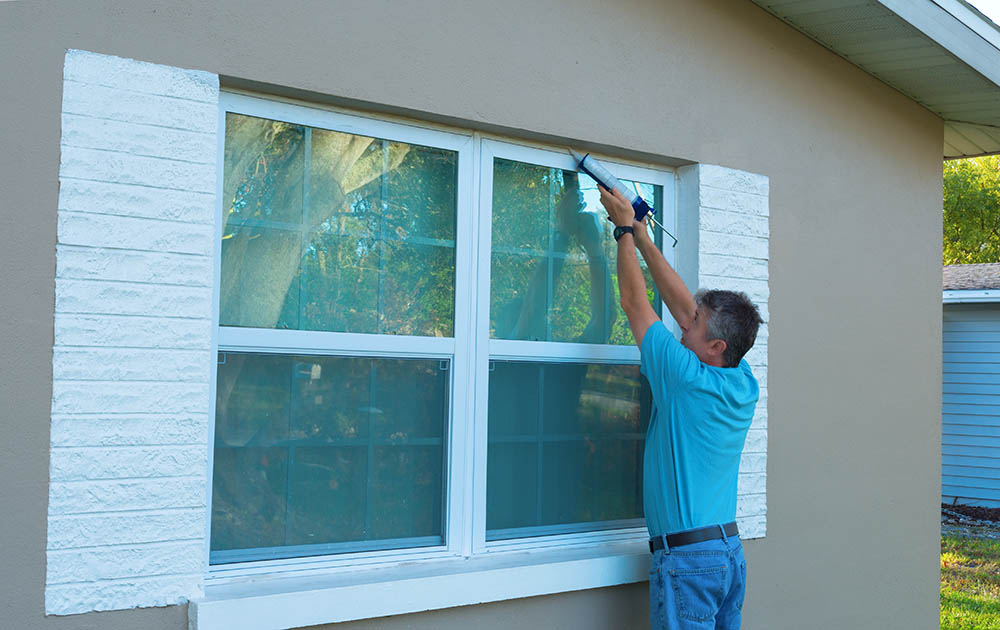
4. Apply Caulk
If you have removed the frame, ensure the opening is clear of debris and make any necessary repairs. Once this is done, apply caulk around the opening.
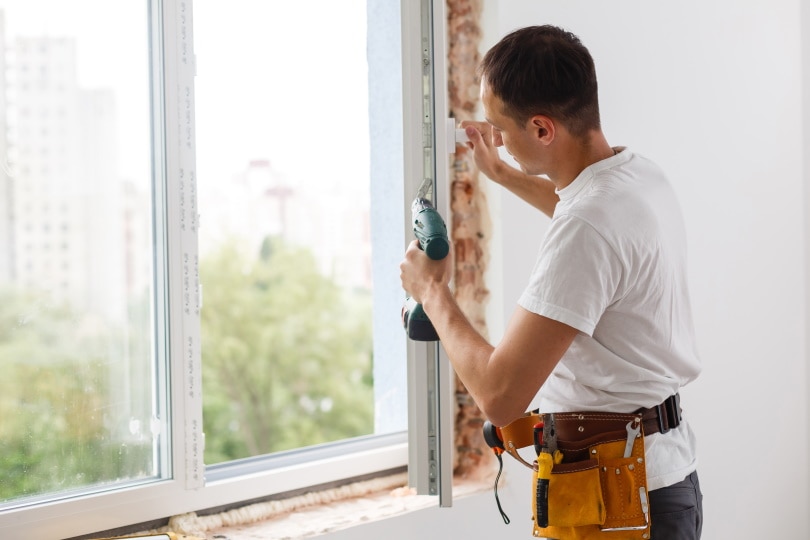
5. Install and Secure The Window
Once the caulk is applied, lift the window into position and put it in the frame. Ensure the window is level all around; otherwise, it won’t open and close smoothly once the installation is complete.
6. Add Shims
Shims are pieces of tapered wood or other material that you can place between the window frame and the wooden frame. They are used to ensure that the window is perfectly positioned and is even all the way around.
Take your time ensuring that you get this step of the process right. You will reap the rewards later. When you’ve applied shims and have straightened the window, slide it open and closed a few times to ensure it operates smoothly.
7. Tidy Up and Add Trim
Cut the trim as close to the frame as you can. A coping saw will make the job easier. Install the trim to give the window a more professional-looking finish, and once everything is done, give your new windows and frames a wipe-down so that they look their best.
Final Thoughts
Sliding windows are convenient and should be easy to operate without obstructions in the glider tracks. Rust and other corrosion, as well as age and warping of the windows or frames, can lead to problems opening and closing the window, which may require replacing the sliding windowpane.
Similarly, a smashed panel will need replacing. Fortunately, it is a relatively easy job to replace a sliding window, and with a little help and preparation, you can do the job yourself. However, if the window is above the ground floor, you might want to use a professional to ensure the job is completed properly.
Featured Image Credit: Piqsels
Contents
