
Mulching can help you conserve water, improve your soil, protect your plant’s roots, and prevent weeds. You can even choose a decorative mulch that will add to the beauty of your landscape.
Mulching your garden beds seems like a straightforward process, but there is a little more to it if you want your garden to thrive and produce. We gathered some tips and tricks to improve your mulching, from transporting materials to selecting the right type for your garden.

Choose the Right Mulch
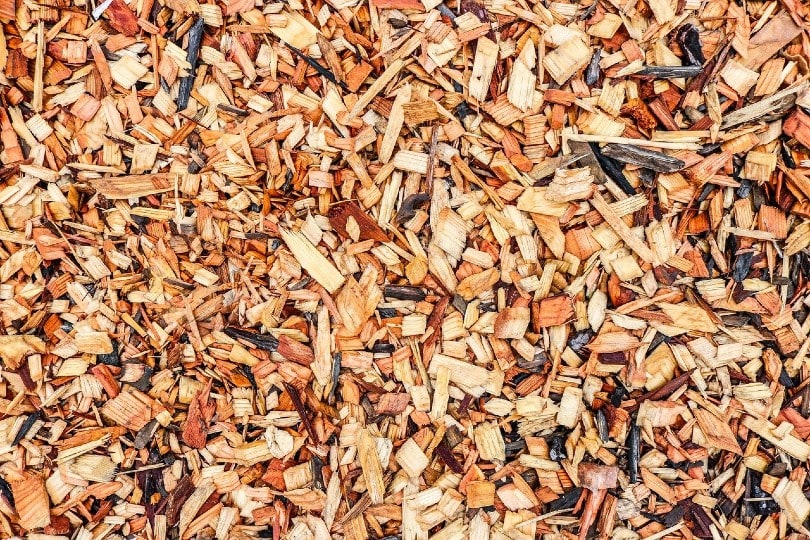
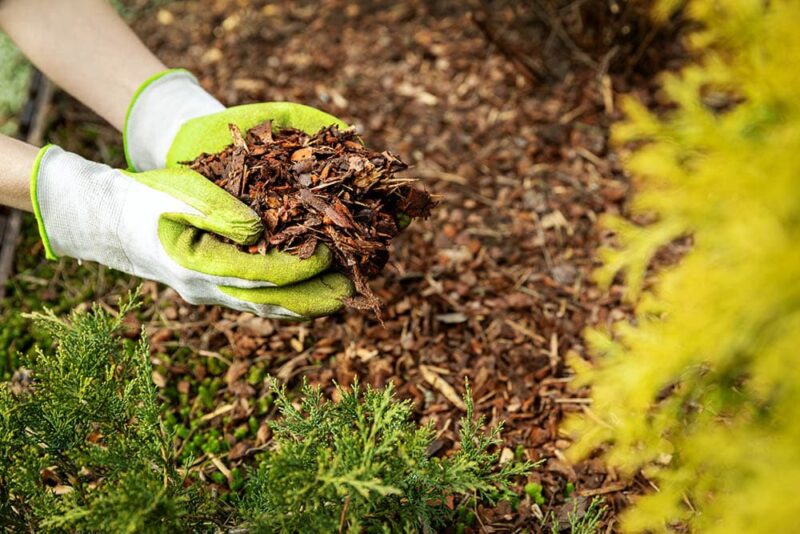
The organic mulch you choose for your garden should enrich the soil as it decomposes and improve water retention, weed prevention, and root protection. Wood chips, grass clippings, straw, and leaves are organic mulches. Every year, organic mulches will need to be replaced or supplemented. These 100% natural cedar shavings are ideal organic mulch for gardens or pots. Inorganic mulches such as gravel, stones, and river rocks can be used to complement your landscaping. Although inorganic mulch can aid in moisture retention and root temperature regulation, it is often less effective than organic mulch.
When To Mulch
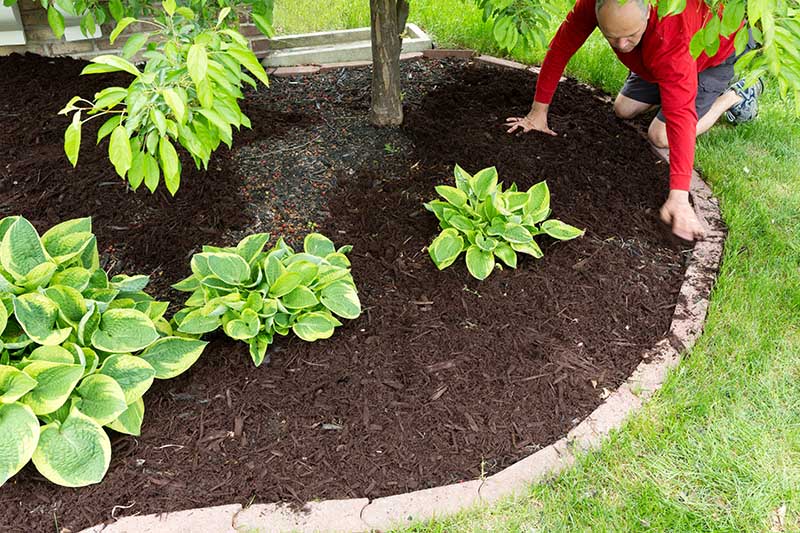
Spring and fall are ideal for laying mulch. Mulching in the spring is favorable because seasonal rains aid in the breakdown of organic materials in mulch. Mulching in the fall benefits your plants by adding an extra insulation layer during the colder months. It slows down the freezing process and reduces the number of freeze-thaw cycles, which is better for your plants. It’s best to cover you’re the base of the plants with 2–4 inches of mulch.
Tools You May Need
- Shovel
- Wheelbarrow or tarp
- Rake
- Gloves
- Old shoes and clothes
- Water
The 7 Tips to Lay Mulch
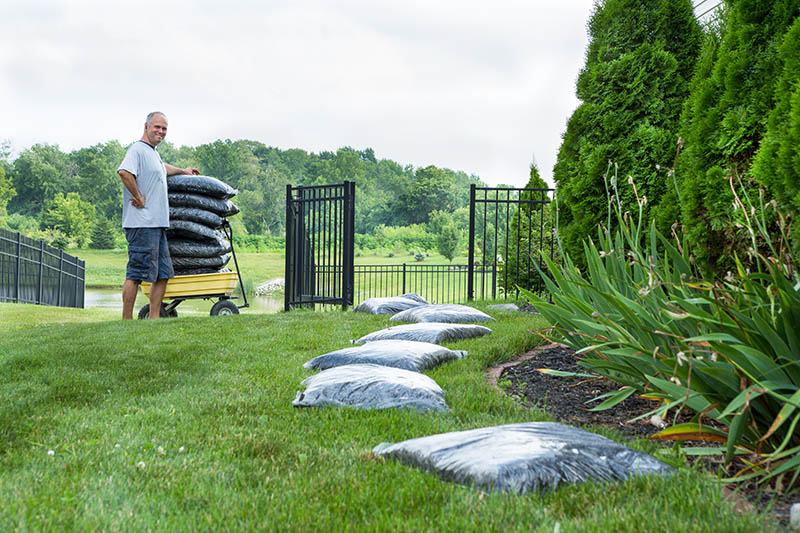
1. Purchase Enough Mulch
The first step will be to calculate how much mulch you will need to purchase to successfully mulch all your plants. You don’t want to have to ration it if you notice your supply going down rapidly, but you also don’t want a heap left over once you are done.
Multiply the length and width of your space to get the total square footage of your beds. Once you’ve determined the square footage, you can calculate how many bags of mulch you’ll require for your space. Mulch is typically sold by the “yard,” which covers 100 square feet of the garden at a depth of 3 inches.
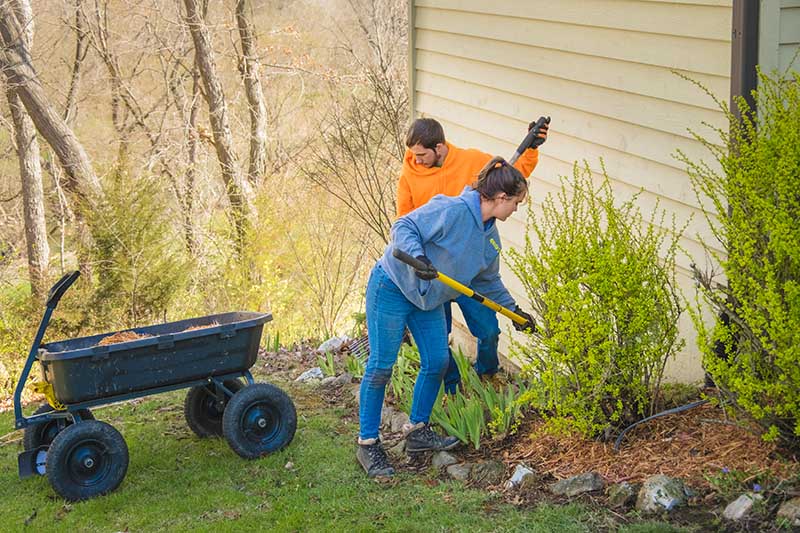
2. Pull Out Weeds and Clean Beds
Mulching has the added benefit of inhibiting weed growth, but removing existing weeds will prevent them from growing through the mulch. Remove any existing weeds in the garden with a small spade, and make sure to dig deep enough to remove the weed’s roots, or it will regrow. Also, remove any old mulch and debris.
3. Create an Edge
Clean the edging around your beds. Cut a clean, defined line between your bed and the lawn with a shovel. You can also make an edge with rocks or stones around the area to be mulched.
4. Use a Heavy-Duty Tarp or Wheelbarrow
Pour your mulch into a wheelbarrow or large tarp to make it easy to transport. A tarp is ideal for getting truckloads delivered to your home. Instead of dumping it onto your lawn, you can dump it on the tarp. Load the wheelbarrow with your mulch to quickly transport large amounts to the beds you want to work on.
5. Start with Small Piles of Mulch
Place small piles of mulch into your beds using a shovel or bucket. This helps you use the right amount of mulch because dumping too much mulch will suffocate the roots of your plants. Before you offload each pile, determine how much each bed will need and start with small amounts; you can always add more at the end.
6. Spread the Mulch Using a Rake
Rake down the small piles you shoveled into your beds in an even layer. When mulching in the spring or summer, apply a 2-inch layer over the entire area. If you mulch in the winter or for weed control, you can create a 4-inch-thick layer.
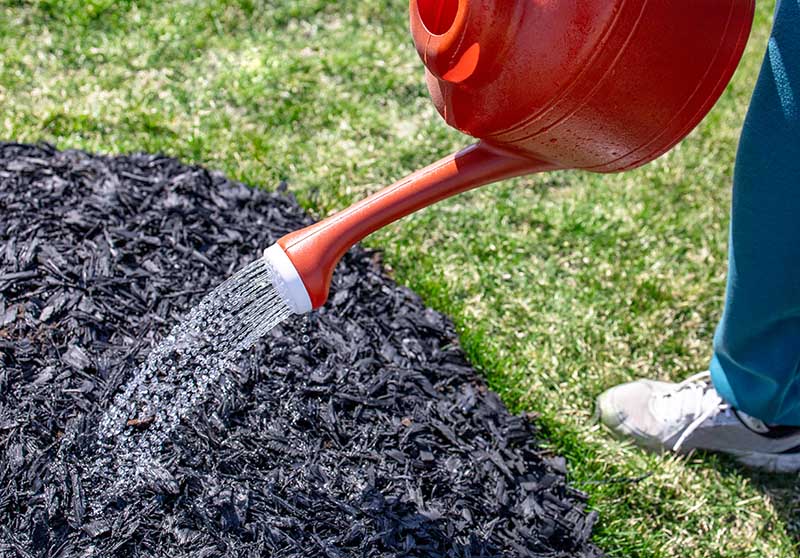
7. Water Your Mulch
Now that your mulch is down, you can give it some water. This step is optional, but if you have just planted, it is recommended to water. This will provide it with moisture but also prevent it from blowing away. Be cautious not to overwater, as it can pool and cause damage to your plants.
More Tips for Laying Mulch
- Mulch has a way of getting everywhere, and it’s advisable to wear old shoes and clothes or ones that you don’t mind getting dirty.
- It’s optional, but gloves are recommended. Depending on the type you purchase, mulch can stain your hands.
- Take care of your back and watch your posture. All the lifting, raking, and carrying can cause strain, so listen to your body and rest when you need to.
- Drink lots of water and wear sunscreen. When you are busy, you quickly forget how long you have been in the sun, so take care!
- Get the family involved if you have lots of mulching to do. You can complete the task much faster with several people, and your kids may enjoy spreading the mulch around.
- Make notes of how much mulch you used so you’re ready for the next season.
Conclusion
While laying mulch is a fairly simple exercise, following our tips can make it more enjoyable and successful. It starts with the right mulch and the right amount, but you’ll quickly know when you’ve added too much or too little. To lay mulch safely, it’s essential to look after yourself since the lifting, raking, and bending can take a toll on your back. If you have some willing family members, enlist them to help you mulch all the plantings in your yard.
Featured Image Credit: Ozgur Coskun, Shutterstock
Contents
