
Yarn is common in many crafts because it’s colorful, inexpensive, and versatile. While a single strand can help you hang or even carry something, a yarn rope will allow you to create sturdy and durable handles. There are also plenty of other uses for the colorful rope, so keep reading while we provide a step-by-step guide to making it at home.
We’ll explain what tools you need, how to twist the rope, and how to finish it off so you can put it to use in your next project.

Before You Begin
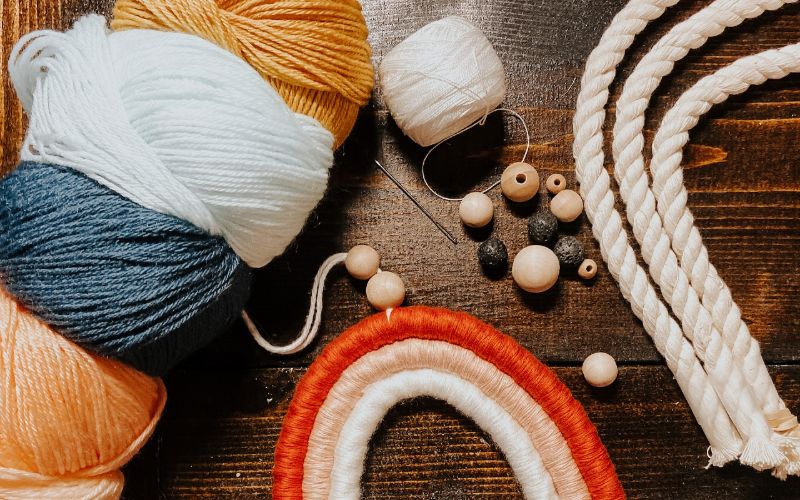
We recommend getting all of your tools and supplies together before you begin. Fortunately, you won’t need much to create a yarn rope. You can use a single color, but more colors produce a more eye-catching rope. You can choose as many as six different colors. You will need only a good pair of scissors, a tape measure, and maybe some duct tape.
- Yarn (up to 6 colors)
- Scissors
- Duct tape
How To Make Yarn Rope for Home Decor Projects
1. Cut Your Yarn
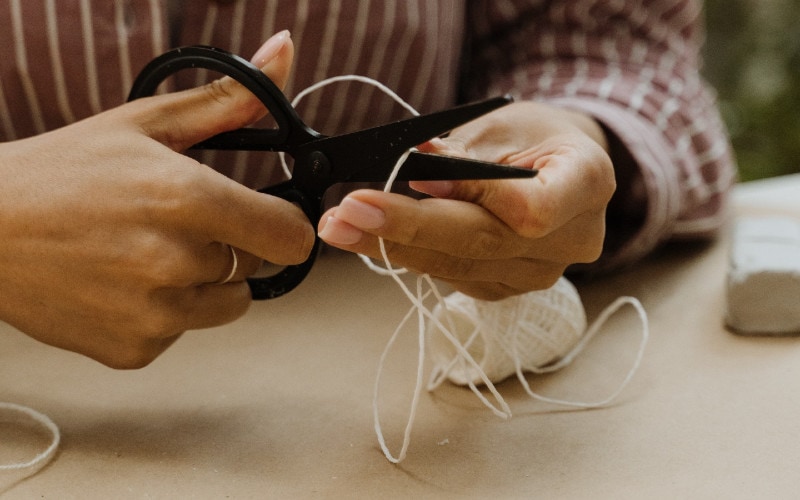
The first step in making a yarn rope is to cut six strands of equal length, making each piece twice as long as you need, plus a few inches. A ruler or measuring tape can help you keep the size the same.
2. Tie One End
With all the pieces cut, choose one end and tie it in a knot a few inches from the end.
3. Fasten the End
We need to fasten the end so we can work on the rope. Use the rope behind the knot to secure it to a doorknob. If you can’t use a doorknob, use duct tape to tape the yarn behind the knot to a flat surface.
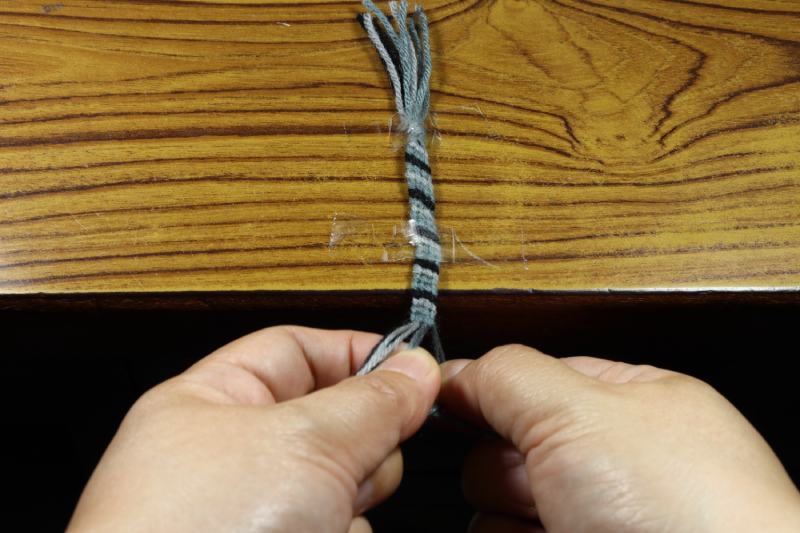
4. Twist
Pull the yarn towards you until it is tight. Starting at the rope side of the knot, twist the yarn in a clockwise or counterclockwise direction to start creating your rope. Twist the rope tight and keep it taught, working your way to the end.
5. Fold Over
Once you make your way to the end of the yarn, hold the end tightly in one hand while you use your other hand’s index finger and thumb to create a center point you can use to fold the end back to the beginning.

6. Let Go
Holding the end of the rope over the start, let go of the center point, and the rope will rapidly twist around itself, creating a rope right before your eyes.
7. Smooth It Out
You might need to pull on the rope a little to smooth it out and release any tangles.
8. Knot the Loose End
Knot the loose end of the rope around the knot you created in the second step to complete your yarn rope.
Yarn Rope Tips and Tricks
- Yarn is available in many weights. Choose a heavier weight for a thicker rope and a lighter one for a thinner rope. You can also mix and match weights to create something unique.
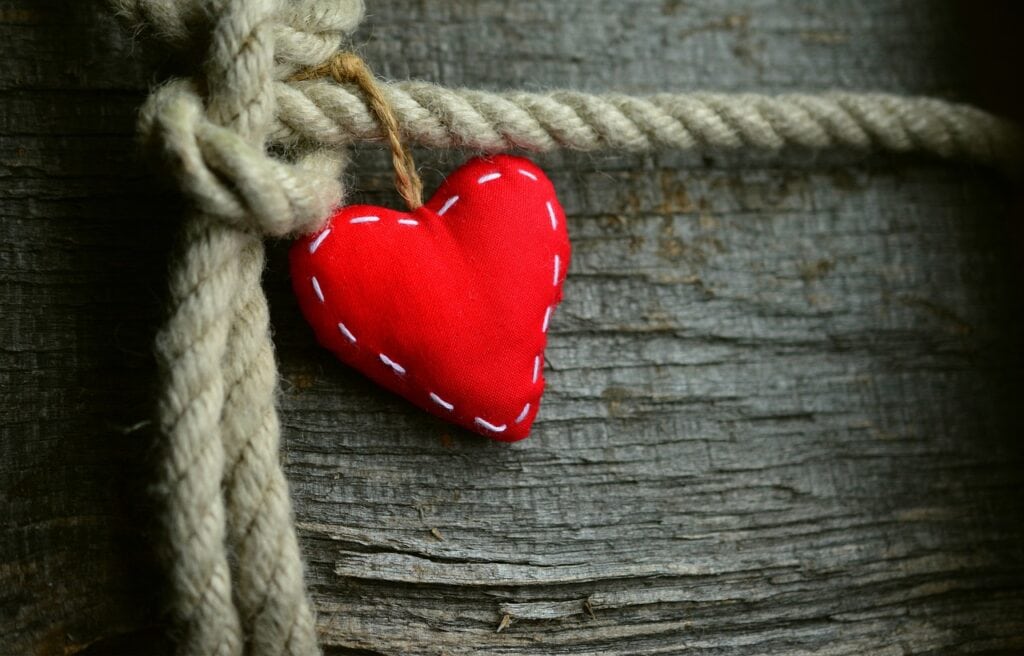
- Use yarn rope to create colorful bracelets, necklaces, and belts.
- Use yarn rope to create plant hangers, attic pulldowns, coasters, garlands, and more.
- Use yarn rope to decorate the tree.
- Yarn rope is a great project for children.
Summary
Yarn rope is easy to make and useful for creating fashion accessories, but it can also be useful for hanging plants and other light-duty tasks. It’s also quite customizable, with endless color combinations and different yarn weights that allow you to create bigger or smaller pieces of rope. The entire project only takes a few minutes, and the rope won’t fall apart and is surprisingly strong.
Featured Image Credit: Meg Wagener, Unsplash
Contents
