
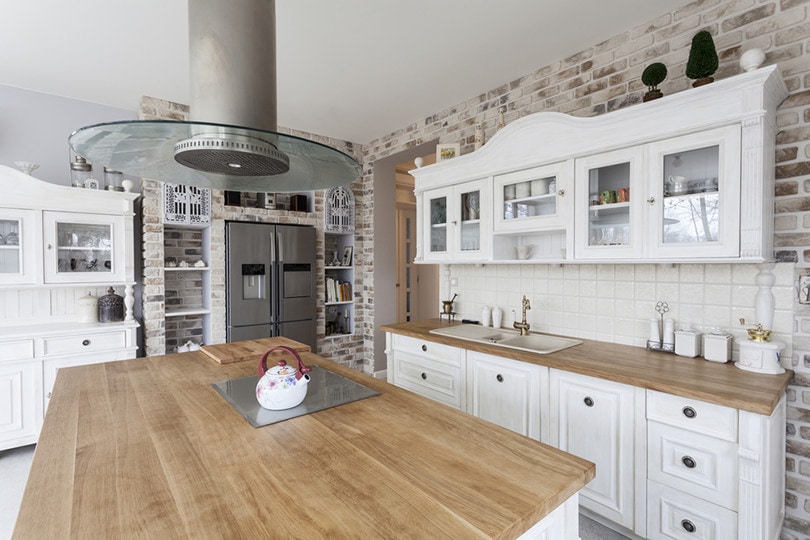
Painting countertops is a fantastic way to spruce up your kitchen, and it’s not a difficult project to undertake. If you are looking for an easy project that you can complete in a few days, keep reading this step-by-step guide to painting a countertop. We cover everything, from setting up to cleaning up, so you can have a plan to follow.

Before Painting a Countertop
Get Prepared
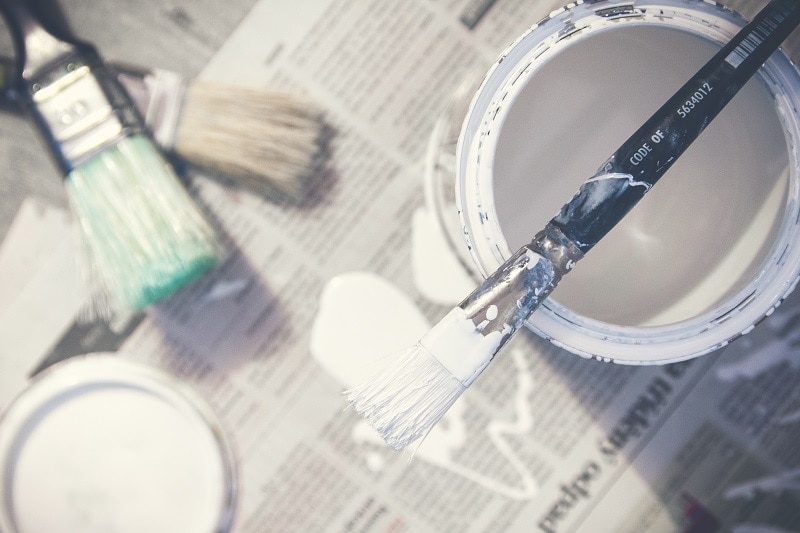
Before you get started, the best thing that you can do is get all your equipment together, so you don’t have to make any unexpected stops. This project will require you to protect surfaces that you don’t want to paint, sand the to-be-painted surface, apply primer and paint, and clean up. You will also need to protect yourself and wear safety equipment. Here is a list of a few things that you will need.
- Vinyl gloves (or similar)
- Painter’s tape or masking tape
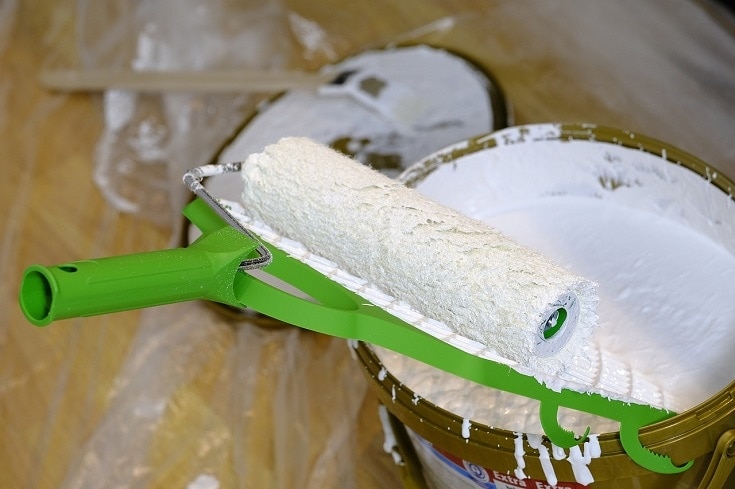
- 9-inch paint roller
- 9-inch roller covers
- Trim brush
- Paint tray
- 220-grit sandpaper
- Primer
- High-gloss acrylic paint
- Water-based acrylic paint
- Mineral spirits
How to Paint Countertops
1. Suit Up

Once you have your materials ready, it’s time to suit up for your project. You will need to ensure that there’s plenty of ventilation because the primer and acrylic paint can have a strong odor. Open windows and fans may be required while working with the paint. We also recommend wearing a protective dust mask to protect your lungs while sanding and even when painting. Many of us have dust masks lying around, and vinyl, nitrile, or latex gloves will help protect your skin while you work. We also recommend safety goggles because paint rollers tend to get paint everywhere, and you don’t want it in your eyes.
2. Sand the Surface
A good place to start is by sanding the surface of the counter. Sanding will help remove any dirt and grime and smooth the surface to prepare it for new paint. It will also help the new paint stick better, and it’s especially helpful when preparing a counter with a high gloss. Modern electric orbital sanders can make the task much quicker, but you can use a sanding block or even just a piece of sandpaper if you have plenty of patience and don’t mind putting in the elbow grease. Make sure you get the entire surface before moving on to the next step.
3. Clean the Area

Once you sand the countertop, clean the area well to remove any dust and allow it to dry. Many experts recommend wiping down the area using mineral spirits and a lint-free cotton cloth to remove the dust, but you shouldn’t have a problem just using water. Remember that any slight imperfections on the surface, like dust, will be more noticeable when covered with paint.
4. Painting Preparation
With the counter cleaned, you can prepare to paint. Cover any surfaces that you don’t want to paint with plastic or newspaper. Painter’s tape will help hold everything in place and make clean edges where the counter meets the wall. Remember that rollers can splatter paint quite a distance, especially if you rush, so make sure the floor and walls are covered.
5. Apply Primer
You will need to apply primer to the countertop to get it ready for the paint in the next step. Used roller to apply the primer evenly over the entire surface in one go. Don’t stop in the middle to take a break and start again. Let the primer dry for at least 6 to 8 hours before moving on to the next step.
6. Apply the Paint
In the next step, you will apply your paint the same way that you applied the primer: in one shot without any breaks that might allow the leading edge of the paint to dry before you finish. Use the trim brush to get in any tight areas, and let it dry for at least 6 hours before moving on.
7. Apply a Second Coat of Paint
For this step, you’ll be repeating Step 7 to apply a second coat to the surface of your counter. A second coat will help the paint be more durable, and the color will appear more vibrant. Allow at least 6 hours for the paint to dry.
8. Apply a Top Coat
The next step in painting your countertop is to add a topcoat. Most experts recommend clear high-gloss acrylic paint. This paint is extremely durable, can withstand the heavy use encountered by a countertop, and provides a shiny gloss.
9. Clean Up
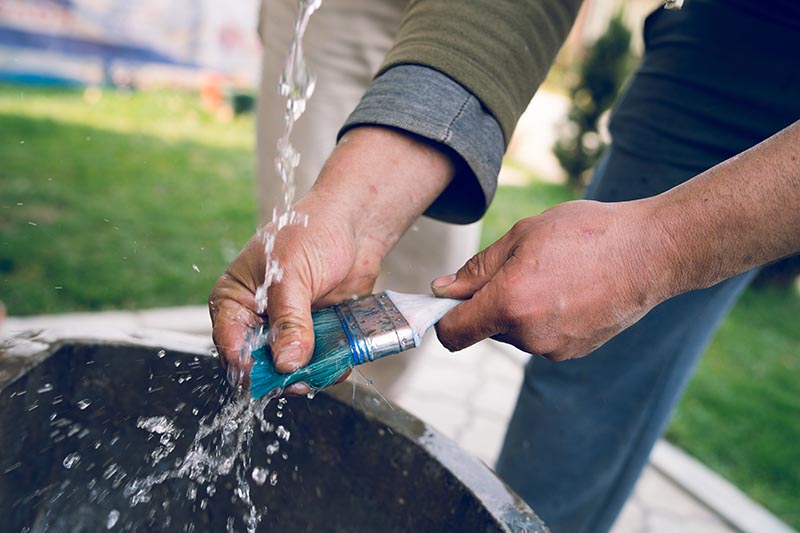
All that’s left of your project now is to clean up your brushes and rollers and remove the painter’s tape, plastic, and newspaper protecting the walls and other surfaces. Step back and admire your work!

Summary
While it may seem like there are quite a few steps required to paint a countertop, it isn’t that difficult. As long as you get all your supplies together first and move slowly but consistently, you can have the project completed in a few days. Sanding the surface is the most difficult because it requires plenty of elbow grease, especially if you’re not using an electric sander or the counter is old and has many flaws. Even so, a painted countertop is not too hard to change if you don’t like it.
Featured Image Credit: Photographee.eu, Shutterstock
Contents
