
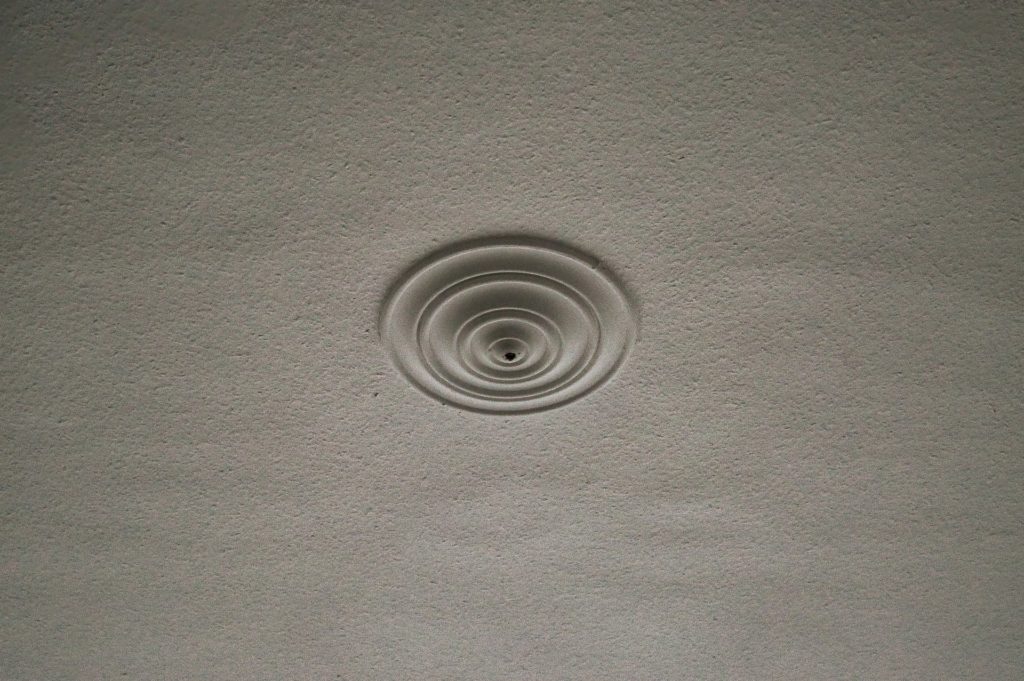
Old homes often have thick plaster ceilings. This was a common building material back in the day that has been largely replaced by gypsum board, also known as drywall. Over time, plaster can flake, crack and form holes. These deformities are usually nothing to worry about, but they can be a worrying eyesore. Luckily, in most cases, they can easily be patched.
For the most part, drywall does not crack or flake like plaster, so if you are seeing new cracks appearing in your ceiling, there is a good chance that it is plaster. This is especially true in older homes built before 1980.
Here is how you can easily patch a plaster ceiling in nine steps.
 Ceiling Preparation
 Ceiling Preparation
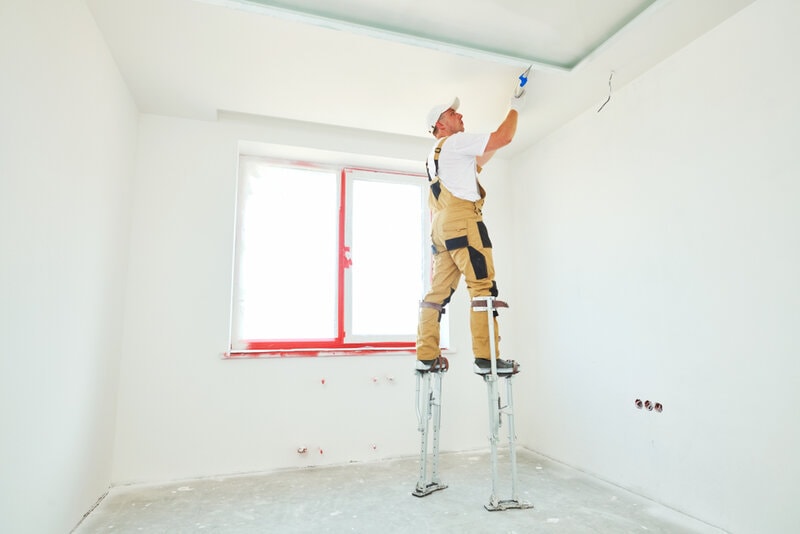
Before beginning, inspect the ceiling. This article is designed to help people patch a plaster ceiling, not repair it outright. Signs of advanced damage that will need a more advanced repair or the help of professionals include sagging. Be sure that the ceiling is mainly in place. If there are areas where sagging is observed or where large parts of the ceiling appear to be floating or bulging, that could mean a comprehensive repair where the plaster is reattached to the lathe underneath. That is not what this article sets out to do.
This article will help homeowners patch large and small cracks and small holes.
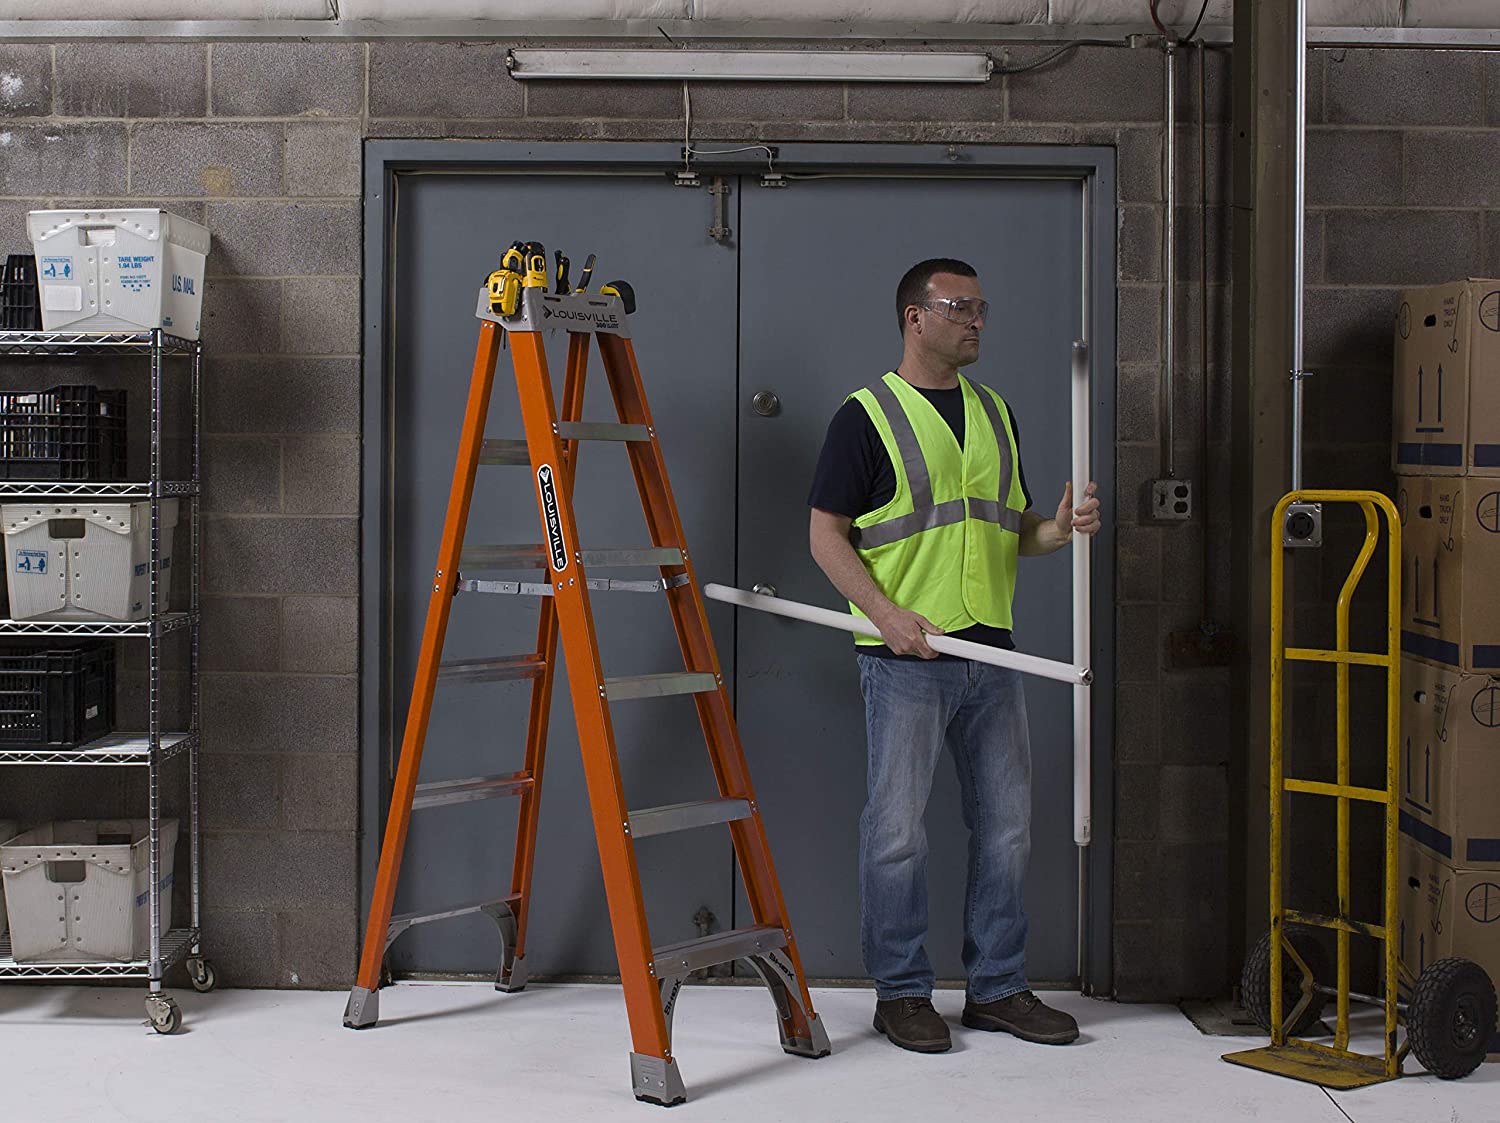
- A ladder or stepladder
- A razor or flathead screwdriver
- Joint compound
- A trowel
- A rag
- Sandpaper
- Optional: paint or primer
- Optional: metal lath
If everything goes well, the repair should take three hours or less and cost less than $50.
How To Patch a Plaster Ceiling (9 Steps)
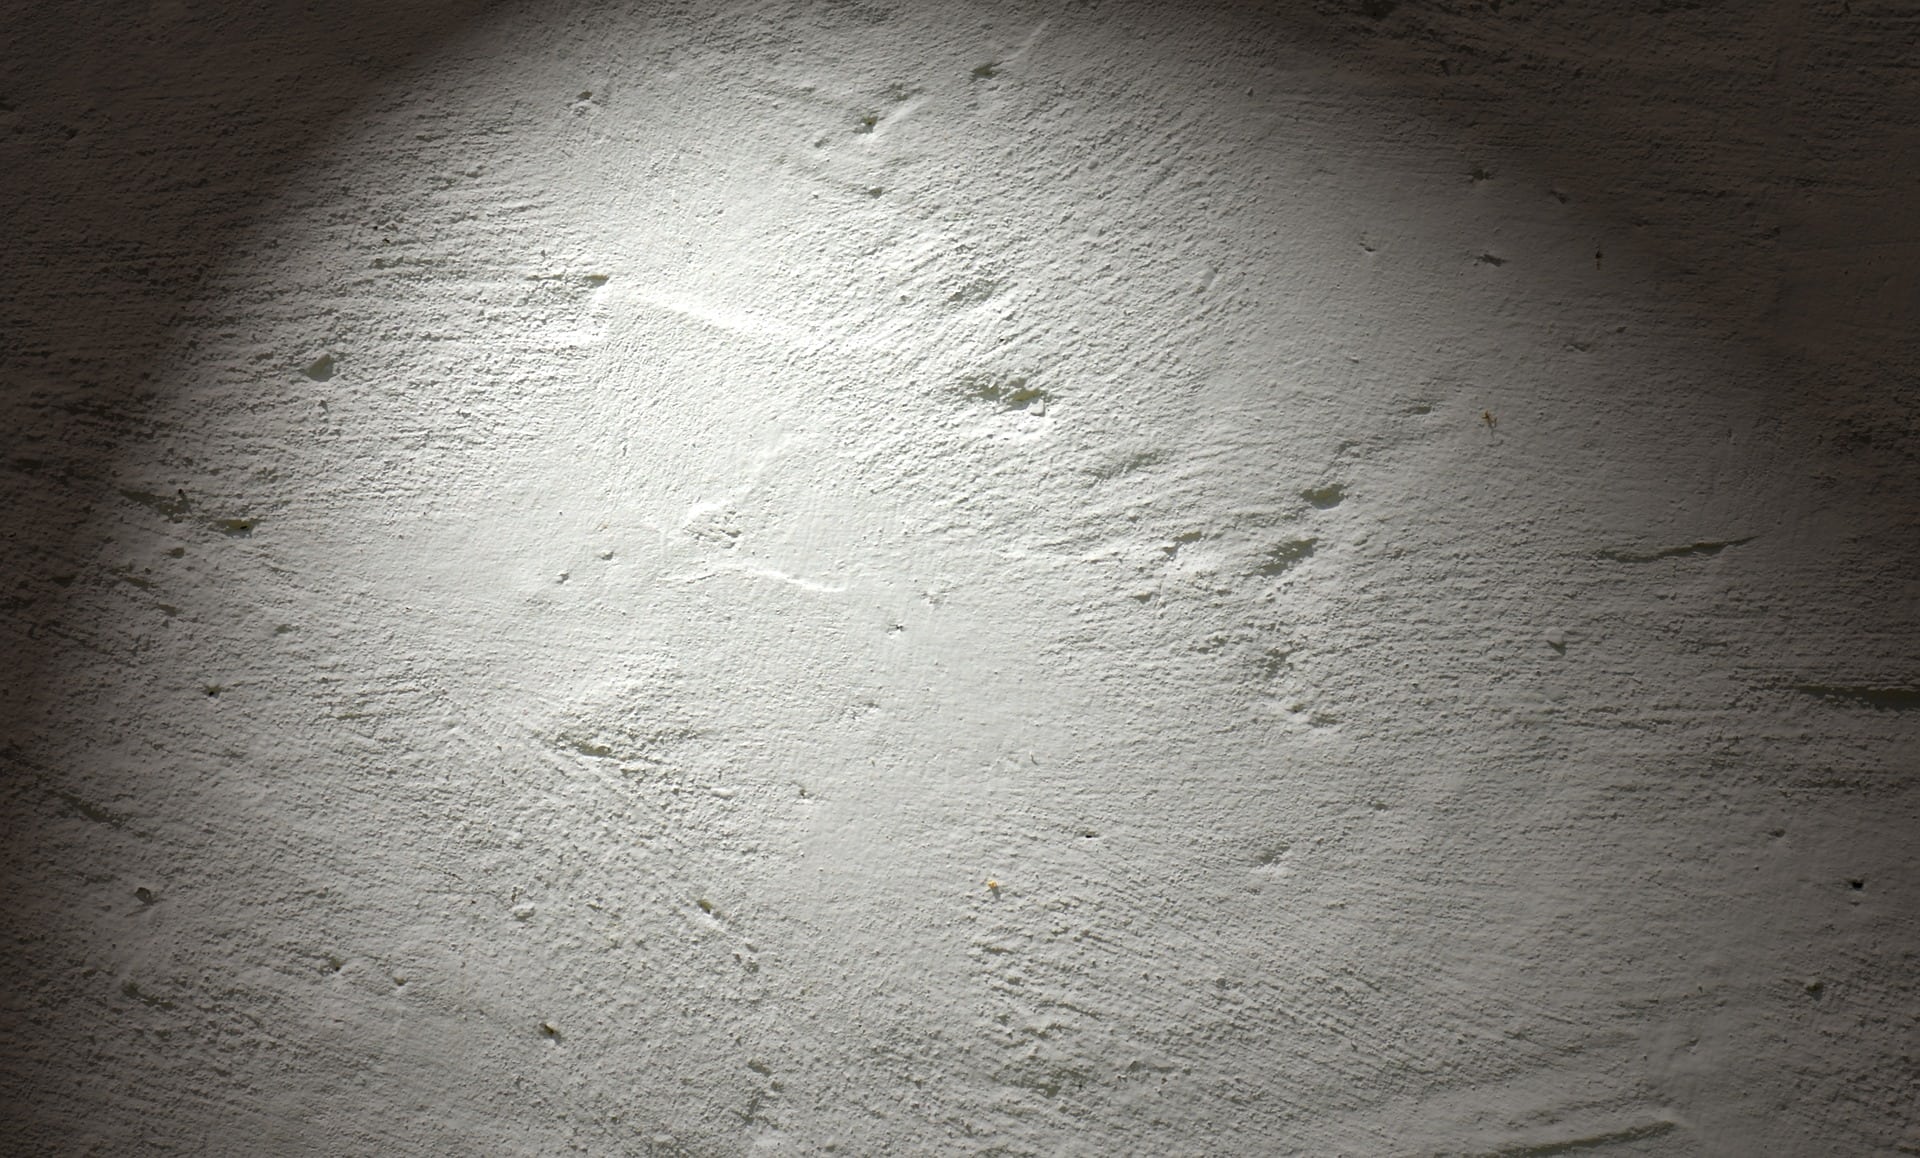
1. Identify Cracks or Holes
First, identify the cracks and holes that you want to repair. The patch can be applied to small hairline cracks and cracks up to half an inch in width. Any large cracks that are more than half an inch wide, especially ones that run parallel to one another, could be signs of advanced damage that will need closer inspection.
Make a note of the cracks or holes that need patching and get ready to set your ladder beneath them.
2. Widen Cracks

Second, widen the cracks. Using your finger, a razor, or a flathead screwdriver, gently pry the gap apart slightly. This will allow the loose and bad plaster to be able to be worked free. You do not want to put new joint compound over bad plaster that will undermine the repair.
Work slowly and carefully. You do not want to damage the good plaster around the cracks accidentally. The goal here is to create a better surface for the joint compound to adhere to later in the process.
3. Clean Cracks
Next, clean out the cracks. Using a rag, work out any old plaster that is in the crack. For the joint compound to adhere properly, the crack needs to be clean and ready to accept new material. Be sure to clear the crack or hole of any dirt, dust, and grime that might be present.
If you are working on a hole, be sure that the area’s perimeter is firm. Knock free any loose and cracked plaster around the site, so you have an accurate measurement of the size of the hole free from any debris.

4. Mix Joint Compound
Now you’ll want to mix the joint compound. There are various types and brands of joint compounds. Follow the instructions based on the kind of compound you purchased. The instructions will be on the packaging and will be clear. For plaster repair, you want the consistency to be thick like cream cheese. You do not want the compound to be too runny or watery. It needs to stick to the ceiling.
5. Add Lath
If you are working on patching a hole, you will need to acquire some lath. Metal lath is a screen that is used to hold joint compound. You can find the metal lath at your local home improvement store. Cut the lath to size and place it over the hole, putting the edges under the surrounding solid plaster.
Without lath, the joint compound will not stick to a large area, and it will come free, nullifying the patch job. Once the lath is in place, you are ready for the next step. Cracks do not need lath to be patched.
6. Apply Compound
Now, climb up onto the ladder with your mixed joint compound and your trowel. Apply the compound to the cracks being sure to push the compound into the crack. If working on a hole, spread the compound evenly over the lath. Wipe the compound smooth with long even strokes using your trowel.
After a few passes, the compound will begin to fill the cracks and holes until they gradually disappear. Do not put too much compound on the ceiling because it will come down. Be sure to keep a thin, even layer.
7. Let Dry and Then Sand
Once you are happy that all of the cracks are filled and that the compound has covered the lath in your holes appropriately, it is time to let it dry. Consult the drying time on your particular compound. Some compounds can dry in as little as fifteen minutes, while others take up to ninety minutes or more to dry. Wait the allotted time and come back. Do not poke the compound when it is drying to see if it is dry.
After the compound is dried, it is time for a quick sanding. Using a piece of sandpaper, sand the cracks to make them smooth. Sanding is what makes a patch smooth and even with the surrounding plaster. Without even a light sanding the patched area might stand out to the naked eye.
It should not take too much sanding to get the area to match the surrounding plaster. If you put too much compound into the cracks, you will need to do more sanding.
8. Inspect, Reapply If Needed
After you are happy with the sanding, step back and inspect the area. It should look smooth and even. The cracks should be gone. The hole should be completely covered. The color might not be the same, but that is okay. We are just looking for uniformity at this point.
Sometimes, a second application of joint compound might be necessary. This is especially true while patching holes. If the cracks are still visible or if the hole was not completely covered, repeat steps six and seven until you are happy with the result.
9. Paint
Lastly, you can paint the area to get it to match. This is not necessary for every ceiling but some people like to paint over a patch to hide it even further. In some cases, a single layer of primer will do the trick. This is just to get the color to match the surrounding area.
Just a light covering of paint should be plenty. Do not use too much. Look for dripping. Use a drop cloth to protect the floor under the patch just in case of dripping.
Let the paint dry and inspect the results. If you followed all the steps and did not run into any unforeseen problems, the ceiling should look fresh and uniform. The cracks and holes will be gone.
Conclusion
There you have it, a clean, patched ceiling in three hours or less. Throughout the process, be sure to keep an eye out for sagging. A sagging plaster ceiling needs a full repair and reattachment to the wooden lath and lattice underneath. A sagging ceiling should not be ignored.
This method will work every time for small cracks, large cracks, and holes in old plaster ceilings.
Featured Image Credit: Pixabay
Contents
