
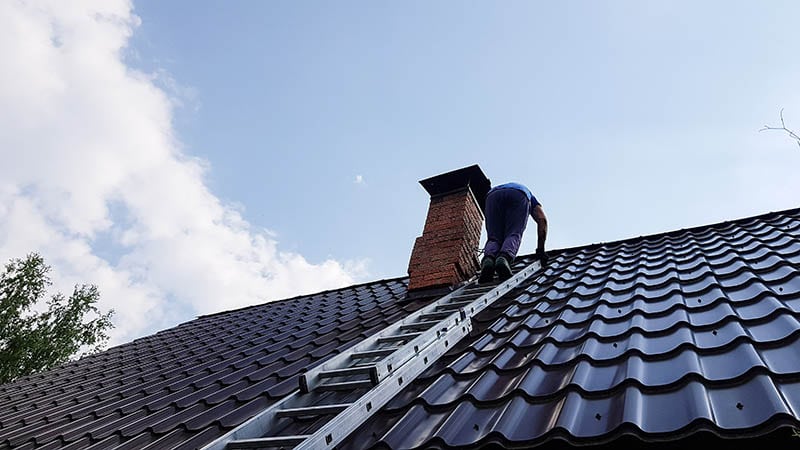
Ladders, like most tools, usually serve various applications. You could use them to hang ornaments up your Christmas tree, clean your gutters, fix the roof, or get books off of the top shelf. The applications are endless if the task involved is at a level that’s elevated.
Using a ladder on a flat surface is not the same as using it on a sloped one. It’s always a risky affair, one that could easily land you in an emergency room if you don’t take the proper precautions.
That’s why we thought it was important to let you in on some of the helpful tips when using a ladder on a sloped roof. So read on to learn more!

What’s a Sloped Roof?
The sloped roof is also referred to as a pitched roof. And as the name suggests, it’s the type of roof that slopes downward, creating a 45-degree angle in the center ridge. Most conventional houses have sloped roofs installed, largely because they are relatively more durable, require less maintenance, and offer a classic curb appeal.
The 9 Tips on How to Safely Use a Ladder on a Sloped Roof
1. Inspect the Ladder
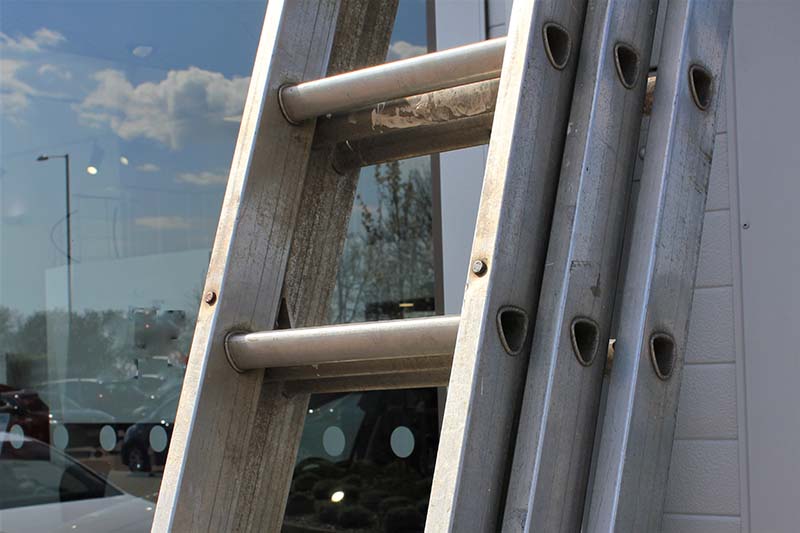
Before commencing any type of project, you have to inspect your tools. The inspection process is a critical step because it ensures that your pieces of equipment are not defective or damaged in any way. The same thing applies in our case. A faulty ladder could easily cause grave injuries, something that we’re trying to avoid. So, examine the whole thing to make sure it’s up to par. If you think one or two of the rungs are weaker than usual, don’t roll any dice. Just look for a different ladder.
2. Inspect the Ground Surface
The ground on which the ladder will be placed has to be solid, level, and clean. By that we mean, you have to remove any mats or carpets, as they will reduce traction and cause the ladder to slip. That surface should also be dry, seeing as water can cause the ladder to slip.
Placing the ladder on a slope is also a mistake because the pull of gravity can cause slipping too.
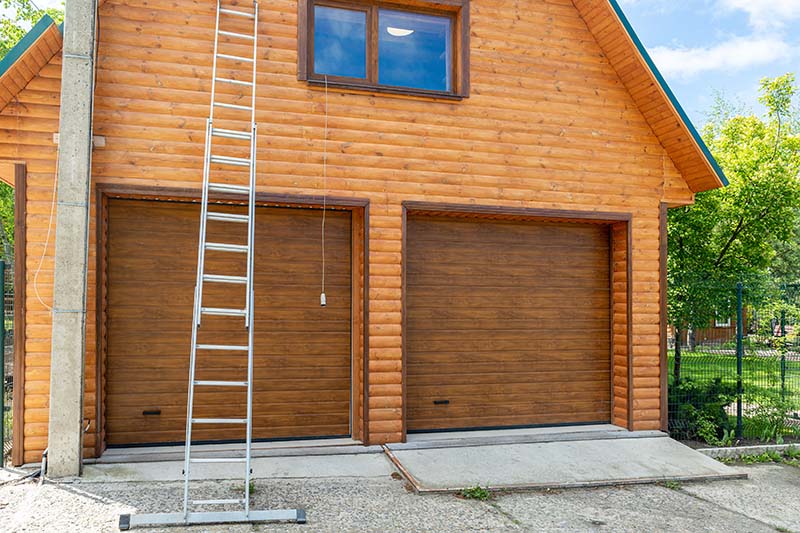
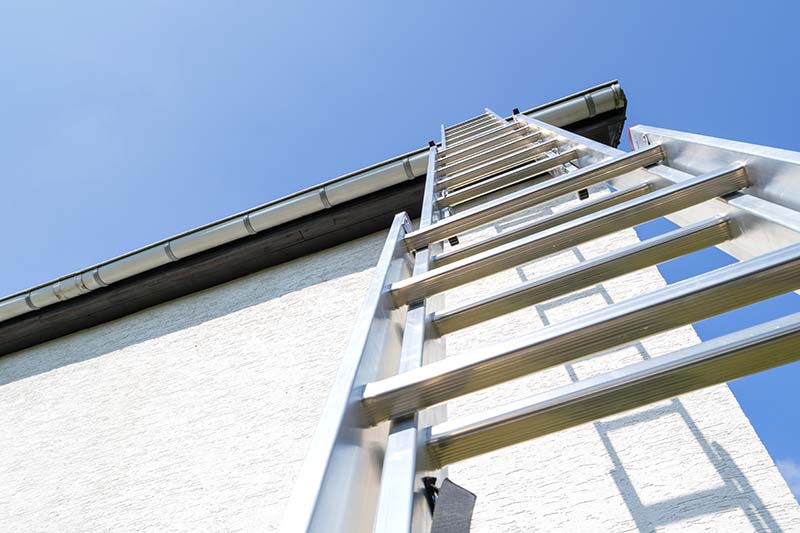
3. Properly Mount the Ladder
At this point, you’ve already checked that everything’s up to standard. Now, gently elongate your ladder, and then slowly lean it against the wall. Ladders are designed to be heavy (not too heavy), so you have to be careful.
The 1-to-4 rule should be your guide while positioning the ladder. It states that you’re to place the ladder’s base 1 meter (approximately 39 inches) away from the building wall, for every 4 meters (157 inches) of ascension. If you’re concerned you’ll easily forget what this rule says, just remember to make sure that the leaning angle between the ladder and the ground is 75 degrees.
By the way, this rule applies to all types of ladders, long or short. If the angle is less than 75 degrees, that means your ladder is too far from the wall. And you should adjust it before climbing up or down because the chances of it sliding out are very high.
If you’ve measured the angle and found it to be too wide, that’s an indication that your ladder is too close to the wall. Meaning, it could easily tip over backward.
4. Installing Levelers & Stabilizers
A ladder leveler is a product designed to help users level any type of ladder on uneven ground. If for whatever reason you can’t find one, you’ll have to create a pocket. We would have asked you to dig one if you were working on the ground below, but this is a roof.
Alternatively, you could use stabilizers. Also known as the stand-off, a stabilizer is an accessory that’s meant to prevent outward slips. Even though the iterations are different, they still share a few common features. For example, they all have non-skid rubber pads and wide tubular arms, meant to facilitate stability.
Once you’re done installing your stabilizer or leveler, climb the ladder to the midpoint, and secure the stiles using a rope. The stiles are what we call the side rails or the vertical parts of the ladder to which the steps/rungs are attached.
5. Lashing The Ladder
Because you can never be too safe when it comes to projects that involve ladders, we’d advise you to lash it as well. There are ladder lash systems designed to prevent any ladder from slipping or falling while climbers are ascending or descending. But for it to be effective, you have to tie it at the top, halfway up, and more importantly, at the base.
6. Ladder Gutter Clip
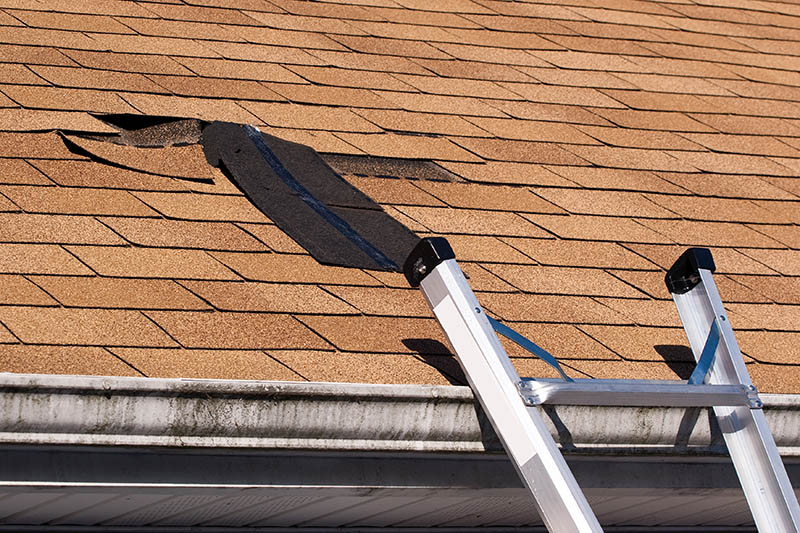
You could call the gutter clip the “gutter mount,” if that’s what you’re used to. These tools are meant to protect your gutters against accidental bumps and stabilize the ladder as the climber ascends or descends from the roof. They are also effective in redistributing the ladder’s leaning weight to make sure your gutters don’t crack or form a dent.
7. Setting Up a Chicken Ladder
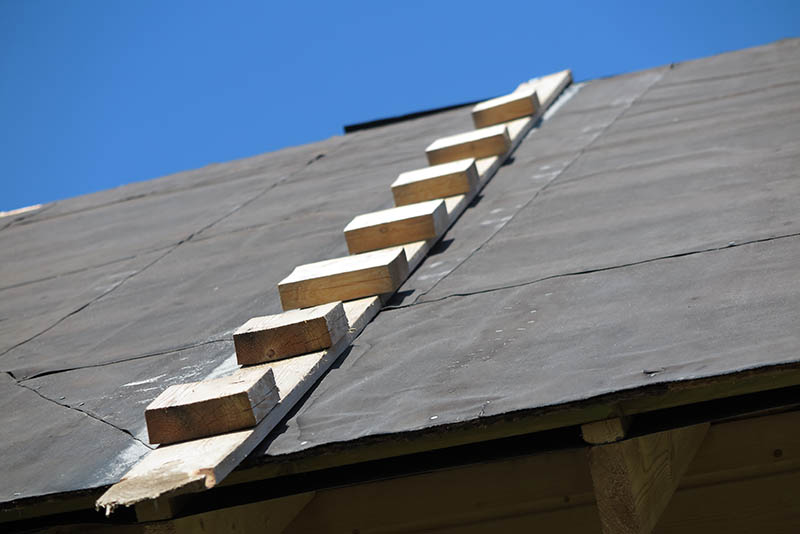
Once you’ve gotten to the roof’s surface, you’ll have to use a special type of ladder. We recommend using chicken ladders, as they are specifically designed to be used on sloped roofs. The hooks at the top of the stiles are the primary feature that distinguishes it from your standard ladder, besides the rungs which are made of steel.
Its side rails are always made of aluminum or wood, to ensure the ladder remains lightweight and sturdy. Most chicken ladders have one wheel, but some of them come with two. They are attached at the hook, to make it easier for the climber to move across an angled roof without damaging the roofing material.
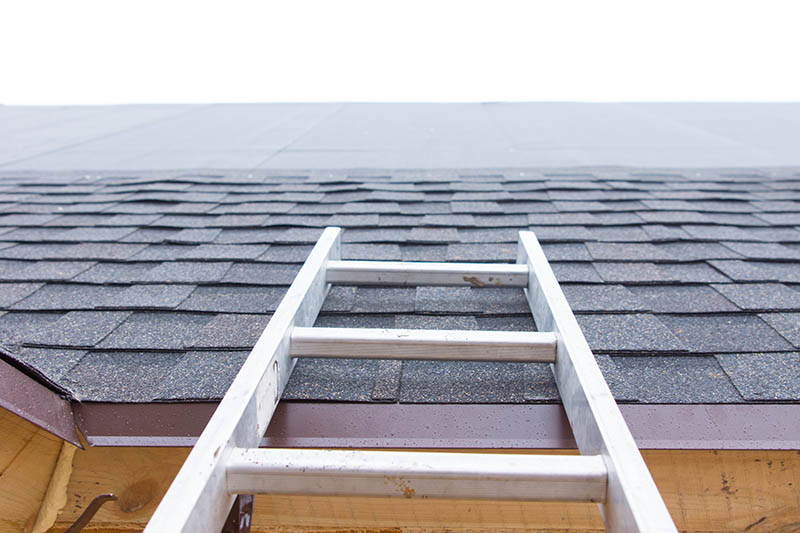
8. Using a Roofing Ladder Hook
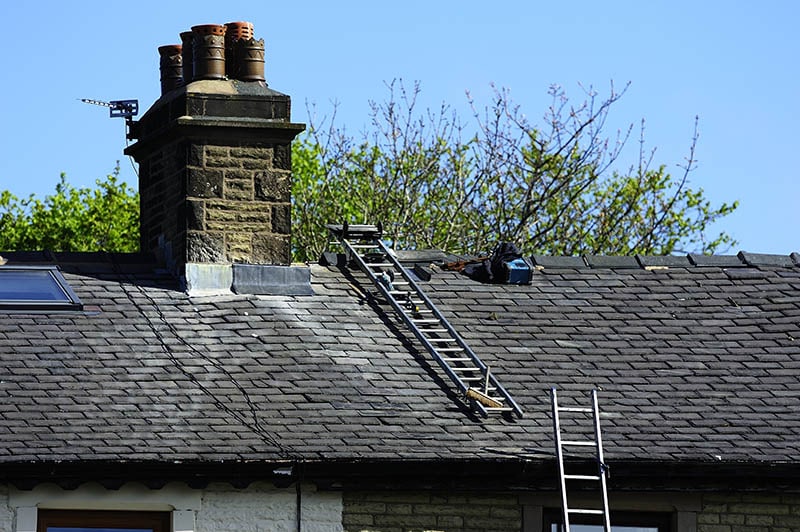
Extension ladders can still be used on sloped roofs, but they’ll need the help of a roofing ladder hook to facilitate safety and stability. Commonly known as ridge hooks, roofing hooks are intentionally designed for that purpose, seeing as they are hooked-shaped to make it easier for the climber to secure the ladder over the ridge.
These tools normally have two wheels that are meant to protect the roof’s shingles from any damages caused by friction when the ladder is being pushed up and over the ridge. For the record, the ridge hook’s T-section is not supposed to rest on the ridge tile. You have to make sure that it’s on the other side of the roof and evenly rested. Placing it on the ridge tile will leave you exposed to the risk of falling.
9. Using a Goat Steep Assist
A Goat Steep Assist is a personal fall arrest tool that’s typically used by steel erectors and roofers. This tool comprises a wheel, hook pad, and 4 to 5 poles of equal length. The poles are to be connected together and then to the hook before the climber goes up the roof. It’s effective if your roof is sloped at a 45-degree angle, but not more. In addition, it has a weight limit of 350 lbs.
Its hook goes over the ridge and the rest of the tiles that are on the other side of the roof, and the poles have steps that you can use to ascend or descend. Sadly though, it doesn’t have any wheels. So, you’ll have to pick it up before moving it, and that’s dangerous on a sloped roof.
Frequently Asked Questions (FAQs)
What’s the Function of the PiViT?
Using any type of ladder on a steep-shingled roof will require a PiViT. This non-moving but adjustable tool will provide the climber with a level surface, to ensure the ladder remains sturdy and doesn’t lose traction. Even if the roof looks non-walkable, it will help you get the job done.
What’s the Best Type of Ladder for an Uneven Surface?
If the ground is uneven, your best bet is to go for a ladder that has a solid base. And it’s common knowledge that ladders that have more than two points of contact with the ground are more stable. So if you had to choose, go for the stepladder. Four points of contact are ways better than the two points being offered by an extension ladder.
How Do You Prevent a Ladder from Falling?
For the most part, you only have to stabilize the ladder before ascending or descending. Also, make sure the surface below is firm and level, and your ladder is equipped with non-slip feet. If you can find someone willing to hold it while you climb, that’s great.

Conclusion
Accidents that involve ladders are surprisingly common. So if you don’t have the prerequisite level of experience needed to climb up a sloped roof, don’t. Hire a pro or reach out to someone who won’t mind helping. Risking it is definitely not the way to go, as you might end up being a statistic.
Featured Image Credit: Natalivideo, Shutterstock
Contents
