
An air mattress can come in handy. Whether you need extra space in your home, need a mattress for camping, or want a quick bed when guests pop by, these inflatable additions can be a lifesaver. They can also be easily damaged. Most of the time, you’ll find that the fabric side of your air mattress is the stronger of the two.
Still, that side can receive a puncture and leave you waking up on the floor without you knowing what’s taking place. Luckily, we’re here to help. These 10 tips to repair the fabric side of an air mattress can not only help you decide which repair method to use, but also walk you through how to repair it so that it holds up the first time. Take a look below and learn how to get your air mattress up and at them again.
Click on the topic you would like to review first:
- Methods to Repair the Fabric Side of an Air Mattress
- Steps on How to Easily Repair Your Air Mattress

The 5 Methods to Repair the Fabric Side of an Air Mattress
Before we talk about how to implement the fix, let’s take a look at the different repair methods so you can decide which is best suited for you.
There are several methods you can use when patching the fabric side of an air mattress. Before you get to work, you should choose the method you feel most comfortable using.
1. The Included Repair Kit
When purchasing an air mattress, normally there is a repair kit included in the packaging. While you may hope you never need it, it is best to keep this repair kit handy to use in case of emergencies. You can also purchase these kits in certain stores or buy them online from the company where you bought your air mattress.
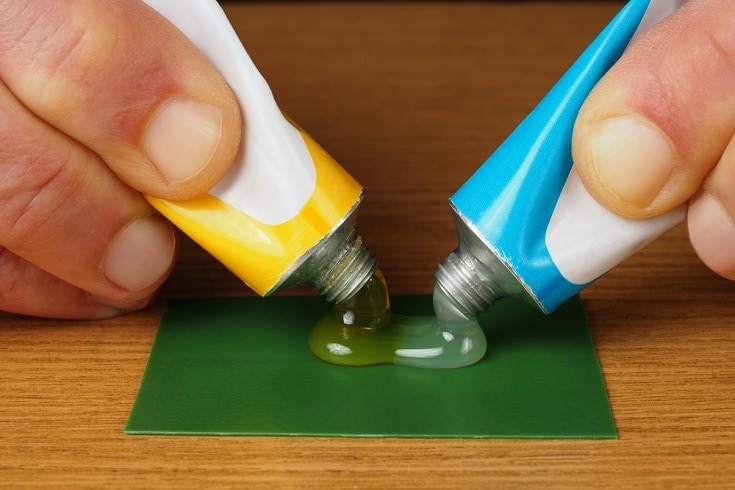
2. Super Glue
Super glue can be used for lots of repairs. According to the damage done to the fabric side of your air mattress, it may come in handy for that fix as well. If your air mattress is damaged in the form of a cut or slice, super glue can be used to press things back together. You can even use it to help with other repair methods to ensure they hold as they should.
3. Gel Nail Polish

Yes, it sounds strange, but gel nail polish is a great way of sealing a small hole in an air mattress, or helping with larger holes. By placing a drop of gel nail polish on the hole, and then using a UV light, you can seal up the hole and keep air from releasing. You can also use gel nail polish to make a DIY repair kit. Cutting a piece of a shower curtain, then attaching it to your air mattress using gel nail polish is another quick fix when your air mattress is in trouble.
4. Marine Goop Glue (Amazing Goop)
Marine Goop Glue is one of the strongest adhesives around. Like with super glue and gel nail polish you can use Marine Goop Glue to close tears or small slits in your air mattress when it’s losing air. The best part about this glue is that it is water and UV-resistant making it very helpful in the outdoors.
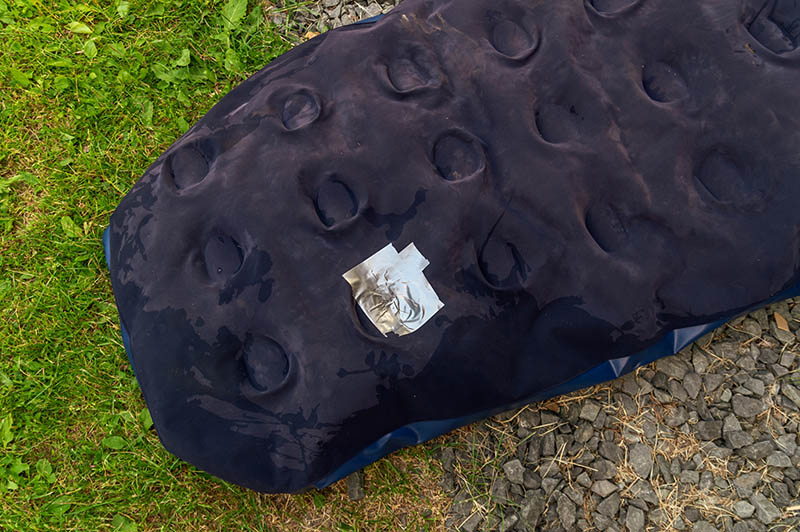
5. Duct Tape
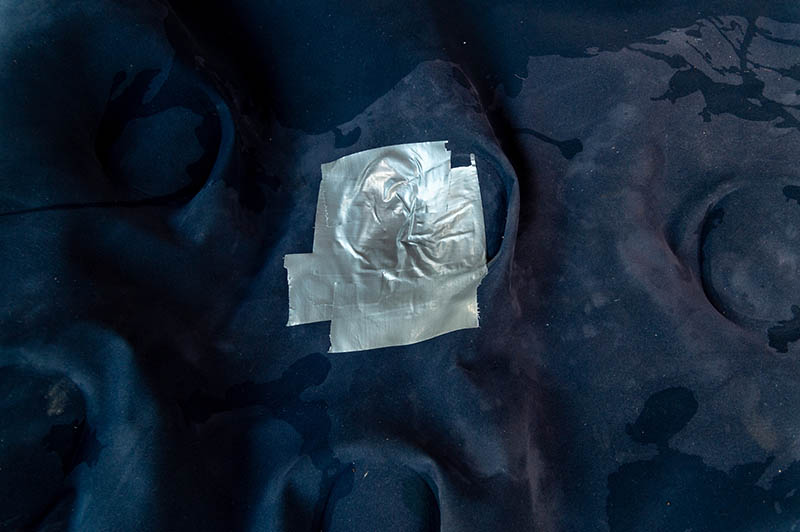
Duct tape can fix almost anything. It can even be used in a pinch to repair the fabric side of your air mattress. Once you find the leak, you can easily apply a piece of duct tape to hold the air in. When it comes to duct tape, it could be a lasting fix or one that you may want to fix better as quickly as you can. It all depends on the type of damage that’s been done to your air mattress.
The 5 Steps on How to Easily Repair Your Air Mattress
Now that we’ve taken a look at the most common ways to repair an air mattress, let’s go over a few steps you should take to ensure your patch works as it should.
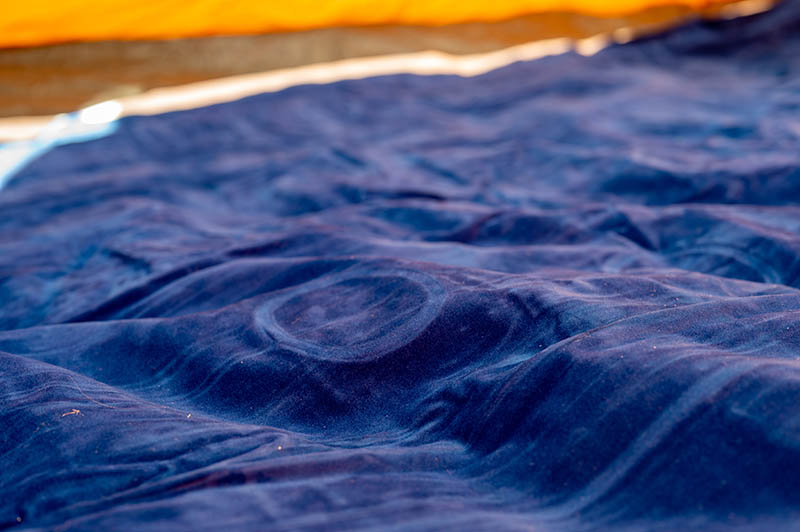
1. Locate the Leak
The most important step in fixing the fabric side of your air mattress is to locate the leak so it can be repaired. To do this, inflate the mattress to its full capacity. Once this is done, listen closely to try to find the source of the leak. If you can’t hear it, you can use dish soap. With dish soap applied to the air mattress, you’ll see bubbles form where the air is coming from the leak.
2. Deflate the Air Mattress
Before you get started with your repairs, no matter the method you’ve chosen, it’s best to let the air out of your mattress. This makes it easier to work with and can even help the adhesives stick better.
3. Clean the Area
Before repairing the air mattress, it is best to thoroughly clean the area where the adhesives will go. This helps things stick better and helps your repair last longer. A thorough cleaning can be done using simple soap and water. Then you must allow the air mattress to fully dry before continuing on.
4. Grab Gloves
No matter which method you decide to use, protecting your hands during the patching process is a must. Most adhesives can easily get on your fingers or hands and can prove difficult to remove afterward.
5. Apply the Repair of Your Choice
Finally, now that everything is prepared and you’ve chosen the repair method you want to go with, it’s time to fix the fabric side of your air mattress. Follow the directions above, or included with your repair kit, and soon you will have a stable air mattress once again.
Conclusion
If you want a repaired air mattress you can once again use, the 10 tips above can help you do your repairs quickly and correctly. Remember, not only must you properly repair the mattress, you must choose the repair method that is best suited for your situation. If you’re going with a quick fix until you can properly repair your mattress at a later date, make sure you follow the repair directions so things go smoothly.
Featured Image Credit: Semiglass, Shutterstock
Contents
