10 Paint Spraying Mistakes that Most People Make
-
Pete Ortiz
- Last updated:
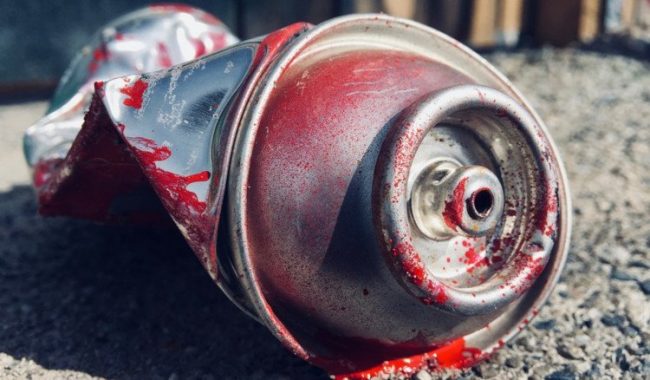
There are many ways to go about painting or repainting any surface. One of these ways is by the method of spray painting. Even then, there are varieties of spray painting within this category. You’ve got paint cans, air compressor paint spraying, and airless paint sprayers.
If you know what you’re doing, spraying paint is a much more professional, efficient, and stress-free way to paint. So, what if you don’t know what you’re doing? You’re bound to make a few mistakes, and that’s all a part of learning how to spray paint.
We’ve come up with 10 mistakes to avoid while using spray paint. Keep in mind that a lot of these mistakes have been born out of pure experience, so don’t feel bad if you happen to make a few yourself.
The 10 Paint Spraying Mistakes
1. Forgetting to tape everything off
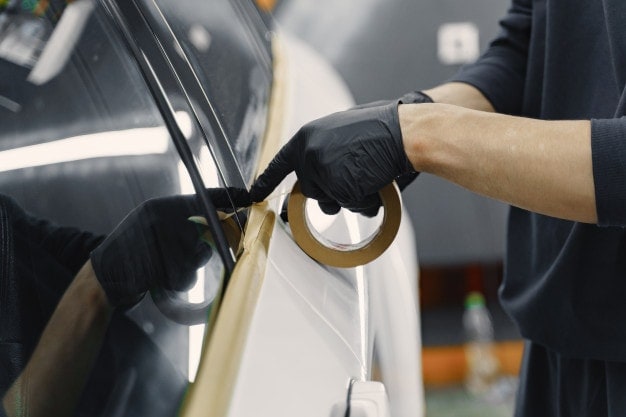
There’s nothing worse than being in the middle of a project when suddenly, you paint over a piece of trim, siding, wall, or other thing that was supposed to be paint-free. Now, what should have been a quick task has turned into a cleanup act, as leaving paint for too long will just mean a longer, more vigorous cleanup later.
Do yourself a favor and carefully examine each nook and cranny for spots that could get paint on them. Even if you’re sure you can be careful enough to miss it, in our experience, it’s best to just do the work now to avoid more work later.
2. Spraying too much or too slowly
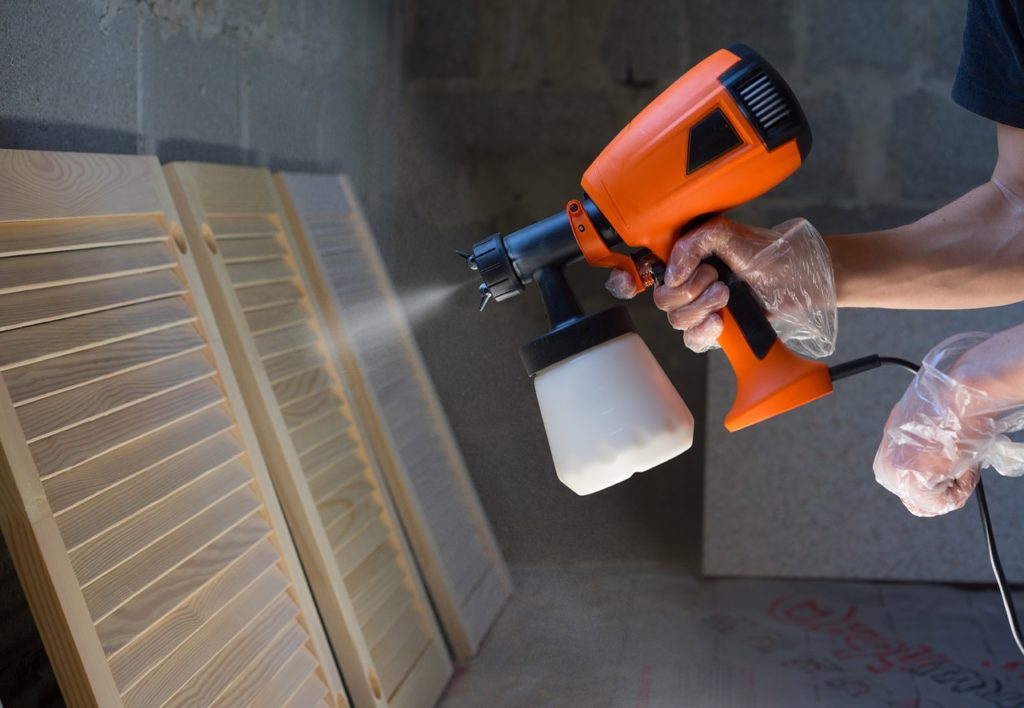
Think more like the turtle and less like the hare when it comes to paint spraying: the slow and steady one wins the race in the end. With all the power of pressurized air behind your paint, it’s easy to just throttle it. Practice patience and start with a light top coat. Do not go over “missed spots” instantly. Wait for this layer to dry, then you can hit those spots later.
We will say that it’s also possible to go too slowly. If you are moving the sprayer at a very slow pace, too much paint will concentrate on one spot.
Spraying too much paint will cause drips on your work surface, which are a giant pain to buff out and repaint again later. It’s almost impossible to get the surface to look perfect after this. Avoid it in the first place by going slow with multiple coats.
3. Uneven coats
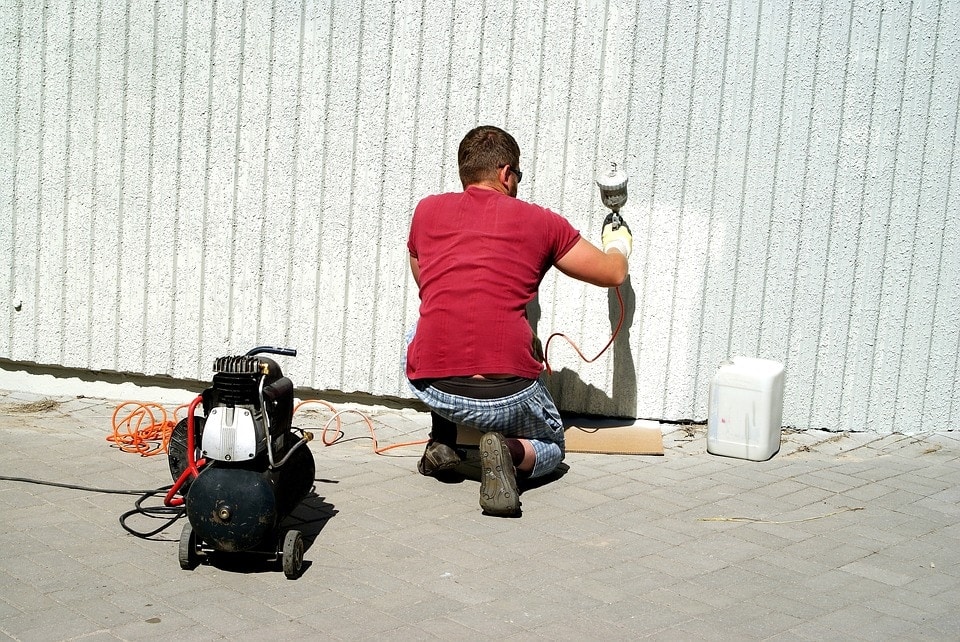
Alternatively, it’s also possible to spray your surface area with too much speed, causing a “pulsating” look with the paint. When you see this on your project, it usually means you are going too fast and you need to slow down the pace a little bit.
Another thing that causes uneven coats is not staying completely level with the surface. The natural inclination is to keep the sprayer level with you, but this will not look good. This stroke of the spray looks initially light, then heavy, then light again. The wrist holding the paint sprayer should not move to the right or left too much.
If this happens to you, just wait for that layer to dry, then go over it again, but level with the surface and a little bit slower.
4. Spraying too closely
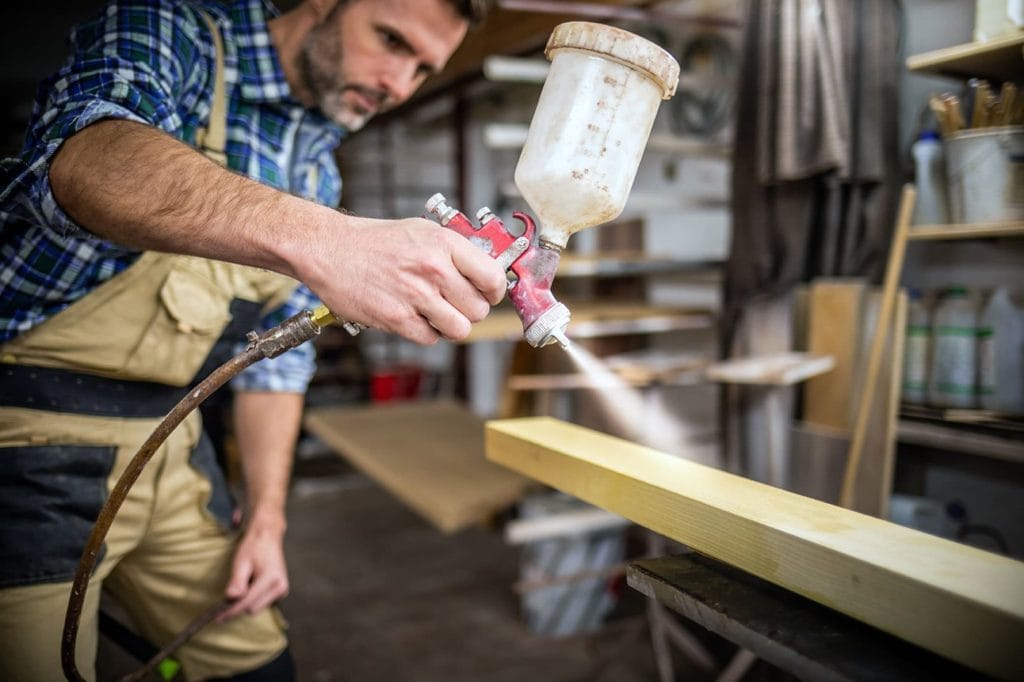
If your pace of spraying paint is adequate, but you are still ending up with drips, perhaps you are spraying too closely to your work surface.
Your paint sprayer should consistently be spraying about 10 to 12 inches away from the surface you are spraying.
5. Not wearing the proper equipment
Not only is not wearing the right protective equipment annoying, it’s also not great for your health. You don’t want to get caught spray painting ceilings without protective eye equipment; the particles fall straight into your eyes! Paint gets all over when you spray it, no matter what you try to do.
Prepare for any uncovered surface to be infested with paint…this includes your hands, the insides of your nostrils, and even your hair. Prevent this from happening by wearing the right coverage.
6. Forgetting to prime the sprayer
This one is specific for airless paint sprayers. These sprayers use pressure and hydraulics to force paint out in a spray. “Priming” the hose or device just means getting all the air out between the paint and the tip of the sprayer (therefore making it “airless”). Depending on your sprayer, this can lead to a) spitting of paint onto your project, or b) nothing coming out at all, and the motor making a strange sound.
Some airless paint sprayers come with a special “prime” function, where you simply turn the knob down to “prime,” spray while pointing into a waste container for 3-5 seconds (though nothing usually comes out), switch it back to “spray” and you should be ready to go.
7. Improper paint prep
Paint sprayers force tiny paint particles through a very small space into a spray form onto your project. That means that any small foreign object, or a goopy paint, can clog your spray tip faster than you can say “improper paint prep.”
Air compressor sprayers are more finicky when it comes to the paint put through the system. You will need to carefully dilute paint before adding it to your sprayer.
It’s an extra step to filter paint or properly dilute it while pouring into your sprayer’s paint reservoir, but it’s a worthwhile one.
8. Using the wrong filter
In the same vein as paint preparation, choosing the wrong paint filter can clog up your sprayer. These filters come in two different forms. One way to filter paint is to secure a filter onto your paint cup (the one that attaches to your sprayer. and pour your paint through it. This filter’s holes should be extremely small.
You most likely have a filter already adhered to your paint sprayer setup within the machine. Check your manual to locate the filter. If you find that it is damaged, replace it right away. The model’s extra filter part will be easily located with a simple online search. Sometimes, you can upgrade the part to an even finer mesh filter.
9. Wrong nozzle or spray tip
Selecting the wrong nozzle or spray tip will cause you headaches. These are specially designed for either smaller-detail projects or big projects. Don’t get caught trying to spray ceilings with a 4-inch spray tip, or a series of hooks with a 12-inch spray tip. The former will cause unnecessary strain in your muscles, while the latter will waste too much paint.
10. Not cleaning up afterward
When you initially rev up your sprayer and it fails to sputter out anything, you could probably blame it on an improperly cleaned sprayer. This can happen to diligent cleaners and lazy cleaners alike. Paint dries within an hour sometimes on your newly-painted project, the same goes for your paint sprayer.
This goes for any messes, too, or spots that you forgot to tape over. The sooner you get to cleaning these things now, the less time you will have to spend using elbow grease later.
Paint Spraying Tips
Now that you’ve learned what not to do while using a paint sprayer or spray can, check out our pro paint spraying tips that will get you perfect-looking work every time.
- Before you get the paint out, give your project a good, detailed look-over for any possible spots you don’t want paint on (things like trim, door handles, hinges, etc.). Super-detailed masking-off now will pay off in less hassle with cleaning later.
- Add the correct paint (diluted appropriately) through your own filter or make sure a great filter is installed in the sprayer.
- Prime the sprayer by switching to “prime” and/or shooting spray into a waste bucket until there are no air bubbles (depending on which kind of paint sprayer you have)
- Practice spraying on a piece of cardboard to make sure your strokes are perfect.
- Always spray around 10 inches away from your surface, keeping the sprayer level with your project.
- Use a medium pace and do not go over missed spots right away. Wait for one layer to dry completely, then you can go over lighter spots again later.
- Wear a respirator and glasses at minimum to protect your lungs and eyes. You also might want to wear long sleeves, pants, shoes, gloves, and a hat or bandana to protect your skin and hair.
- Right when you finish, clean out the sprayer. Do this by running water or lacquer (read the manual first to know which one and at what dilution) through your sprayer multiple times, until it comes out clear.
- You might also be interested in: 10 Best Paint Sprayers – Reviews & Top Picks
Conclusion
If you’ve decided to use a paint sprayer for convenience and quick paint projects, you have chosen wisely. Paint spraying can seem intimidating to the beginner painter. We hope our short guides about paint sprayers have made the task seem less impossible for you. After reading this article, you should be able to use a paint sprayer with ease and precision.
Featured Image Credit: Pixabay
Contents


