
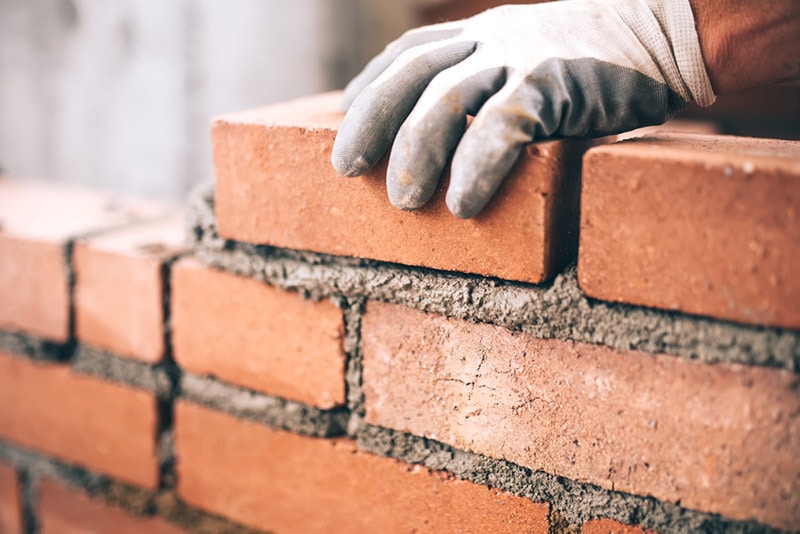
If you have a brick wall, patio, or fireplace, you may notice how outdated and old it seems. While this may be the case, it is excellent news to discover that you can repair your mortar and create a brand-new appearance. You won’t believe how brick mortar contributes to the overall look of a brick structure, especially if it needs replacement.
Continue reading the article below to find out some valuable tips on repairing a brick mortar quickly and easily.

The 6 Tips on How to Repair Mortar
1. Basic Tools and Materials
Repairing brick and mortar is a simple process, but it requires some elementary tools and equipment. To be able to go through this project without any challenges, we advise you to gather all the tools beforehand, so everything is ready for you. The tools you’ll need are:
- Angle grinder
- Chisel with a flat end
- Hammer
- Trowel
- Tuck-pointing tool
- Broom
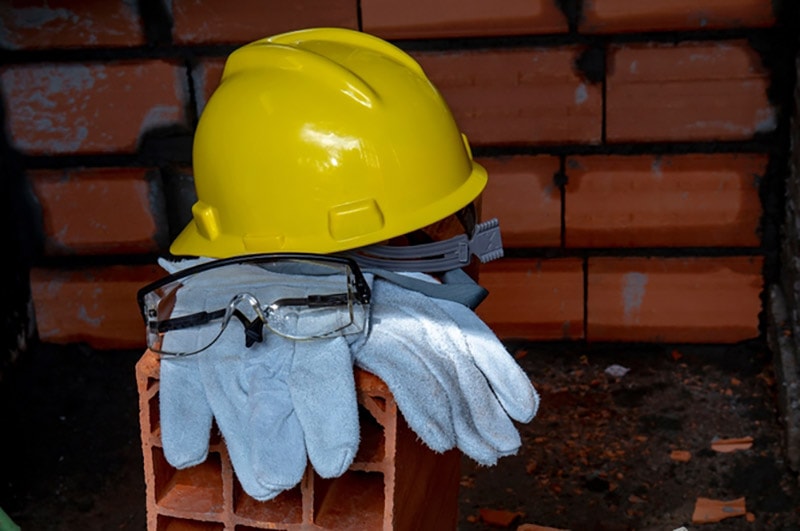
- Safety equipment (Gloves, safety glasses, dust mask)
After removing the old and damaged mortar, you’ll also need a mortar mix to create a new and fresh mortar.
2. Remove Old and Damaged Mortar
Your first and most important step would be removing all the damaged mortar, and the best way to do so is with an angle grinder. For those areas that are easy to clean out, you can use a flat chisel, but for larger jobs, a power tool with a diamond blade is recommended. Using a smaller-diameter blade and making shallow cuts along the lines of joints is crucial. Begin by pushing the blade into the mortar and, with a single pass cutting the grooves no deeper than 1 inch across the middle of the mortar.
3. Clean the Mortar Joints

Once you remove the old mortar with an angle grinder, it is time to clean out any leftover dust or chips that may have stayed inside the joint. Clean out any leftover mortar chips in the vertical lines using a chisel or a painter’s tool. Be careful not to chip the brick below or above, so continue working down the line carefully.
With a broom, or compressed air, dust out the mortar cavity. Mist the clean bricks and joints with water thoroughly until the brick is dripping. This step is crucial to prevent any dry chunks from ruining your new mortar mix by sucking out the moisture.
4. Mix the Mortar by Following the Instructions
Once you acquire a bag of mortar, it would be ideal to follow the instructions provided by the manufacturer to achieve a perfect texture and density. The ideal consistency would be close to peanut butter, and it needs to cling to the trowel without slipping off when you flip it upside down. The mortar should rest for approximately 15 minutes, and once a film of water forms on the surface, make sure to stir it back into the mix. The mortar will be fresh for the next 8 hours, and if it begins to dry, you can always add a bit of water to the mix.
5. Fill the Joints with New Mortar
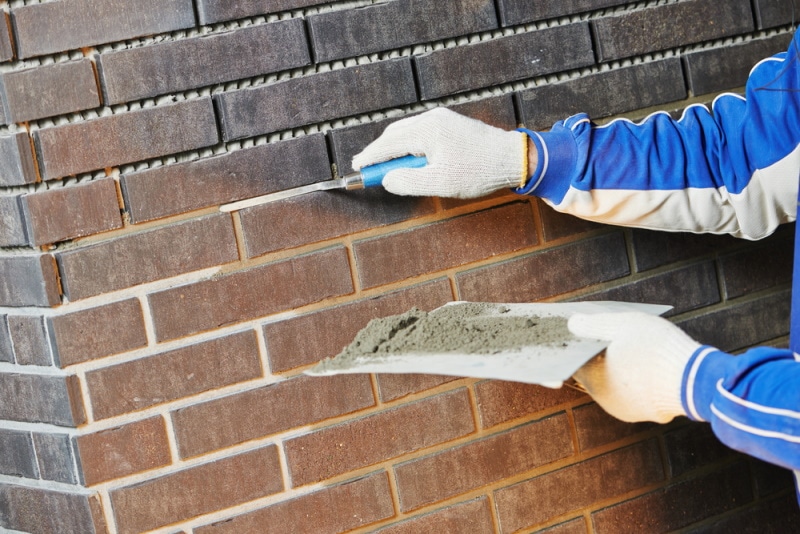
Before filling the joints with new mortar, you need to check whether your trowel size is correct. Begin by scooping mortar with the brick trowel and filling the horizontal joints first. Make several motions across the surface of the joint to remove any voids and pockets of air. If you manage to do this correctly, you will enhance the water-resistant properties of the mortar, not allowing any moisture to reach them. If any joints are deeper than ¾ inches, you’ll need to work in two stages, allowing the first layer to dry thoroughly.
6. Brush the Excess Mortar
Your final step is to clean the brick of any leftover mortar with a soft-bristled brush. Make sure to brush the joints diagonally, ensuring you don’t disturb the mortar inside the cavities. For your end result to look perfect, you must mist the new mortar twice a day for the next 2 days. Now all that is left is to enjoy your new and repaired brick-and-mortar.
Final Thoughts
Once you’ve read carefully about repairing brick-and-mortar, you can see that it is not a scary process at all. It can be done in a few hours, and you can make the process fun while working. You will need only basic tools and a mortar mix to create a fresh look and make your brickwork seem brand new.
Featured Image Credit: bogdanhoda, Shutterstock
Contents
