How To Clean Walls Without Removing Paint In 11 Easy Steps (with Pictures)
-

- Last updated:
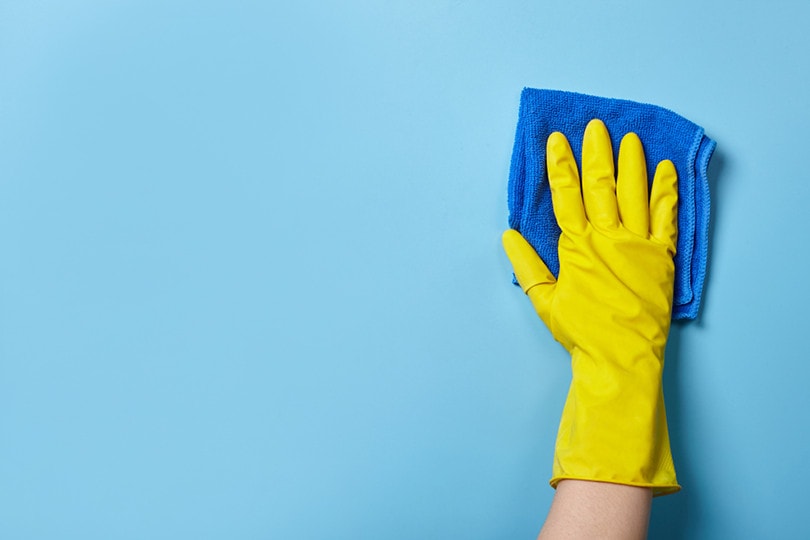
Walls get dirty over time; that’s just the reality of things. Dust, debris, and bacteria accumulating on the walls do make them dirty. Besides, if you’ve got little kids in the house, they might have drawn something cute that needs to be removed. And then you’ve got stains and scuffs. How do you deal with all that? How do you properly clean a wall without damaging the paint?
Do you have to use pro-grade tools for this? The answer is no, you won’t need any pricey products or instruments to get this done—just some everyday kitchen products/cleaning solutions, a hose, and a vacuum. Now, different finishes require different treatments. That’s why we’ll start with a step-by-step guide on how to clean latex-painted walls, then move on to oil-based walls, exterior walls, and finish with flat and glossy walls. Let’s get started!
Overview
| Time Needed | 2–3 Hours |
| Estimated Cost | Between $50–80 |
| Complexity | Beginner level |
Unless you’re an experienced painter, you’ll most likely use the wrong techniques to clean your walls. Even for a seasoned vet, it’s not always an easy task to clean walls successfully without fading the original paint. The key here is to use the right tools and products for the job. We’re talking about vinegar, a cheap dish detergent, clean water, and bleach, to name a few. Here’s a complete list:
| Tools Required | Materials/Products Needed |
| A pair of protective gloves | Bucket of clean water |
| Scrubbing brush (soft) | Distilled vinegar (white) |
| Vacuum cleaner | A sponge and microfiber cloth |
| Garden hose + sprayer | Towels and rags |
| Mop/broom (with soft cloth) | Dish detergent + degreaser |
| Dusting agent | Liquid bleach/Jomax |

How To Clean Walls Without Removing Paint (11 Steps)
Latex-Painted (Water-Based) Walls
Like acrylic paint, latex paint is water-based. It’s a great choice for larger areas. Latex is an environment-friendly paint and very easy to keep clean. Plus, it doesn’t yellow over time (which can’t be said about most finishes) and dries rather fast. It’s not very durable, though, which means you shouldn’t use harsh degreasers or bleach on it. Here’s how you clean it properly:
1. Prep the Wall First
And by that, we mean you need to remove any pictures, soundbars, mirrors, and whatever else you’ve got hanging on the wall. If there’s a TV, vase, or cupboard in the way, go ahead and remove them as well. Next, put a cloth at the bottom of the wall so that it captures drips of water, soap, and vinegar.
2. Get Your Solution Ready
Alright, now let’s work on the cleaning product. For latex, the best solution is dish detergent mixed with water. Get a bucket of water, make sure it’s half-full, and add 3–4 drops of the detergent. Or, if you want to use a different approach, go with vinegar. Again, only add three to four drops, but this time, mix it with a gallon of water. For painted walls, white vinegar works especially well.
3. Wet the Sponge and Get to Cleaning
With the cleaning product ready, use a sponge or microfiber cloth to clean the wall. Dip it in the mixture, and then give it a nice squeeze. Wring the sponge so that it’s almost completely dry. If you mess up this part, the wall will be covered in water streaks that are tough to fix. So, gently wipe the dirt, dust, and grease off, dip the sponge back into the detergent/vinegar mix, and repeat.
4. Follow Safety Measures
Pay extra attention to the light switches and outlets on the wall. Put on a pair of protective gloves, just in case, and go very slowly with the sponge around these areas. Again, the sponge needs to be wrung out dry. Then turn off electricity in the house and only then get to cleaning. And if the stains don’t come off with water and soap/vinegar, your only option is to repaint the wall(s).
Oil-Based Painted Walls
Next up, we’ve got oil-based paint. It takes a lot longer to dry and requires more finesse when applied to a wall. At the same time, it’s available in a wide range of finishes and is, overall, more consistent. On top of that, oil-based paint is harder and sturdier. That means you can clean it not only with a detergent or kitchen products like vinegar but also with a degreaser. Here’s how to do it:
5. Make Sure the Wall Is Dry
Just like with latex-based walls, the wall needs to be nice and bare; cover the bottom with an old cloth/rag to absorb the droplets. And before you start applying the cleaning mixture, grab a dry microfiber cloth and clean the fresh layer of dust. That way, it will be much easier to handle the stubborn dirt and grease later. More importantly, the wall should be 100% dry, as oil-based paint repels water.
6. Check the Degreaser Instructions
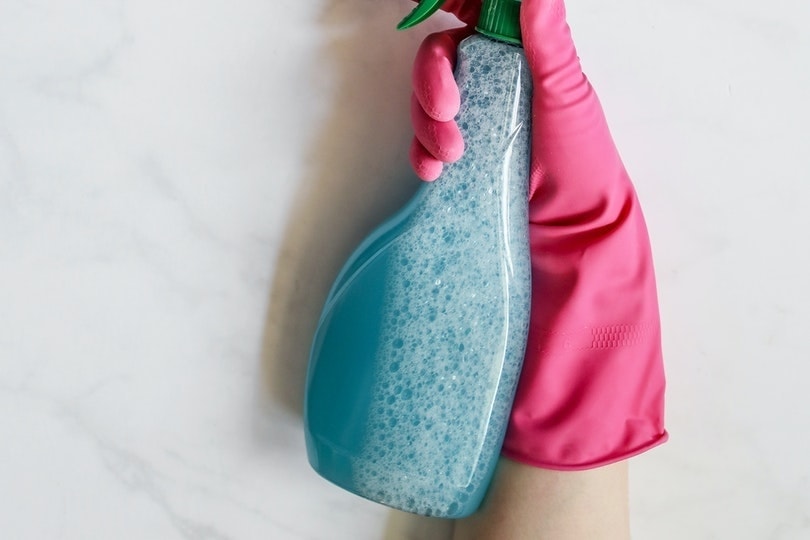
To play it safe, you can start with the same solution as we did earlier: a detergent/vinegar and water mix. However, it’s usually not as effective on oil-based walls. So, take a minute to check the instructions on the degreaser bottle. There shouldn’t be anything hard in there, but you will learn how to use the cleaning product safely and efficiently. Spray bottle grease detergents are very easy to use on painted walls.
Hold it a couple of inches away from the surface and spray away. Don’t cover the entire wall with the solution; instead, spray smaller areas and clean them with a sponge. Scrubby, hard-bristle sponges won’t work here. Nor should you use any harsh chemicals. And be extra careful around outlets.
7. Go Slow, Apply Moderate Pressure
This one’s self-explanatory: although oil-based painted interior walls are more durable than latex-painted walls, you should still be gentle. This might take a while (up to three hours, depending on the size of the wall), but there isn’t really a way to speed up the process. On the other hand, if you clean your walls at least once a year, you’ll be done much sooner and with less soap or degreaser used on the wall.
8. Rinse and Dry the Wall
Finishing up, rinse the wall with clean water and dry it with towels, rags, or a microfiber cloth. As mentioned, oil-based paint is hydrophobic. So, be extra vigilant here and make sure you don’t leave even a couple of water drops on the surface. Use dry rags/towels, don’t dip them into water.
Exterior Walls
Alright, now that we learned how to properly clean interior walls (water and oil-based), let’s take a quick look at the cleaning techniques for exterior walls. In many ways, the method is the same. However, there are still some tips and tricks that you can use:
9. Wet the Wall
Begin by wetting the exterior wall. The right tool for this is a garden hose. If it’s equipped with a pressure regulator, set it to moderate so that it doesn’t damage the paint. And if you don’t have a hose, just fill a bucket with water and pour it onto the wall. You might have to repeat this once or twice to cover the whole surface.
10. Prepare the Cleaning Solution
What’s the best product for exterior walls? Is it dish soap, or a degreaser? Well, not quite. To give an exterior wall a proper cleaning, you should use something stronger. Bleach, for example, will be a great choice. Mix one full cup with a bucket of water. To achieve long-lasting results, add a ½ cup of Jomax (or any other house cleaning concentrate) into the solution.
This way, you’ll be able to not only remove grease, dirt, and stains but also get rid of all the mildew and mold. How do you apply this mixture onto the walls, though? Consider investing in a garden sprayer. These are available for $15–25 and do a fantastic job of cleaning large areas.
11. Scrub It with A Brush
Give the bleach-Jomax-water mixture 15–20 minutes to do its thing. Then, grab a soft-scrubbing brush and remove all the remaining grime, grease, and dirt. Last, but not least, use the hose to rinse the wall and let it dry. Check the pressure regulator once again—it should be set at low or moderate. And if the dust/allergens are giving you a hard time, use a dusting agent on the wall. It will make it much easier to clean the surface.
How Do You Clean Flat/Satin Paint?
Not all paint finishes are the same: some are more durable, while others (like satin and flat paint) are highly susceptible to harsh cleaning products. So, don’t use “heavy-duty” degreasers and chemicals on these walls. Vinegar, dish soap, or any mild detergent should get the job done. Even when using a sponge soaked in clean, lukewarm water, be gentle with the surface and don’t scrub it too aggressively.
Oh, and remember to squeeze all the liquid out of the sponge before pressing it against flat-paint walls. Twist and compress it a couple of times to get it as dry as possible, and only then get to cleaning. The same techniques apply to eggshell and matte finishes as well.
The Best Glossy Paint Wall Cleaning Technique
Glossy paint finishes, in contrast, are quite durable and can easily handle “rough treatment”. This is exactly why you’ll see glossy or semi-glossy paint on bathroom and kitchen walls. These are called high-traffic areas, and gloss has proven to be great for walls that are exposed to stains, grime, and fingerprints. Scratching can still be an issue here, though.
That’s why you should use a soft sponge or brush. Otherwise, you may end up with a blotchy wall that looks horrible in any environment. If that happens, leave the paint dry for at least four hours and try to paint it over to cover the mess. It’s not recommended to go with a stain finish here, because it won’t cover the imperfections quite like paint will.
Spot-Treating the Wall: A Quick Guide
Sometimes, no matter how thorough you are with the cleaning, there is one stubborn stain that simply doesn’t want to go away, like an ink/crayon stain. For this, you can use a mop or a sponge. The idea is to scrub more aggressively, and if dish soap doesn’t work, baking soda or powder should help you remove the spot. Like with any painted wall, use a damp sponge to remove dirt and dust.
Next, sprinkle some soda on the sponge and scrub the stain one more time. Baking soda is a very effective compound. But, if it fails, go with powder instead. The difference between these two: baking powder contains acid that’s quite strong against stubborn stains. On an oil-based or glossy paint, you can also use a degreaser. Rinse the area and dry it with a clean cloth.
Tips For Keeping the Walls Clean
So, we just successfully cleaned our walls without causing any damage to the paint. The question is—how do we prevent them from getting dirty again? The answer is regular maintenance. Focus your attention on dust, debris, mold, and ink stains. The best device for this is a vacuum cleaner. Attach a soft brush to it and carefully go over the walls. Then, grab a mop/broom (covered in cloth) and wipe down the walls.
You can also use a damp microfiber cloth. Do this at least once in three months, or more often if you live in a humid area or if you’ve got heavy smokers in the house. Regular maintenance will save you the headache of scrubbing the walls when the grease is too stubborn and, potentially, damaging the paint. Also, don’t use tons of water, as that can lead to drips on the walls. Those nasty marks occur when cold and dry air clashes with hot and moist air.
Here are some more general guidelines to help you with the cleaning:
- Make a habit of starting at the top of the wall with the sponge/cloth, not the bottom
- Rinse the wall with water after cleaning it with a detergent/chemical
- Don’t forget to always dry the walls (with a clean cloth)
- Prepare two buckets: one with clean water, and the other with the solution
- Put protective gloves on and be careful around outlets
- Don’t use colored sponges, cloth, or towels on painted walls
- See Also: How Long Does It Take Wood Stain to Dry?
Conclusion
We vacuum our carpets, mop floors, and wipe countertops. But can you remember the last time you did anything to clean the walls? It doesn’t take tons of expertise or effort to do that, though. All you need to do is dedicate at least one hour of spare time, follow the instructions closely, and take it slowly. Grease, dirt, tar, and children’s drawings—these are just some of the things that we want to clean and cover up.
Today, we learned how to “fix” interior (oil-based and latex) and exterior walls. Next, we took a quick look at how to handle flat and glossy walls. If you like the original color or finish and would rather clean them, this is how it’s done!
Featured Image Credit: Happy Author, Shutterstock
Contents
