

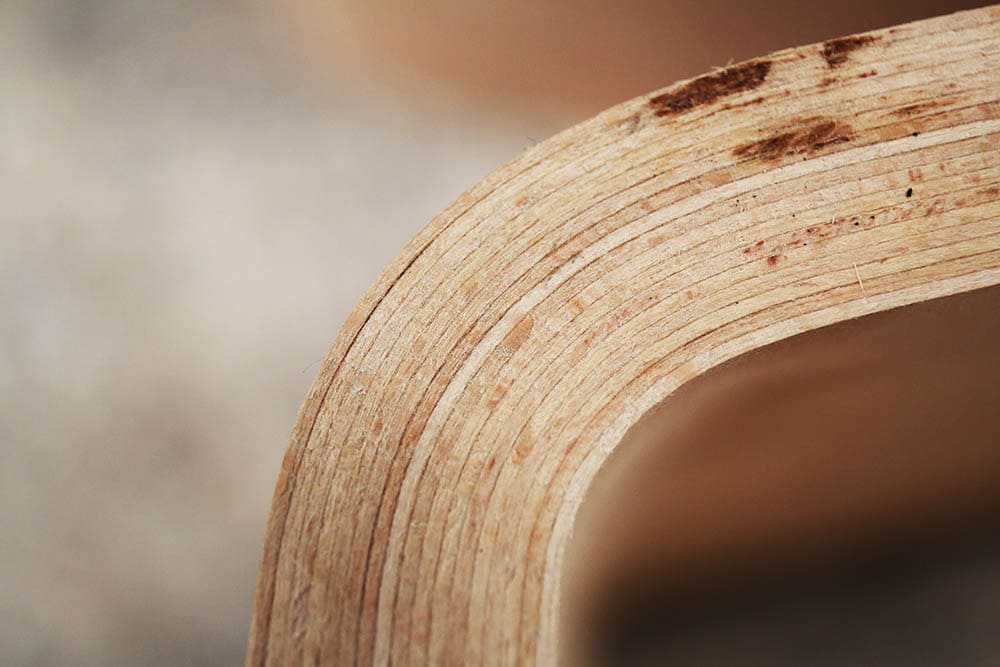
There are several ways to bend wood, many of which can be accomplished by the average DIYer in a home workshop. Below we will lay out a simple four-step process for two of the most common ways to bend—water and steam. Both have a similar approach with a few key differences.
Water is easily one of the most straightforward ways to bend wood and doesn’t require anything special other than a form. On the other hand, steam is a little more intensive in its requirements but arguably one of the most effective ways of wood bending.
Before you begin, here are the tools, materials, and safety considerations to make.
| Safety: | Heat-resistant gloves |
| Materials: | Wood of choice, water or steam |
| Tools: | Tub, large pot, form, clamps, steam box for steam method |

Water Bending
You don’t have to use a tub, but for the size and amount of water needed for this method, it makes an ideal “tool” for the job. Keep in mind this is a time-sensitive process once the wood comes out of the water. So, make sure your form is readily available.
1. Arrange Wood in Tub
Once you have selected the wood for the project, place it in the tub. If you are going to bend multiple pieces, the tub will need to be able to accommodate multiple pieces. Just remember it will be a time crunch once the wood comes out, so you will probably not want to be working with more than two forms at a time.
2. Heat and Water
You’re going to need a considerable amount of water to submerge your wood, so the bigger the pot or pots, the better. Also, the hotter the water, the more pliable the wood gets. There is no specific amount of water needed. All you need to do is make sure that the wood is fully submerged. Wood often floats, so put something on top of it to keep it down if need be.
Important Note: Keeping the water hot is crucial. So, either add hot tap water or continue boiling water to add throughout the soaking process.
3. Clamp Board to Form
An hour is the minimum time you want to soak the wood, but longer is also good if you have the time. Once you’re satisfied, take the wood out of the water with your heat-resistant gloves and immediately bend and clamp it into the form you have waiting.
Important Note: On average, you have approximately 30 seconds to get the wood bent before it’s no longer pliable.
4. Dry and Cool
Once the board is clamped, there’s nothing left to do but wait for the wood to dry and cool. The thickness of the board will determine how long this part of the process takes—it could be a few hours to a few days.
Once you remove it from the form, if it’s not quite the finished bend you want, it’s possible to re-soak it and bend it further.
 Steam Bending
Water bending can be mostly done with things you likely already have laying around the house, which is handy. But if you’re looking to take your wood bending to the next level, then steam bending is a great option. However, before you begin, you will need to buy a steam box or make one. Then you will need a way to create hot steam—a steam cleaner is one option.
1. Arrange Wood in Steam Box
Because of its size, a steam box is usually only suitable for bending one piece of wood at a time. But you need to steam it for less time than you would have to soak it for. You can also use wood that is a little thicker, which opens up your options.
2. Activate Steam
Turn on the steamer once you have the steam box sealed and the hose attached. Make sure to follow all directions while using the steamer because the steam can reach extreme temperatures and burn you severely if you aren’t careful.
3. Clamp Board to Form
Unlike water, steam only requires around 45 minutes to be effective. However, you still only have about 30 seconds of pliability once you remove the wood from the steam. So, make sure you have the form ready before opening the steam box.
Important Note: Before opening the steam box, turn the steam off. Also, do not have your face near the opening when it opens.
4. Dry and Cool
Like the water bending method, once you clamp the board, all you do is wait for the wood to dry and cool. Generally, steam bending allows for slightly thicker wood to be used. So, drying will likely take a few days.
Because of the size constraints of a steam box, you may not be able to fit the bent board in for re-steaming. If this is the case, you will have to start over with a new board if the first one isn’t what you wanted.
Important Note: Over bend the board to account for it bending back slightly after it’s dry.
Conclusion
Wood bending has been around for centuries. And the methods for doing it—while they have improved and gotten better—haven’t changed that much. The methods mentioned above are two of the most common, but there are others. For example, kerf-cutting involves only a circular saw and wood glue to bend. It is also possible to use chemicals to make the wood pliable for bending. Neither of these methods is quite as ideal or practical as using water or steam, though.
Featured Image Credit: PublicDomainPictures, Pixabay
Contents
