

It is great fun to grow plants, whether indoors or outdoors. But plants grown in containers require more than regular garden soil to thrive and potting soil works excellently. Since replacing the potting soil every year can be quite costly, especially if you have many potted plants as most gardeners do, you could wonder whether reusing it is an option. Well, potting soil is reusable, but there is a caveat.
Keep reading to learn how to reuse your potting soil safely and some tips to help you restore the lost nutrient elements!

Main Concerns When Reusing Potting Soil
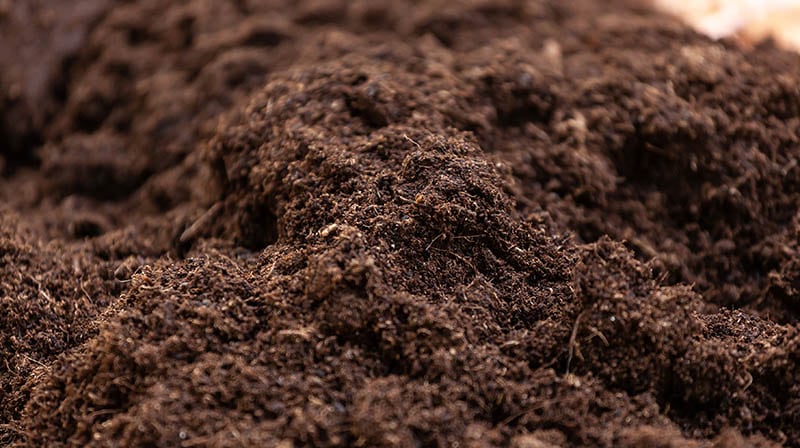
Considering it doesn’t usually contain much soil, the term “potting soil” is a bit of a misnomer. Instead, it is a lightweight combination of peat, worm castings, compost matter, and water-retention elements such as perlite, vermiculite, or rice hulls.
Besides losing nutrients faster than garden dirt, potting soil is quick to compact. As such, you must consider the following factors to determine whether your potting soil is worth reusing or disposed of:
Nutrient Depletion
Plants can either be “light feeders” or “heavy feeders¹”, depending on how much nutrients they pull from the soil as they grow. As the name implies, heavy feeders utilize more nutrients because they are usually building plants. Examples include clovers, peas, tomatoes, spinach, and zucchini.
If you planted them in a container the previous subsequent seasons, the nutrients in the potting soil are probably depleted. As such, it is imperative to replace or rejuvenate the potting soil before reusing it.
On the other hand, light feeders slowly take up nutrients since they don’t require them in large quantities. For instance, kales, carrots, radishes, and most flowers and herbs are light feeders. You can plant such on old potting soil over and over without worrying about nutrient deficiency.
If you intend to capitalize on the value of your potting soil, consider using them to grow heavy feeders during the first year, medium feeders during the second, and light feeders during the third season.
Compacted Soil
According to research by Michigan State University, pore space contributes about 50% of healthy soil¹. But since peat and other potting soil components decompose rapidly, you will likely notice the soil level in your pots has lowered by several inches at the end of the season.
The potting soil constantly compacts due to decomposition and restricts air and water from moving effectively, thus preventing the plant roots from actively taking up minerals. Compact soil also facilitates salt build-up on the surface, which may cause fertilizer burn and root rot.
The ideal way of resolving compacted potting soil is by fluffing it up manually. If the peat moss is degraded, it is better to restore the soil by adding more peat moss or coconut coir. Besides adding to fertility, doing so will enhance soil structure and water retention capabilities.
Potential for Disease
Used soil might carry pathogens¹ – bacteria, viruses, fungi, and other disease-causing organisms. If your previous plants suffered from disease, your best course would be to dispose of the potting soil and not reuse it. Otherwise, your plants will be susceptible to disease and death the following year.
The 5 Steps to Follow When Reusing Potting Soil
The key to success when reusing potting soil is to rotate your plants every new season. But you don’t just plant them without refreshing the old soil. After establishing that your potting soil is disease-free, follow the steps below to revitalize it for reusing.
1. Allow the Dirt to Dry Out Completely
The first step, drying, is crucial since it makes the dirt lighter to move around. While you can dry the soil in the pot, using a wheelbarrow or a trash can is more effective since it exposes more surface area for faster drying. Besides, wheelbarrows are easier to move around.
If you live in a cold region, your planters might also crack if left outdoors. It is essential to remove the soil to winterize the planter and dry the soil.
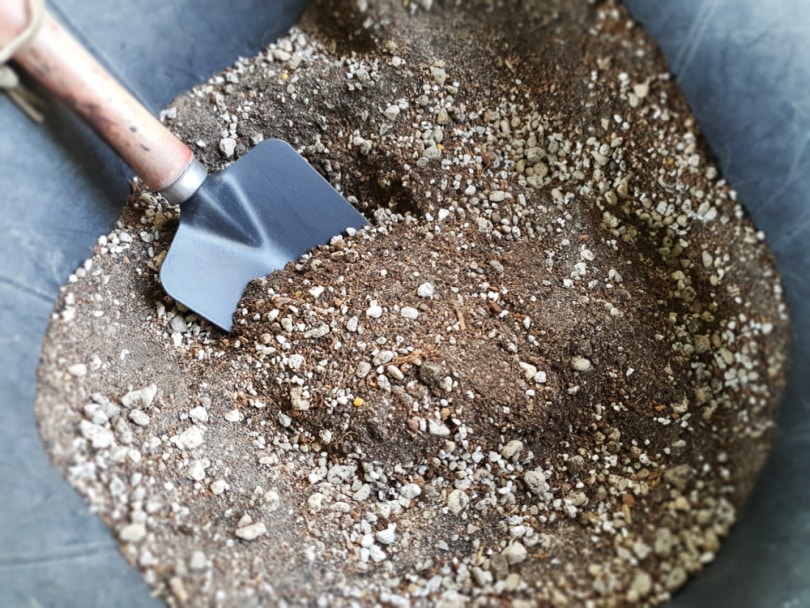
2. Get Rid of Debris
Stir the potting soil with your fingers and fluff it back to expose roots, branches, large seeds, and other clumps. While most of these matter will rot over time, removing and discarding them is better since they are unlikely to decompose before the next planting season. Don’t remove old leaves and other organic matter that will soon decompose.
3. Pasteurize the Soil
Spring is the best season to pasteurize your potting soil¹ and solarizing is one of the ways of doing it. It entails putting the used soil in black garbage bags or buckets, sealing them tightly, and laying them out in the hot spring sun. After about 30 minutes, the high temperatures should kill insects, seeds, and pathogens in the soil, therefore sterilizing it.
Another soil sterilization method is to bake it in the oven or the microwave at 180–200 degrees for half an hour. This means you’ll sterilize your potting soil in batches and at a time. As good an option as it may sound, we do not recommend this method because it stinks the house with an earthly odor while destroying essential microorganisms in the soil.
Since increasing the temperatures may not affect heat-tolerant pests and disease-causing organisms, you can expose the used potting soil to extreme cold. It can help kill them.
4. Rejuvenate the Soil
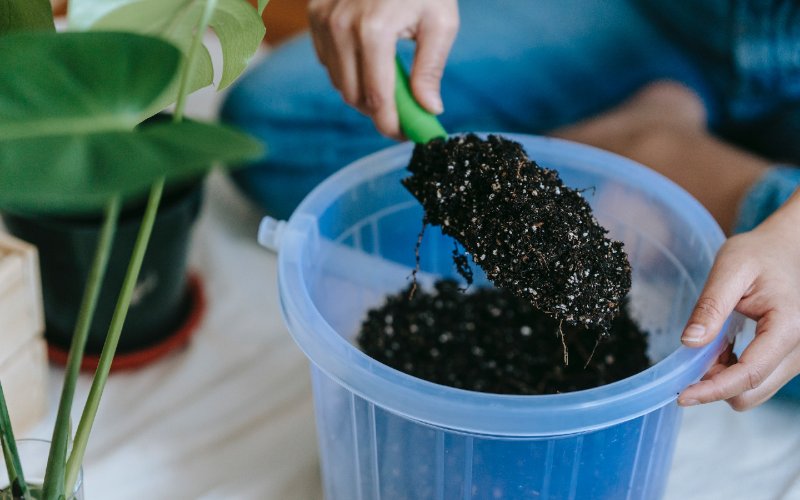
After pasteurizing, you’ll need to revitalize your potting soil to ensure your plants grow on a mineral-rich medium. Fortunately, there are multiple ways of doing it. If you want the easiest option, we recommend adding new potting soil to the old mix in a ratio of 1:1.
But this will not equip the soil with good nutrient content, so consider topping it up with compost. Simply add one part of compost for every five parts of soil. The good news about compost is that it adds nutrients while improving drainage simultaneously.
5. Fertilize Your New Plants
Fertilizer included in fresh potting mix depletes within three to six months. For this reason, you should add more fertilizer to suit the needs of your plants. They’ll need a lot if they are heavy feeders and annuals; low feeders can do with less.
We recommend using a slow-release type of fertilizer that lasts throughout the growing season – but liquid fertilizers work just as fine. However, do not over-fertilize, or else you’ll kill the plants.

Do I Have to Replace the Potting Soil Yearly?
It’s unnecessary to replace potting soil every year. However, it needs to be amended since most peat moss-based soils are designed to last a growing season. You must also inspect the dirt yearly to ensure it drains well. Signs of overly compacted soil include shrunk container sides and cracked surfaces. Ensure you amend the used mix before reusing it.
Tips for Reusing Potting Soil
Practice Plant Rotation
When the flowers fade and temperatures drop, it’s time to put your containers away for the winter. To limit disease carryover from one planting season to another, separating the potting soil used to grow edibles from those used to grow flowers is important. Then, consider rotating their uses the following year (i.e., using the soil for flowers to grow edibles and vice versa).
Remember to store the soil in the original sealed bag or lidded containers. Put them away from direct sunlight and high moisture sources to keep pathogens from surviving and multiplying.
Desist From Reusing Potting Soil a Fourth Time
After three seasons of growing potted plants, the nutrients in your potting soil will be exhausted. But this doesn’t mean throwing the soil away. Besides revitalizing it, you can reuse old and exhausted potting soil in the following ways:
- Dispose of it in your garden
- Dump it in raised beds and borders to improve them
- Mix it into compost piles
Water Your Plants with Rainwater to Minimize Salt Build-Up
Unlike tap water, rainwater has less salt content, which makes it more effective for growing potted plants. Tap water leaves a white crust on the soil’s surface, which signifies salt build-up. Since salt inhibits plant growth, watering your plants with rainwater makes more sense.

Conclusion
Before growing new container plants using an old potting mix, you must determine the soil’s nutrient content, water retention capabilities, and potential for disease. Upon authenticating its quality, your next step is revitalizing them to restore lost nutrients and fix compactness. You can do this by removing debris, pasteurizing the soil, and topping it up with compost matter.
Also, ensure you fertilize the new plants using slow-release fertilizer to last the plant the whole season. We hope this article guides you to save potting soil money for what every gardener desires – more plants!
You Might Also Be Interested In:
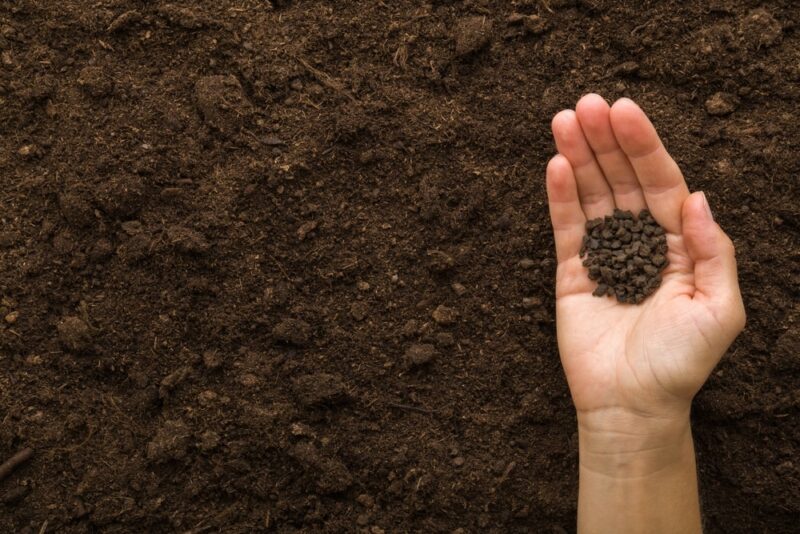
Featured Image Credit: stockcreations, Shutterstock
Contents
