17 Free DIY Sawhorse Plans You Can Build Today (with Pictures)
-

- Last updated:


If you have a pile of scrap lumber lying around, you don’t need to pay money for sawhorses. Learning how to build a sawhorse is easy and you don’t need to spend a lot of time or energy to make them look nice. After all, they’re just tools to help you build other things.
We hunted down a good variety of sawhorses to hit just about every need you might have. There are simple wood frames you can put together in a couple of minutes. There are folding sawhorses that you can store between uses. There are even more complex projects just in case you need something extra.
The 17 Free DIY Sawhorse Plans
1. Plywood Sawhorse Plan from The Wood Whisperer
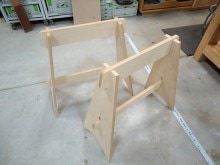
One advantage of sawhorses built out of plywood is that you can put them together really quickly with just a couple of cuts. There’s no need for hammers, nails, or screws. This plywood sawhorse from The Wood Whisperer won’t be able to handle your hardest jobs, but you can build it out of basically nothing in just a couple of minutes.
2. Sawhorse Plan from Wayne of the Woods
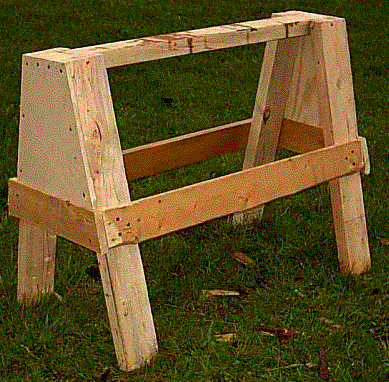
These simple sawhorse plans from Wayne of the Woods are good and sturdy, and the flat surface is ripe for customizing with hooks from which you can hang tool bags and tools. They also have a sturdy construction that will deliver good stability for the life of the sawhorse.
3. 2×4 Sawhorse Plan from My Repurposed Life
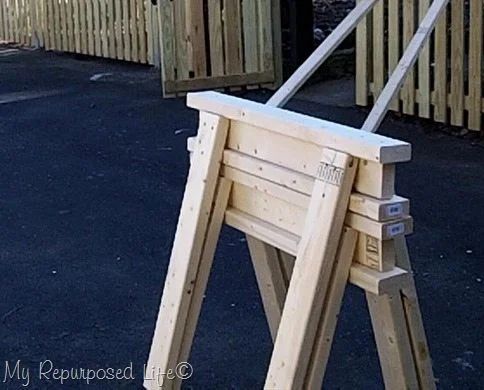
These simple 2×4 sawhorses from My Repurposed Life use materials that just about everyone has lying around. These are easily replicated and, once you’re done using them, you can stack them for easy storage.
4. Stackable Sawhorse Plan from Popular Mechanics
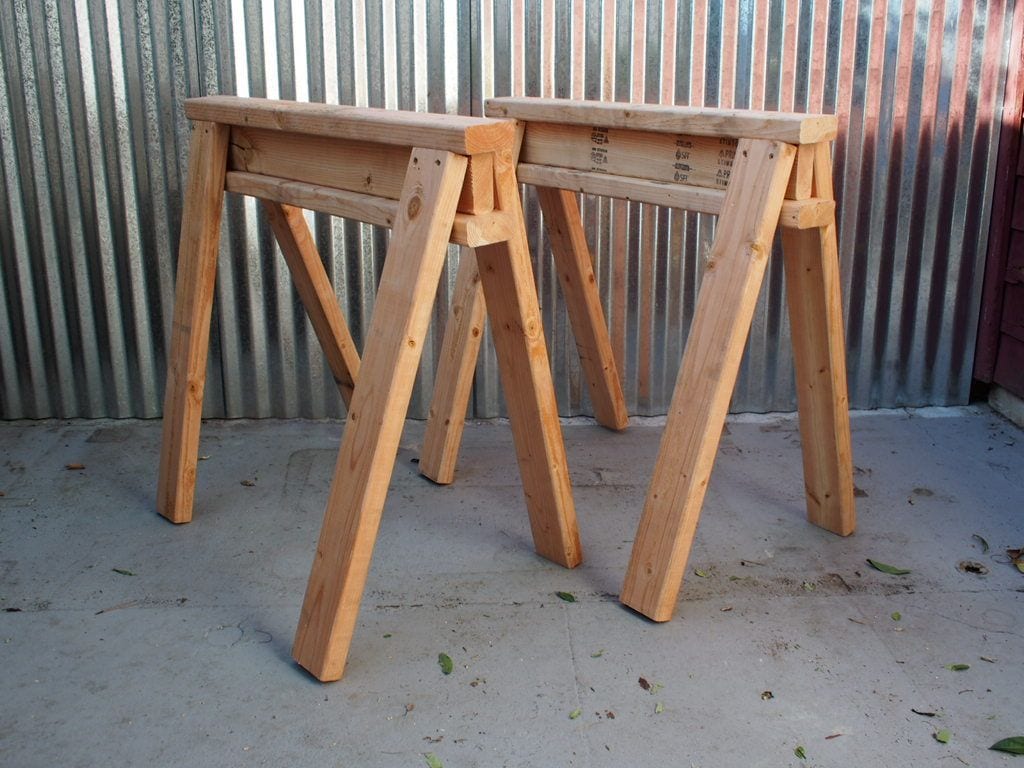
Designed for vertical storage, these stackable sawhorses from Popular Mechanics benefit from a uniform set of materials and hardware. That means that not only can you put them away in between uses, but that they are also pretty easy to replicate if you have to replace one that gets broken.
5. Wood Sawhorse Plans from The Spruce Crafts
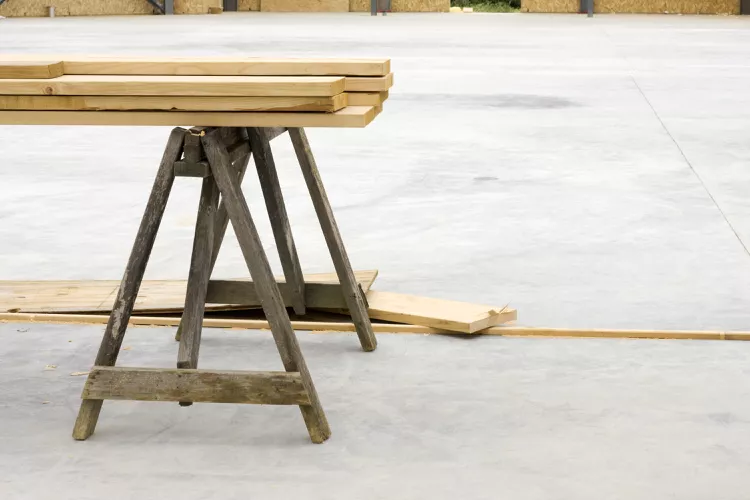
A good all-around sawhorse design from The Spruce Crafts, these are simply designed and built from simple materials. It takes a little longer to put them together, but then again, they’re also likely to last a little longer. What’s more, you can easily stack them when you’re done.
6. Stackable Sawhorse Plan from Life Hacker
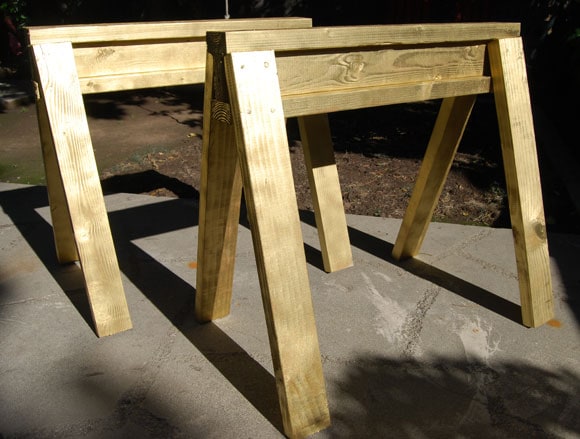
Stackable sawhorses like these from Life Hacker have a couple of advantages. The first is obvious—they’re easy to store between uses. The second is that they’re uniform in construction so that they’re stable to use. That means delivering a consistent work experience.
7. Homemade Sawhorse Plan from Old World Gardens
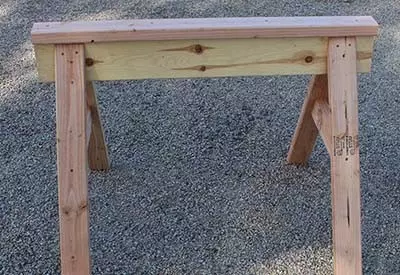
There isn’t anything flashy or complicated about this sawhorse plan from Old World Gardens. The top brace that offers a little more stability is about as sophisticated as it gets. The materials are also pretty basic. Overall, this is a perfect journeyman’s sawhorse.
8. Simple Easy Folding Sawhorse Plan from Instructables
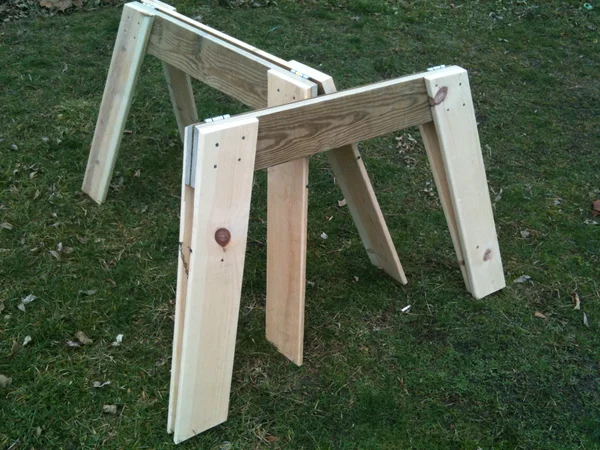
The best thing about these simple folding sawhorses from Instructables is that they fold up to a nice thin width so they’re easy to store and easy to get around. They aren’t the sturdiest sawhorses on the market though, so you won’t want to use them for heavy-duty work.
9. Wood Sawhorse Plan from Stan’s Plans
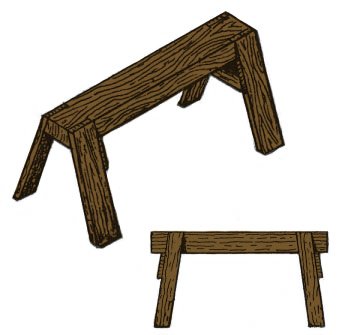
Another set of really simple sawhorse plans, this one from Stan’s Plans is great because you can replicate it at just about any size. The materials are basic enough that you probably have them lying around the house. And, if you put them to real use and they fall apart, you can easily replace them.
10. Cheap, Quick-To-Build Sawhorse Pair
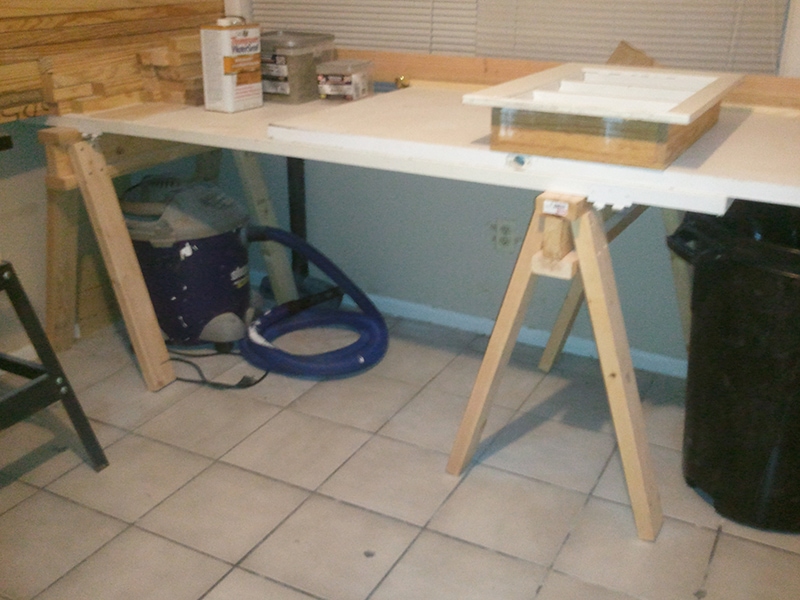
If this is your first big DIY project, and you want to take it slow, a cheap, quick-to-build sawhorse pair is exactly what you need. It’s not fancy, nor does it fold or come with any extra features. It is, however, quite durable and can take a lot of abuse. On top of that, this pair isn’t very big or heavy. That means you won’t have a problem with finding the space to store it, as the saw stools are very easy to stack on top of each other.
To put everything together, you’ll need some wood boards and a big pack of screws. As for the tools, put on a pair of work gloves and use a saw and drill combo to cut the lumber and attach the individual pieces. Both tools can be either hand-held or powered. The design is very straightforward: you won’t even have to use a square tool or measuring tape.
11. Lightweight, Portable Sawhorse
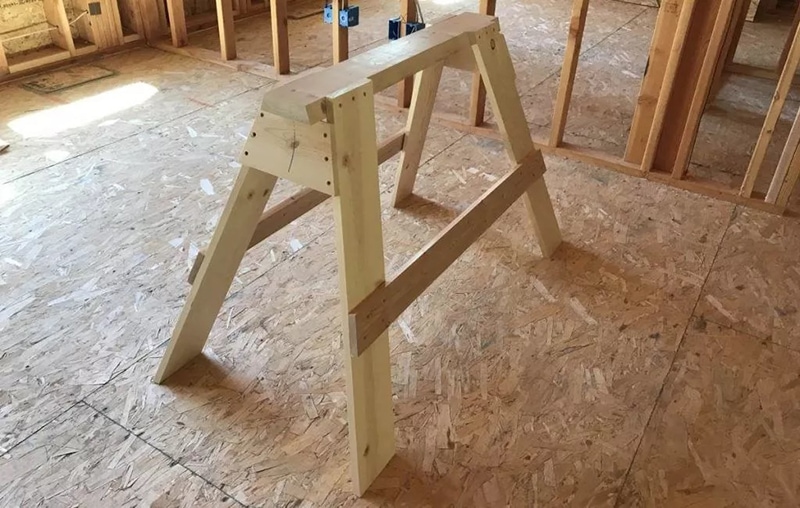
The title says it all: a lightweight, portable sawhorse is perfect for a professional carpenter or someone that has to do a lot of cutting every day. With that, this sawhorse pack is reasonably durable and can take a beating (especially compared to most plastic horses). If you take a quick look at the plan, you’ll see that each saw stool has four legs, two stretchers, a gusset on the left side, and a thick wood board on top.
These sawhorses can be used to support an improvised job-site table, cut wood, or paint/stain lumber. For cutting, you can use a circular saw, but a table saw will get the job done much faster; compound cuts should be done with a miter saw. And what about the fasteners? Deck screws are the best pick here. Ask a friend to hold the legs while you’re pushing the screws in. Or, use a pair of clamps.
12. DIY Sawhorse Table With Brackets
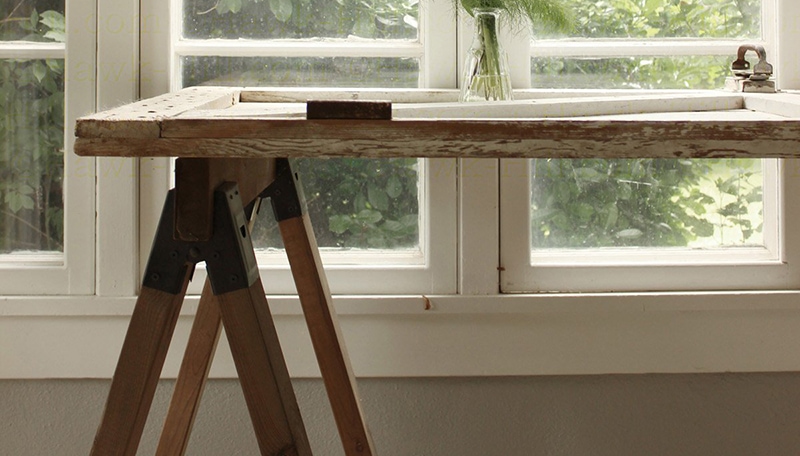
Here, we have one of the most minimalistic DIY plans to get you started. This DIY sawhorse table with brackets takes little time and effort to make. Essentially, each horse (yes, you’ll need two) is made up of five 2×4 studs and a pair of brackets. So, as long as you have some lumber, a pack of deck screws, a miter saw, and a drill, it will only take 5–6 hours to bring this project to life.
To make the brackets last longer and look cooler, cover them with at least one layer of oil-based paint. And the best thing about this plan—you can either use the saw stools as they are or add a salvaged tabletop, old barn door, or whatever else you’ve got handy and build a full-fledged table. No need to secure it with any fasteners!
13. Versatile, Multi-Purpose Sawhorse
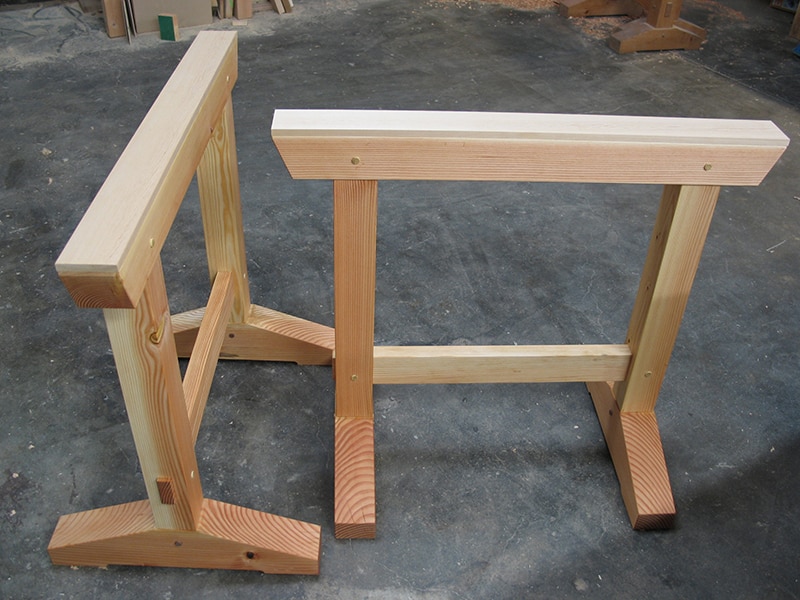
Ready to kick things up a notch? Then let’s try and bring this versatile, multi-purpose sawhorse to life. In contrast to all the other projects on the list, this one doesn’t involve using any nails, screws, or even glue. Instead, it relies on mortise-and-tenon joints for a snug fit. The end result looks amazing, and the workhorse won’t ever split or crack, no matter how much pressure you put on it. On the downside, this DIY plan requires a lot of cutting.
You won’t be able to complete it in a day, either. But, if you have access to a table saw, Japanese Ryoba saw, chisel, drill with the right bits, and a lot of patience, it can, of course, be done. Besides, you won’t have to be scientific with your cuts. Cedar and fir and the preferred materials here, yet pine will work as well. Just make sure the lumber is straight, doesn’t have tons of knots, and isn’t pressure-treated.
14. Angled, Foldable Wooden Sawhorse
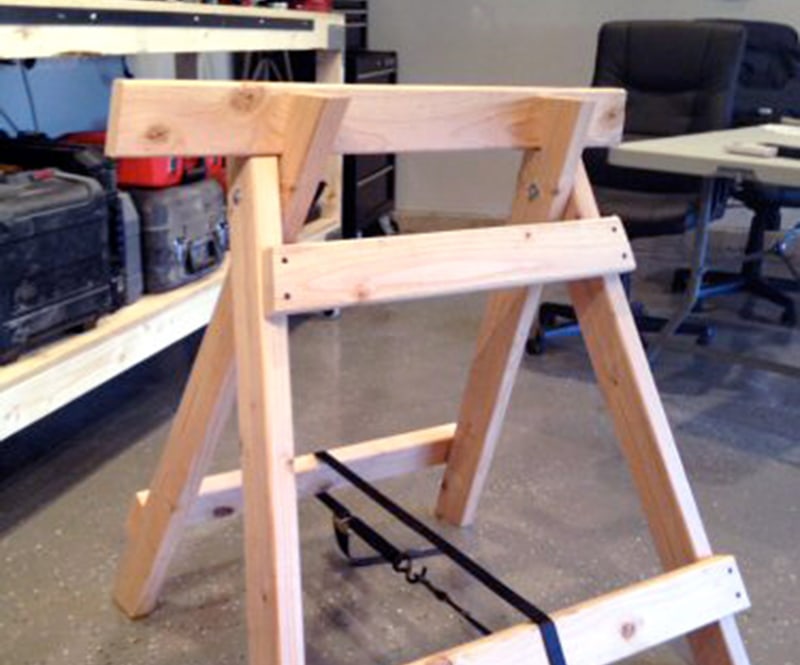
If you have very limited space in the garage/shed but still need a support/stand for your DIY duties, this angled, foldable wooden sawhorse deserves your attention. First, it takes up very little space and can be stored both vertically and horizontally (the saw stool is collapsible). Secondly, despite the simplistic design, this thing won’t crack or break when used as a work surface for cutting. The reason: since the legs are angled, the pressure is distributed evenly.
That makes the whole construction incredibly stable. More good news: it takes two seconds to move it outside and work on a new project under the sky. On average, you’ll have to spend $20–25 on the materials, which is more than a fair price. Just make sure you can get your hands on a compound miter saw that delivers precise bevel cuts. Each cut will require a slightly different setting on the saw. So, be extra careful and go slow.
15. Three-Legged Sawhorse
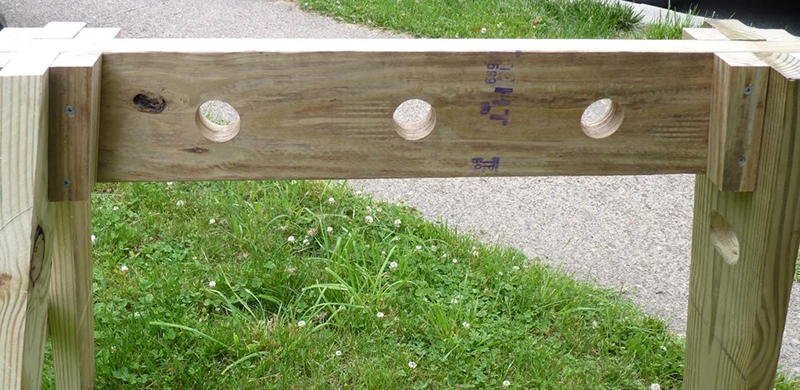
Some sawhorses are very big and bulky; others are compact and portable. And then there’s this three-legged sawhorse. Its biggest pro over the competition is how stable it is on uneven ground. So, if you do lots of work in outdoor areas and want to be able to rely on your saw stool, this project will be worth the effort. That’s also why pressure-treated lumber is the right choice here: it can withstand harsh weather conditions.
Now, it’s all about the angles. Follow the instructions closely to get the angles right and make it work. Yes, there will be a lot of sawing involved in this DIY plan, and you’ll need not one but four different cutting tools to put this three-legged sawhorse together. The list includes a jigsaw, circular saw, hole saw, and compound miter saw.
16. Heavy-Duty Sawhorses
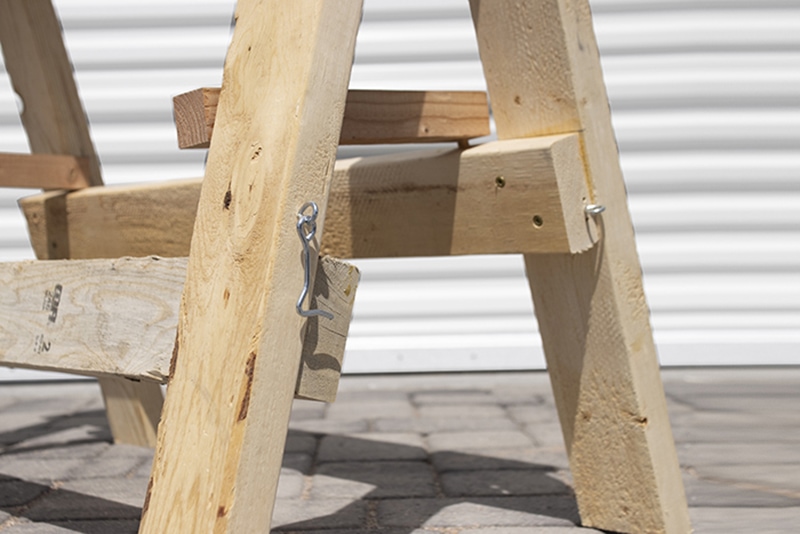
These heavy-duty sawhorses are not only foldable, portable, and easy to build but also quite strong. Specifically designed with long cutting sessions in mind, they are sturdy enough to hold the heaviest lumber you can find. More than that, this DIY plan is highly customizable. You’re welcome to change the height, weight, and other parameters, including the materials used to build it, to fine-tune the project to your liking.
The cross supports are one of the most important parts of this project. They need to be large enough to handle the abuse. Attach them to the sawhorse legs using big, 3-inch screws and lots of wood glue. The same goes for the locking arms on each side. Once the saw stools are done, it will only take 10 seconds to set them up and get to work!
17. Makeshift Sawbuck
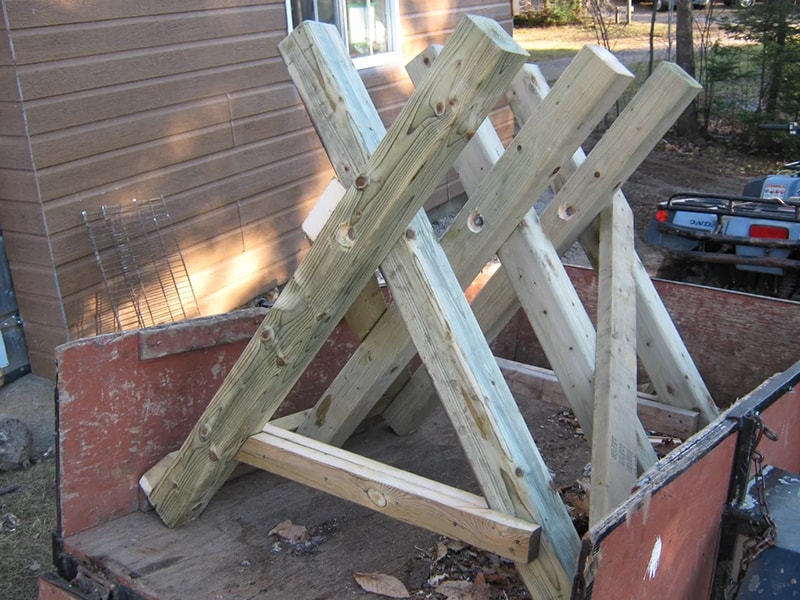
Last but not least, let’s take a quick look at a makeshift sawbuck DIY plan. It might not be the prettiest stand out there, but it sure does get the job done. And it’s easy to build. Dimensional lumber, some bolts, and screws: that’s all you’ll need to get started. Cut the lumber with a circular saw, make room for the screws with an electric drill, and secure the bolts with a ratchet and socket.
The only downside here is that a sawbuck can only be used for cutting logs. You’ll have a hard time trying to use it for anything else. On the other hand, this is a cheap project: you don’t have to use expensive lumber for it. That means some leftover wood from a previous project, a deck, or a patio will do. Cut two studs for each “X” and four studs for the braces, and the sawbuck is ready!
Featured Image Credit: sirtravelalot, Shutterstock
Contents

