
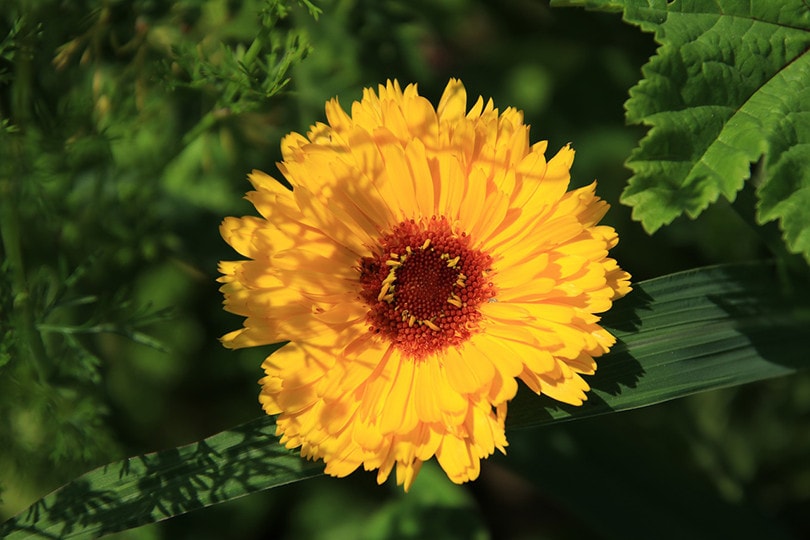
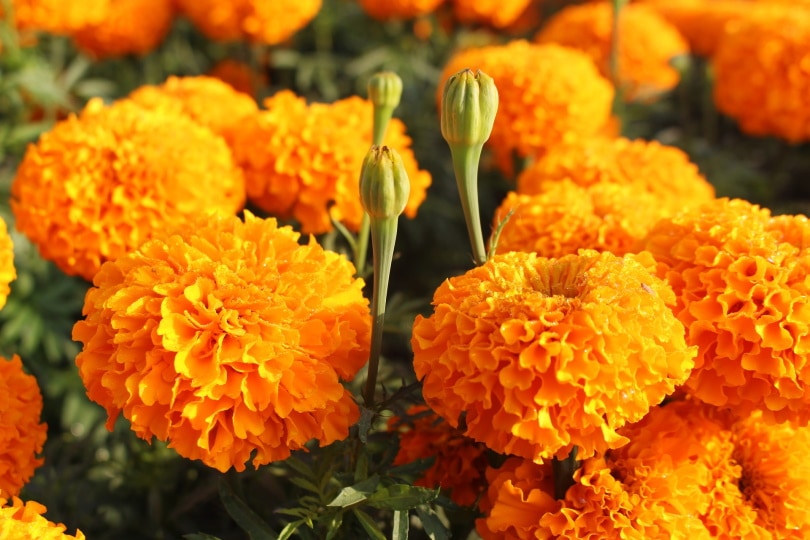
Marigolds are one of the most popular garden plants for adding some color to your landscaping. The plant has a lot going for it. It is easy to grow and comes in a wide variety of colors, shapes, and sizes. You’re sure to find a cultivar to match your landscaping theme. The best part is that research has shown they can repel garden pests, such as aphids. They also are deer-resistant.
While you can grow them from seeds, you can also take advantage of their showy flowers right away with transplants. They are typically annuals in most USDA plant hardiness zones. You simply put them in the ground when the conditions are right. Fortunately, most nurseries and home improvement centers don’t stock them until the weather is favorable.

Before You Begin
It’s necessary to do some prep before you plant marigolds. After all, you don’t want to waste your money. They are somewhat tolerant, but frost will knock down just about any plant. You must also measure the space where you want to grow these flowers. Fortunately, you’ll likely find that you can get plants to fit whatever space you have available.
Most likely, the marigolds are a part of your overall landscaping scheme. You can take advantage of layering to create interest in your garden because of the different heights of these flowers. You can find small dwarf varieties or larger plants that will reach 18 inches high. Therefore, planning will lead our list of steps for how and when to plant marigolds.

Materials
The necessary supplies include things that you probably have around the house anyway for other projects. The chances are that you won’t have to buy anything new, except the plants. However, we suggest gathering them before putting the marigolds in the ground to save you time and effort. It’s also an excellent time to sharpen dull tools to make your job easier. The materials include:
- Tape measure
- Dandelion puller
- Rake
- Trowel
- Garden shears
- Garden hose
- Watering can or hose wand attachment
- Work gloves
- Knee pad
- Fertilizer
- Soil test kit (optional)
- Garden compost (optional)
- Mulch
The 10 Key Steps to Planting Marigolds
1. Measure Your Space
The key to thriving plants is enough room to grow and find the necessary nutrients. It’s an excellent way to ensure that you don’t buy too many marigolds. When you select the plants, note the height and spread of each variety you buy. The ones you get will likely grow much larger once they’re out of the temporary pots.
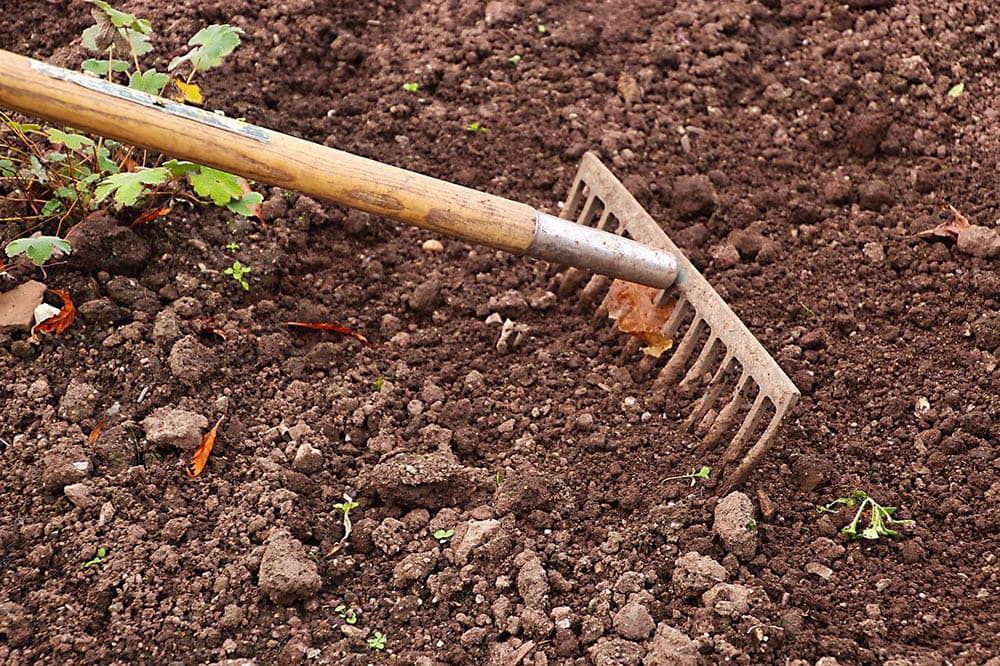
2. Rake the Area Free of Debris and Weed
While this step is tedious, it’s also essential to give your marigolds the best start. Remember that any unwanted plants will compete with your flowers. They will likely win the battle, too, since they are already established. Besides, you’re planting the marigolds for their beauty, so take advantage of all they have to offer.
3. Prepare the Soil
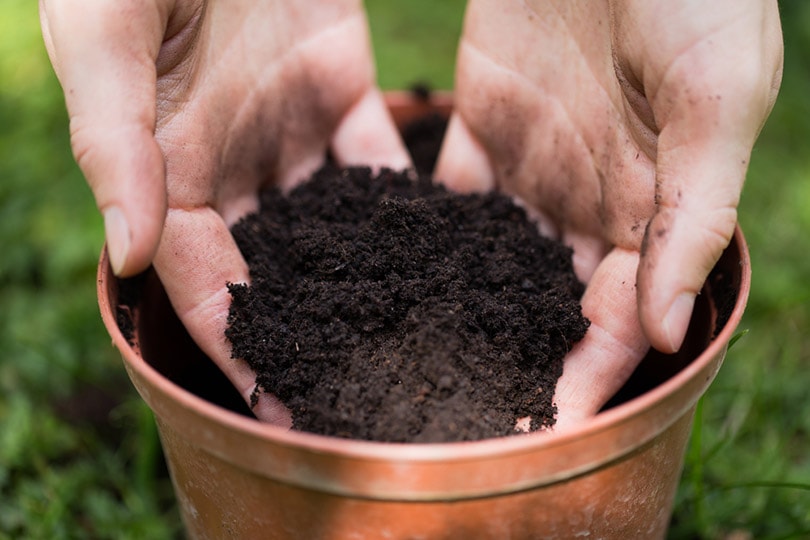
If you’re using a new space, we recommend doing a soil test on the ground. That advice also applies if the ground looks impoverished. You’ll need to know the basics of pH, nitrogen, phosphorus, and potassium. This information will help you select the best fertilizer for your site. If the soil is severely depleted, you might consider working some compost into the ground, too.
4. Do a Dress Rehearsal
The advantage of getting potted plants is that you can move them around to find the best layout. Keep in mind the spreads and heights of the varieties. We mentioned layering earlier. That involves putting the shortest flowers in front and the taller ones in the back. It creates depth, which is desirable in small spaces. Make sure to check the colors, too, for creating a pleasing scheme.
5. Dig Holes for the Plants
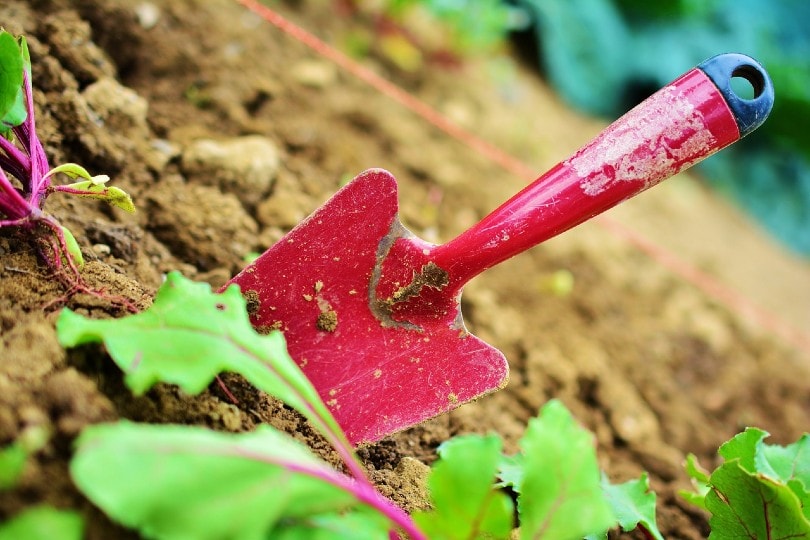
Once you’ve decided on the layout, it’s time to get the ground ready. We suggest following the recommendations on the marigold’s label for the correct depth and width. It’ll vary with the size and variety of the plants you have. We suggest starting from the back of the area first and moving forward. Water the holes thoroughly for at least half an hour before putting them in the ground.
6. Remove Plants From the Pots
You’ll probably find that your marigolds are root-bound, making it difficult to remove them from the pots. You’ll find a pair of garden shears handy for cutting away the plastic and minimizing root damage. Gently tease the roots apart to help the plant get anchored in the ground. It’ll also help it find water and nutrients quicker.
7. Get the Marigolds in the Ground
Place the marigold into the ground, filling the space around it with the removed soil. Press the earth firmly around the plant, making sure that it stands upright. Once it’s planted, tap the surrounding ground around it with your foot to remove any air pockets. The soil will recede over time, so it’s not an issue if you mound the soil around each plant.
8. Water the Area Thoroughly and Add Mulch
Water the plant thoroughly using either a watering can or a hose with a spray attachment. It’ll prevent the soil from washing away and provide a source of moisture for the stressed marigolds. However, don’t overdo it and leave them sitting in a puddle. You can then add a layer of mulch around the plants to prevent weeds and prevent moisture loss.
9. Maintain Moisture Levels
The next few days and weeks are critical. You will need to water your marigolds frequently until they get established. We suggest doing it in the mid to late morning to give the plants plenty of time to dry before the cooler nighttime temperatures. Keep an eye on the weather and precipitation to make the necessary adjustments.
10. Deadhead the Flowers and Weed as Needed
Marigolds are generally tolerant of poor conditions. Of course, you want to get the most out of planting them in your garden. You can extend the bloom time to some degree by removing the spent flowers or deadheading them, preferably before they start to seed. Plants will keep producing flowers with the aim of leaving seeds. As long as you delay it, you’ll have more time to enjoy your marigolds.
Final Thoughts
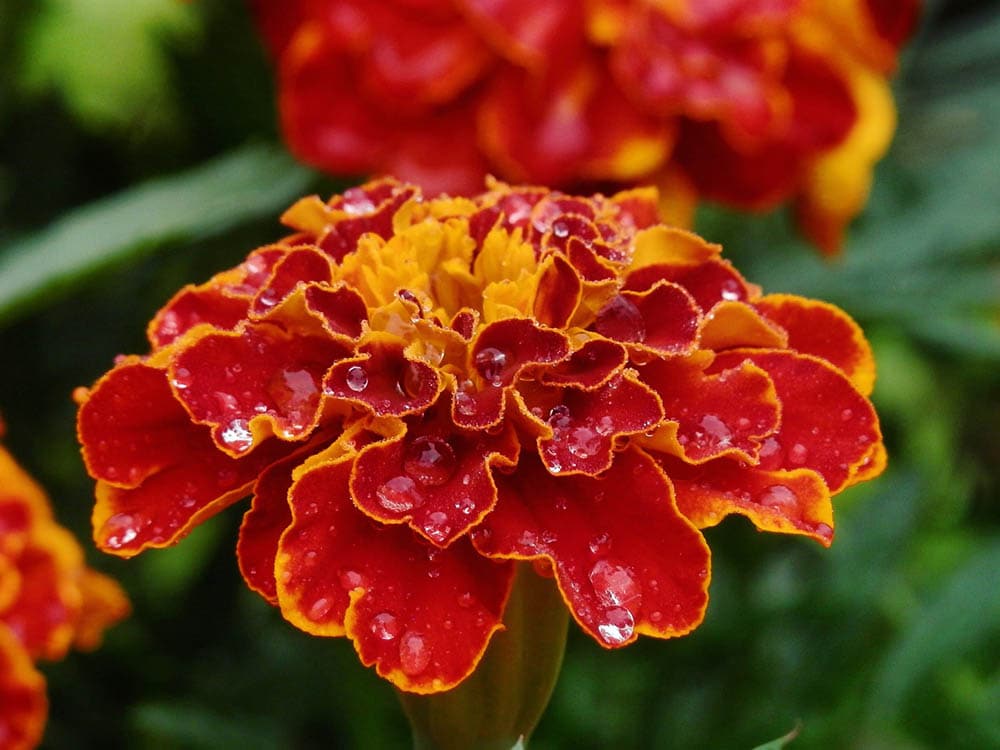
Marigolds are an excellent choice to add to your garden because of the beautiful colors they bring to your landscaping. While they’re only annuals, you can still get a lot of enjoyment from them. The fact that the deer will leave them alone is another bonus. The best thing is that even a beginner can plant and maintain them easily while looking like a professional.
Featured Image Credit: Marjonhorn, Pixabay
Contents
