
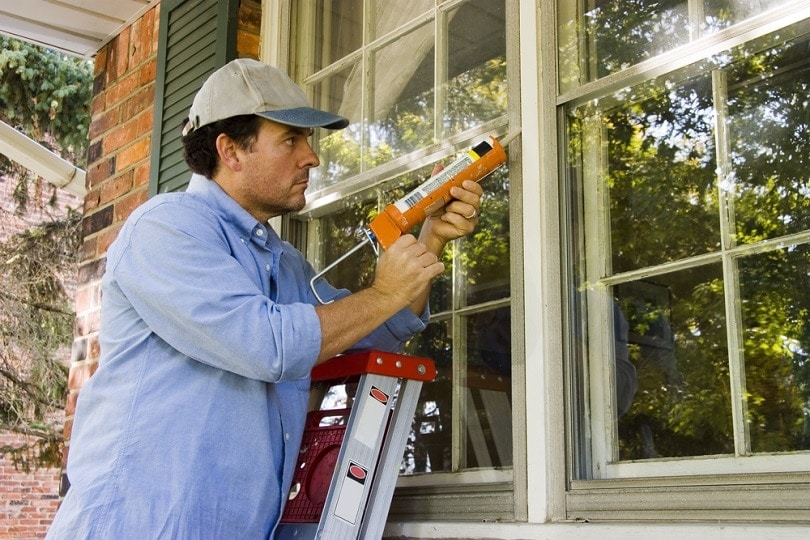
Caulking your windows helps to seal out drafts and prevents leaks. It’s easy to apply yourself and doesn’t take long. However, it also doesn’t last forever, so you’ll need to reapply it now and then for maximum effectiveness. We will look at how often you need to reapply caulk and give you some tips on applying a solid seal with a professional appearance.
How Often Should I Replace Caulk?
The short answer is that you’ll need to replace your window caulk when it needs it. Most window caulk brands should last about 5 years, but several factors can come into play.
House Age
Many people may not realize that the age of their home can affect the window caulking. New houses can take a while to settle, and the wood in your home can flex over the first several years. This settling and flexing can cause your window caulk to crack and become dislodged.
Weather
If you live in an area that experiences lots of heavy rains or freezing weather, it can cause your caulking to deteriorate much quicker than it should. Because weather patterns in North America often travel from west to east, the caulking on the west side of the house can deteriorate faster as it takes the brunt of the wind and rain.
Sunlight
Sunlight is another enemy of window caulking. Though many brands have ingredients that offer UV protection, continuous exposure to the hot sun can break down the caulking and cause it to become brittle. Because the sun rises in the east and sets in the west, the windows on the east and west side of your home will tend to need replacing more often than the windows on the north and south side.
Other Factors
There are plenty of other factors that can break down your window caulking. If you live in the woods, insects and tree sap can become a problem. If you live on top of a mountain, you may experience more extreme temperature changes, while living in a valley can cause unusual wind directions.
How Will I Know It’s Time to Replace Caulking?
We recommend inspecting your caulking every year and replacing it if you notice any cracks developing or if you see it pulling away from the window. If you feel drafts in your home, it’s often a sign that you need to replace the caulking, and you may also notice a sudden rise in heating costs as your heat escapes through the gap created by aging caulk. You may notice more small bugs in your home in the summer than usual, especially at night when they are attracted to the light.
You may hear your windows rattle in extreme cases because the window caulk is what holds the glass panes in place and provides a cushion. If the caulking has badly deteriorated, the window will begin to rattle on cold days. You may also notice chipped paint and warped wood because, without caulking, the rain will get into the windowpane. Allowed to sit, the wood will absorb the water and could warp while the swelling can crack the paint.
How Do I Replace Caulk?
If you notice the caulk around your windows showing signs of wear, you cannot apply new caulk over the old because the old will continue to deteriorate faster than the new. The best thing to do is to remove the old caulking completely before replacing it.
Removing Old Caulking
Removing the old caulking is not difficult, but it will require patience and will take some time.
- First, you will need to apply a caulk remover. Caulk remover is a liquid, often in a spray bottle that you apply to your aging caulk and allow it to sit for a few hours to soften it and make it easier to remove. The longer you let it sit, the softer the caulk will become. You can find effective caulk remover from brands like Goo Gone and De-Solv-It.
- Once the caulk remover has softened the caulk, you can scrape it away with a caulk removing tool. This tool is very inexpensive, and you can find one in most hardware stores or online. You can also use a utility knife or a razor blade to scrape it away but be careful not to remove any wood along with the caulking. A putty knife and old toothbrush can also help remove the caulking.
- If some of the caulking is still hard and difficult to remove, you can use a heat gun to soften it. It’s extremely easy to damage the window with a heat gun, so you will need to be extra careful. A hairdryer might also work.
- Once you remove the caulking, you can use a damp cloth to wipe and clean the surface. If you can see that there is mildew on the surface, soak the rag in bleach to kill the mold, which will allow the caulking to create a better bond.
Applying New Caulking
- Choose an exterior caulk brand resistant to ultraviolet light for the outside and an odorless, paintable latex brand for the inside. There are many brands available from GE, Sashko, and DAP that will work perfectly.
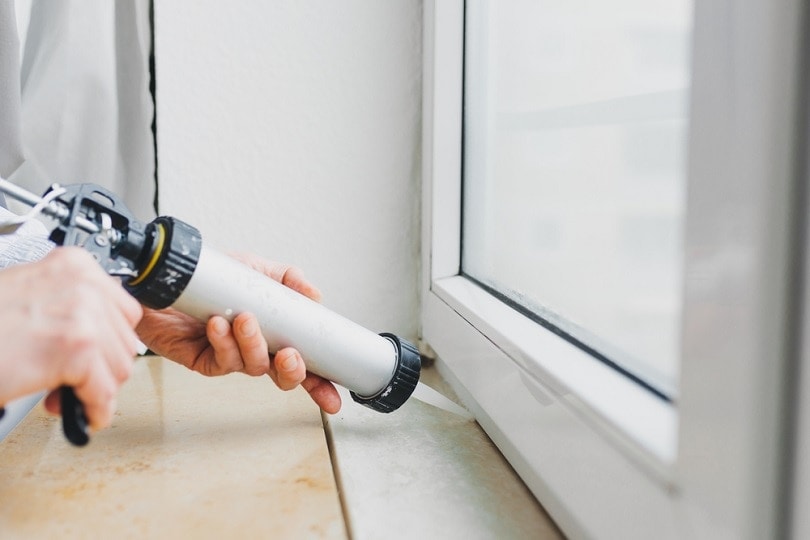
- Use a caulking gun with a thumb release so that the caulk sops oozing as soon as you release it to prevent creating a mess. The Newborn 101 1/10GL Superior E-Z Thrust Smooth Rod Caulking Gun is a perfect example of the type of gun we recommend.
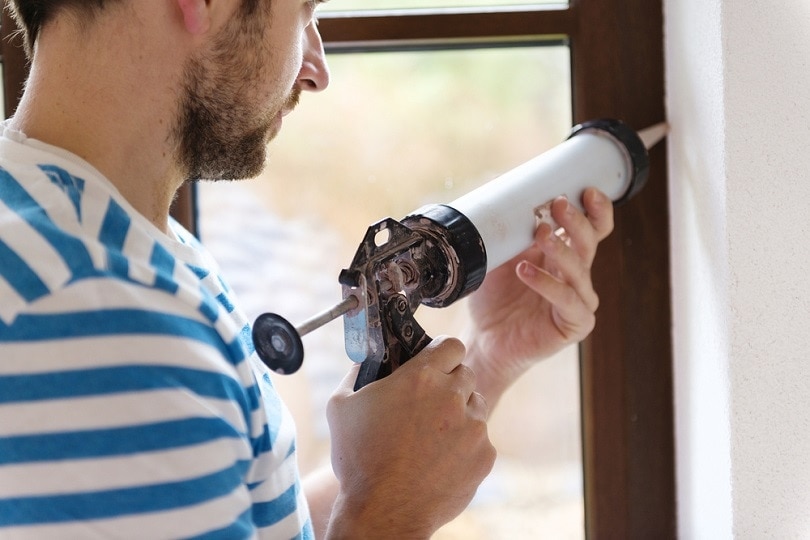
- When cutting off the tip, remember that you can always cut off more to make the hole wider, but if you cut off too much, you can’t fix it. Some tips are marked, but most are not, so start as close to the tip as you can.
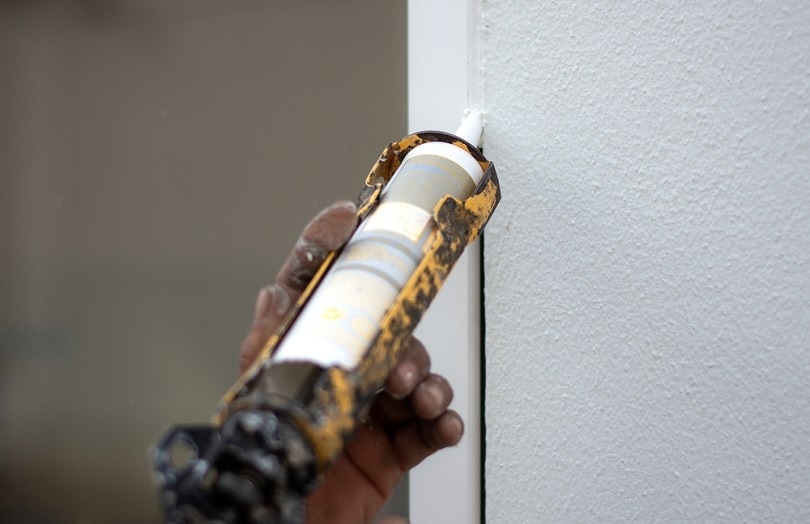
- Use both hands to control the bead and stabilize the gun as you move from corner to center along the window. Moving only at the elbows will help you keep the angle straight, allowing you to create an even bead.
- Move from corner to center and stop. Then move from the other corner to the center again to create a continuous seal. Working this way will prevent uneven beads in the corner. It’s also easier to fix the connection point.
- Slide the tip along the window and not the wood pane because the glass will be smoother, creating an even bead.
- Smooth out the bead with a wet finger once you have completed it. Work slowly in small sections until you smooth the entire bead.
- Use a product called backer rod to fill in gaps larger than ¼-inch before you add window caulking. Trying to fill a large area with caulk will lead to swelling that looks bad and creates a poor seal that will wear away quickly. Backer rod is a small, dense foam that you can get in many sizes to fill in these gaps. M-D Building Products 71464 Backer Rod is a perfect example.
Summary
If you use a good, high-quality caulking brand, you should get about 5 years before you need to reapply it. However, harsh weather can speed up deterioration, especially on the house’s east and west sides. We recommend a yearly inspection in early spring to look for crack and peeling away, so you can replace it in nice weather. Other people like to make their annual inspections in early fall to make sure their windows are sealed tight for the winter. As long as you stick with it, either method will work.
We hope you have enjoyed reading and have found the answers you need. If we have helped you reduce drafts and save money on heating, please share this guide to how often you should caulk your windows on Facebook and Twitter.
- You might also be interested in: How To Fix A Window Spring In 8 Steps (with Pictures)
Featured image credit: Greg McGill, Shutterstock
Contents
