How to Adjust Door Hinges in 5 Steps
-
Ed Malaker
- Last updated:

If you have just installed a new door and the hinges are slightly off or you moved into a home where the hinges on a door are working incorrectly, not repairing them can cause squeaking and premature failure. You might also need to make adjustments if there is too much space between the door and the frame. If this sounds like your situation but you aren’t sure how to make the proper adjustments keep reading, as we provide you with a step-by-step guide to adjusting your door hinges.

Preparing Your Door Hinges
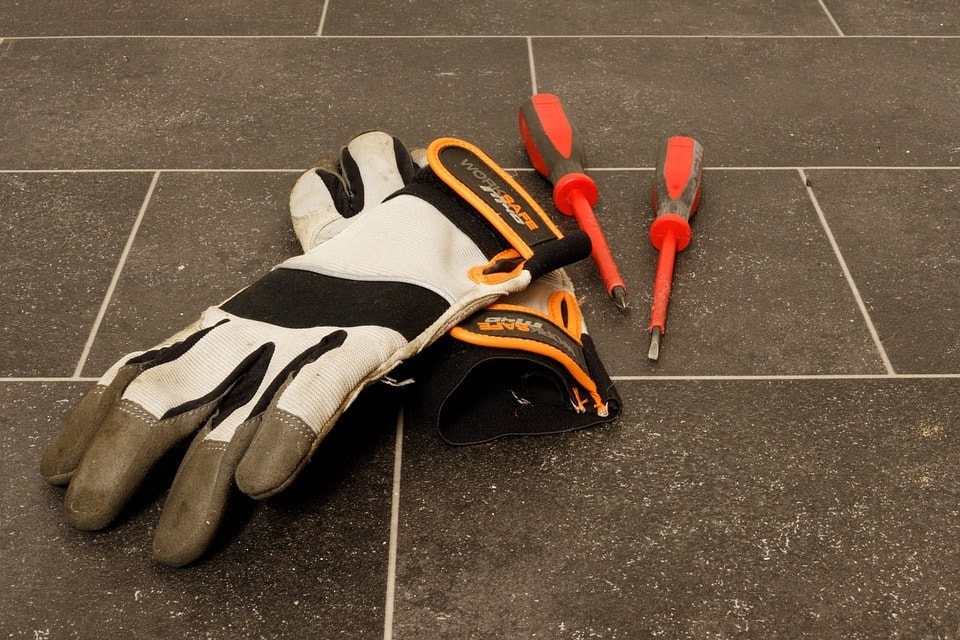
It’s always best to gather your materials together before you get started so you don’t have to make any unexpected stops or trips to the store. Fortunately, this project requires few materials, and you shouldn’t even need any safety equipment. However, if you are adjusting the hinges in an area with mold or dust, we recommend wearing a mask to protect your lungs. While not necessary, a lamp or other light source will also make it easier to see what you are doing.
Tools and Materials
- Safety mask
- Light source
- Screwdriver
- Posterboard or cardboard
- Putty knife

Adjusting Your Door Hinges in 5 Steps
1. Open the Door
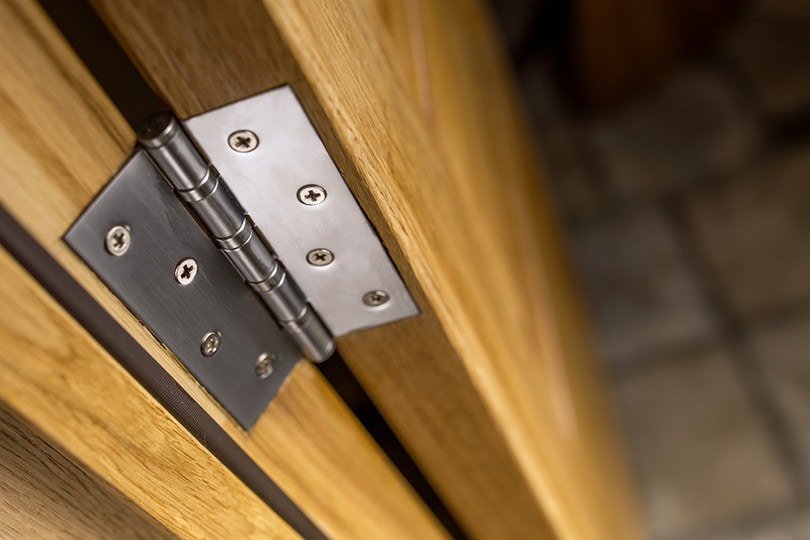
With the tools and materials in hand, get started by opening the door as wide as it goes. Opening the door will open and expose the hinge and more importantly, the screws that hold it in place.
2. Loosen the Screws
With the door open, you should see the screws. Most doors will have screws that can be loosened with a flathead or a Phillips head screwdriver. However, torque screws and security screws may require a specialized tool. Loosen the screws on the door frame only 1/8–1/4 of an inch from the frame. Don’t remove the screws entirely, and you only want to work on one hinge at a time, or the door may move too far out of place.

3. Close the Door
Once you loosen the screws holding the hinge to the door frame, carefully close the door as far as it will go. The screws jutting out will prevent it from closing properly, but now you can look through the door at the hinge, which is likely lifting away from the frame. If the hinge is not moving away from the frame, you may need to encourage it with a flathead screwdriver or putty knife.
4. Insert Cardboard
For this next step, you need a thin piece of cardboard no thicker than a credit card. Product packaging works well, as does poster board that you can find in many dollar stores. The latter is easy to cut several pieces the same size, which is essential for this project, but it’s thin, so you may need several layers. The idea is to push one or more pieces of the cardboard or poster board between the doorframe and hinge to push it farther out. Doing so will help close gaps on the other side of the door. It can also help the hinge line up better vertically with the other hinges, so it doesn’t squeak or buckle.

5. Tighten the Screws
With the cardboard in place, carefully open the door to expose the screws and tighten them down. Once complete, try out the door to see if it’s operating correctly and any gaps are closed. If you use a single layer of poster board, there’s a good chance that you didn’t move the hinge far enough away to solve your problem, and you’ll need to repeat these steps, adding more layers until it’s working right. If you used a different type of cardboard, there’s a chance that it was too thick, and you’ve caused other joints to start squeaking. So, keep trying until it’s working correctly.

Other Options
Many people prefer to open the door, loosen the screws, and add the cardboard while the door is open. This option is easier, but it places the cardboard farther away from the hinge mechanism in many cases, so it doesn’t get the support that it needs to prevent it from flexing back to its original position.
When Should I Adjust My Hinges?
- Adjust your hinges if there’s too much of a gap between the door and the frame. Otherwise, it might not latch properly when closed, which can be a security issue, especially if the door leads outside. Adjusting the hinges will help the door latch more securely.
- If your door rubs lightly on the top of the frame when you open and close it, adjusting the top hinge can help angle it enough to work correctly.
- If you notice a hinge buckling or squeaking excessively, it’s often a sign that the hinges are not lining up properly. Adjusting the opposite hinge will often remedy the situation.
 Summary
Adjusting your door hinges is quite easy, and most people can complete the task in a few minutes, provided that you have cardboard of the right thickness. These adjustments can help solve problems like a sticky door or one that doesn’t latch well, and they can also help reduce strain on the mechanism, meaning the hinges will last longer and make less noise.
Featured Image Credit: Artsiom Kuchynski, Shutterstock
Contents
 Summary