

A stair stringer is a frame at either side of a flight of stairs into which the treads and risers are attached. Deck stairs have two stringers, one on either side of the stairs, and these need to be firmly secured to ensure the stairs are robust enough for regular use. Although you do need to follow building codes and regulations, there are several options for how you can fix the stringers to the deck and ensure a stable set of stairs.
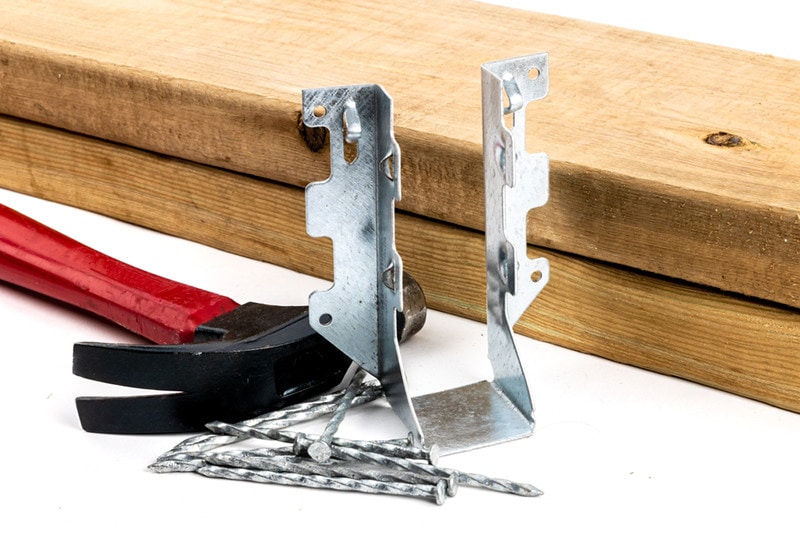
Below are six techniques and tips on how to attach stringers to your deck. It’s unlikely that you’ll have appropriate fasteners lying around the house or workshop unless you’ve previously bought specialist hangers.

The 6 Tips for Attaching Stair Stringers to a Deck
1. Attach to the Rim Joist
The rim joist, which is also called the band joist, is the wood that wraps around the edge of the flooring. Using adjustable stair stringer hangers or lag bolts, you can attach the stringer to the rim joist.
This is the simplest method, but you do need to ensure that the hanger fits properly and you may need to replace lag bolts over time. If you do use lag bolts, use washers to protect the rim joist and pre-drill holes to prevent cracking and splitting of the stringer wood.
2. Use Joist Hangers
An adjustable stringer hanger enables you to place the stringer at the top or bottom of the joist. This means that the top tread can be fitted as an extension of the decking or, if placed lower down the joist, the first tread can be used as the first step down.
Pre-bent joist hangers are similar to adjustable hangers except that they are already bent to allow common stringer measurements. A dropped rim joist is used if the first tread acts as the first step.
3. Extend the Rim Joist
Typically, more than 60% of the hanger must come in contact with the rim joist, but this isn’t always possible with the existing joist, especially if you plan to use the stringer as the first step down. In these cases, you can extend the rim joist downwards. This technique requires the addition of two pieces of wood: a second joist the same size as the existing joist and a backer board that connects the two.
This does enable you to use the stringer as the first step down, which is especially useful if you’re limited in stair space. But it does require the installation of an additional joist, which can take time and add cost to the project.
4. Add a Ledger Board
Rather than extending the existing joist, you can add a post on either side of the staircase and attach a ledger board between the two. This serves the same purpose as the extended joist, but it means that you can use longer fasteners that provide more stability and security. Because the posts are secured using concrete, it also prevents the movement of the stringers.
However, mixing and pouring concrete and adding the posts and ledger board does require a lot of extra work and if the posts are not secured properly or the concrete shifts, it can mean a movement in the stairs.

5. Bolt to the Deck Joist
Another method is to have the stringer run under the rim joist. In this case, the joist acts as the first riser and because you’re not adding additional blocks or posts, it gives a cleaner look to the finished stairs. It is also a very secure fastening but, unless the joists are parallel to the stringers, it does require some extra work to ensure everything is secure and looks good.
It is possible to use this technique if the joists and stringers are perpendicular, but it does require more work, which means increased costs and work time.
6. Use a Landing
A deck landing can be used to provide additional stability and support for the stringer. Typically made of concrete, a landing can also be made from brick, slab, or another solid material. The landing must be at least as wide as the stairs, and it should be a minimum of 3 inches deep. It cannot be made from dirt or soil. Bolts can be used to secure the stringer to posts on the landing.
What is the Difference Between a Stringer and a Riser?
The riser is the vertical panel on every step. It determines the height, or rise, of each step. The tread is the horizontal platform of the stairs on which people tread. Stringers are vertical supports that run at either side of the stairs. The risers and treads fix into the stringer. There are usually two sets of stringers used in deck stairs.
Conclusion
A deck stair stringer holds the risers and treads and helps ensure a secure walkway that won’t wobble, shift, or move. Typically, two sets of stringers are used, one on each side of the stairs, and they can be fixed to the deck in several ways, but you must ensure that the connection meets building standards. You can’t simply nail or screw the stringer directly to the deck, and it is unlikely that you will have suitable fastenings unless you have previously installed stairs and have leftover equipment.
Featured Image Credit: Regina M art, Shutterstock
Contents
