

If you’re the type who likes to entertain guests outside, whether it’s just a few friends on a weeknight or a full party on the weekend, a horseshoe pit is certain to get your guests excited. Almost everyone loves a good game of horseshoes, and it’s a great activity to get people active and interacting.
The game of horseshoes is simple, and anyone can play. Building a horseshoe pit isn’t much harder. You’ll only need a few tools and materials to build one of your own, providing many hours of comradery and competition for you and all of your guests.

Before You Begin Building
Even though this is a relatively simple project to take on, there are several steps you need to take before you start the building process. You’re going to need to spend a bit of time planning out your horseshoe pits. Then, you’ll also need to gather all of the necessary tools and materials.
Before we get into the steps you’ll have to take to assemble your horseshoe pit, let’s take a look at the necessary materials, tools, and planning you’ll need to account for.
Materials
Luckily, since horseshoes is such a simple game, not many materials are required to build a horseshoe pit. Mostly, you just need plenty of open space. Beyond this, materials are pretty minimal.
You’ll need lumber and fasteners to build boxes for the pits. You’ll also need sand to fill in those boxes. A piece of rebar will make an inexpensive stake, which you can sturdily mount in a plastic planter filled with cement. That’s all you really need, though a can of spray paint can make it easier to mark and measure your pit and pitching box.
- Pressure-treated lumber
- Nails or screws
- Sand
- Rebar
- One bag of cement
- Two plastic planters
- Can of spray paint (optional)
- Landscape fabric (optional)
Tools
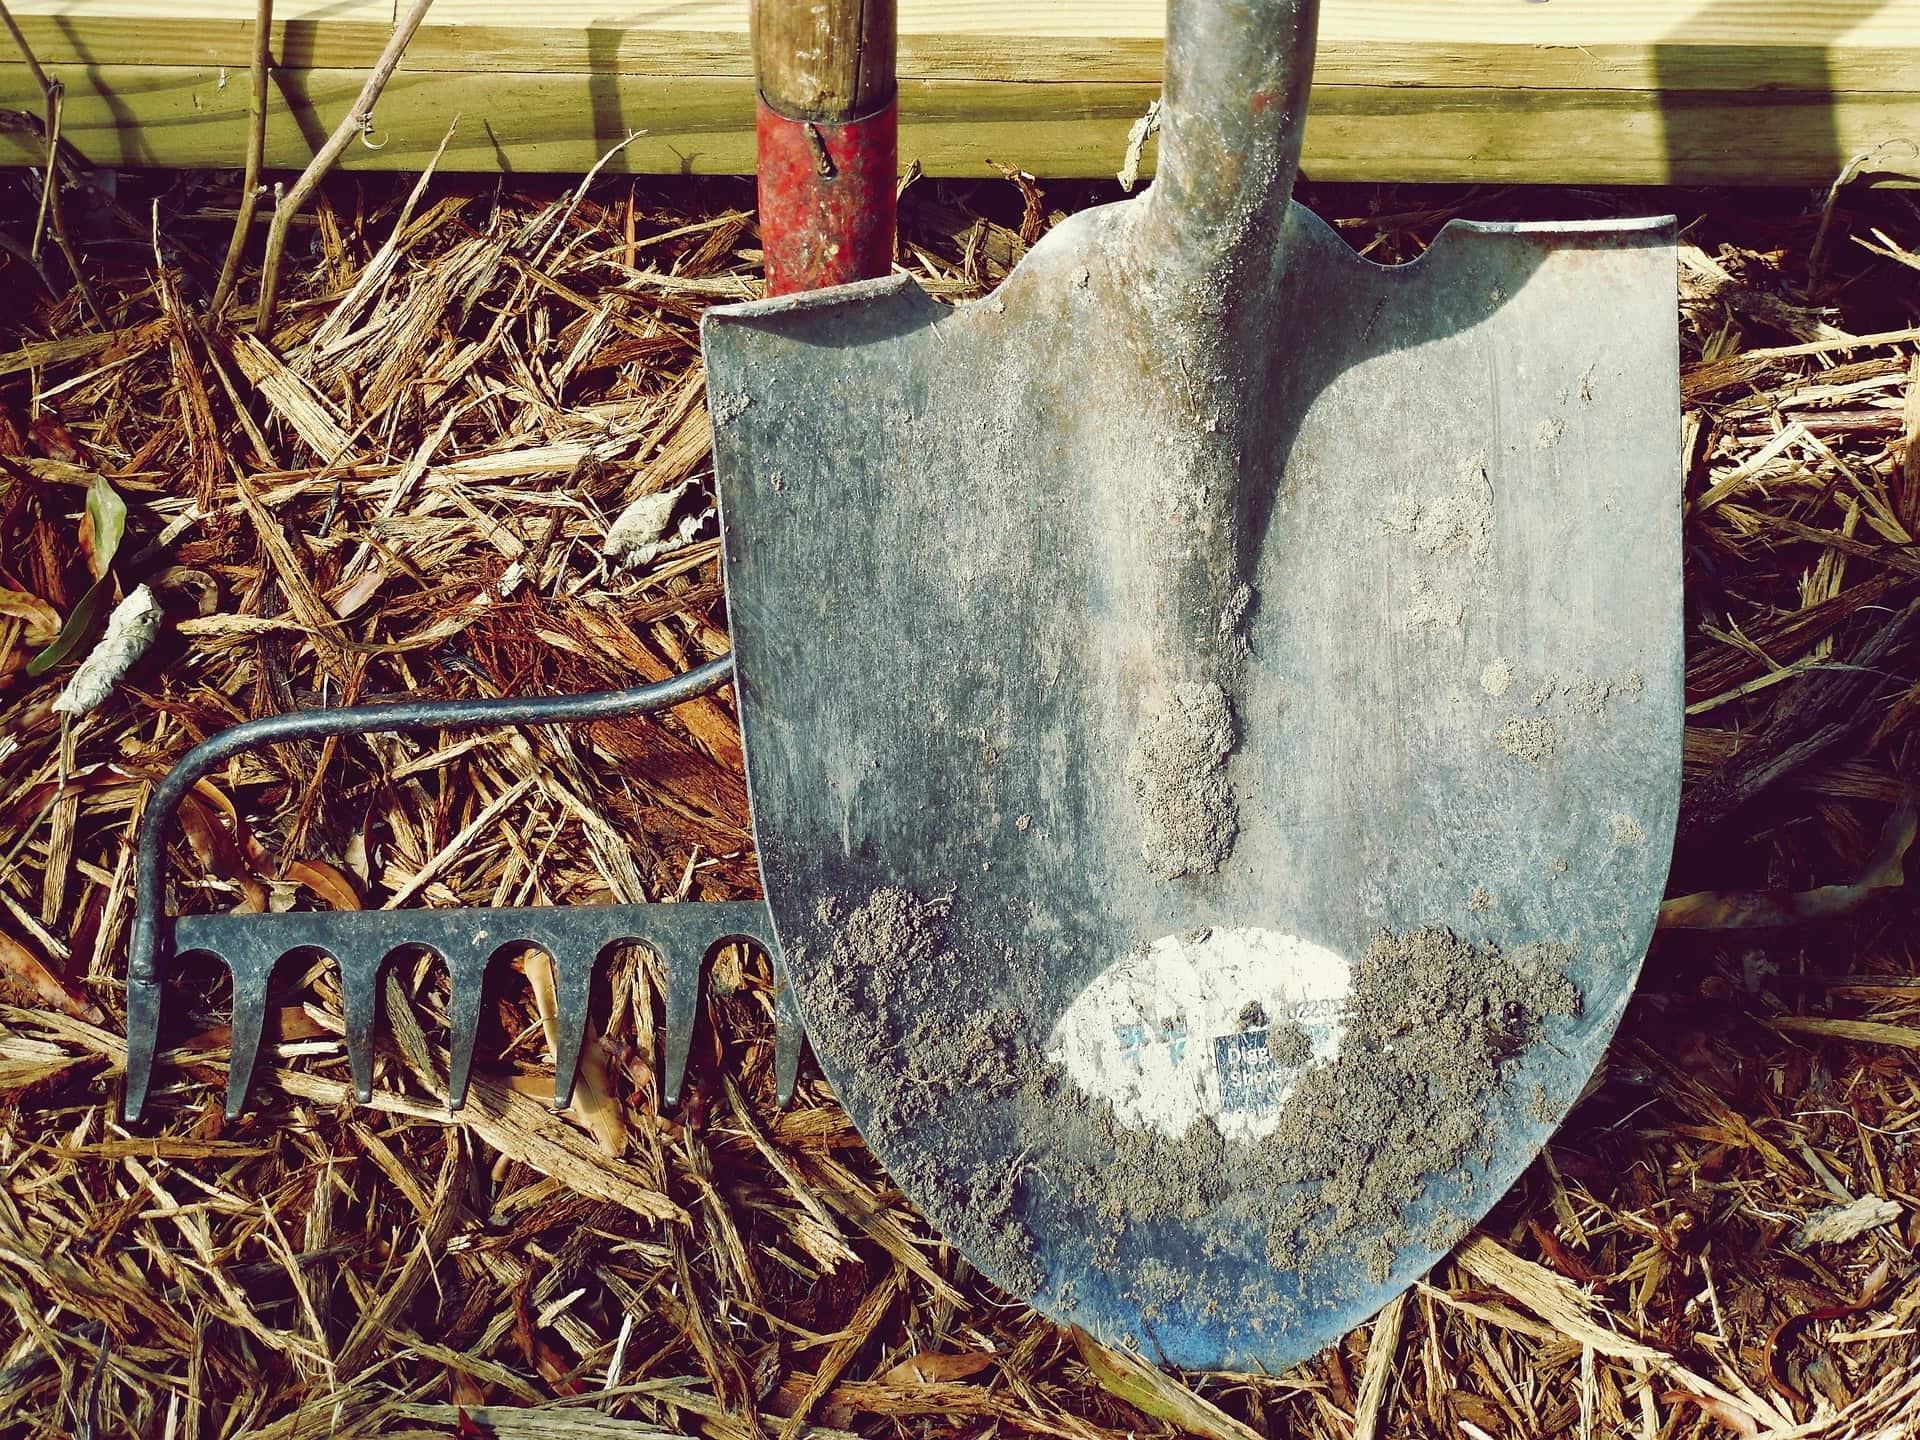
When it comes to the tools required to build a horseshoe pit, once again, you have very little to gather. You’ll need a shovel to dig your pit. Then, a saw will allow you to cut your lumber to the proper sizes, and a hammer or screw gun will help you assemble them. You can use the shovel or a large mixing bit to mix up the concrete for your stakes, but that should be all you need tool-wise.
- Saw for cutting lumber
- Hammer or screw gun
- Shovel
- Mixing bit for concrete (optional)

Prep and Planning
The preparation and planning stage should take up most of your build time. This is absolutely a case of measure twice and cut once. Once you dig a pit, you’re in it for good. So, make sure you have everything placed exactly where you want it.
Step 1: Determine Your Location
Pick out a good area with plenty of space for pitching horseshoes. Make sure there’s nothing too close by that’s easy to break with a flying horseshoe, such as large windows or fragile statues.
The main things you have to plan for are where you want your horseshoe pits to be. They must be located in a straight line from each other. You can choose whatever distance you prefer to have between the pitching box and the pit, but if you want to meet regulations, the stakes in each pit will need to be 40 feet apart. Pitching only needs to occur from a foul line that’s 37 feet from the opposite pole, though.
While you can have your pitching box facing any direction, it’s best if you can orient everything north to south. If you do this, you’ll be able to play during any hours comfortably. If you’re facing east to west, the sun will be in your face blinding you for half of every day.
Step 2: Decide on Dimensions

You’ve already had to decide how far you want to pitch, but you also have to figure out how large you want your horseshoe pit to be. According to regulation, it should be between 43-72 inches in length. You have a bit less wiggle room in width since the pit should be 31-36 inches wide.
An additional decision you must make is whether you want to have two horseshoe pits, which meets regulation, or just one pit, which is much easier and less time-consuming to make. Since it’s just for backyard fun, you can easily get away with having one pit and a dedicated pitching platform. But if you want to meet regulation, you’ll want two pits, with each pit being bordered by two pitching platforms.
Step 3: Gather Your Tools and Materials
Once you figure out where you’re going to put your horseshoe pit and how large it’s going to be, you need to gather all the materials and tools you’ll need to build it. Ensure you purchase enough lumber for the size pit you’ve chosen to build.
You can use screws or nails to assemble your frame. Either one works just fine. As far as lumber goes, you definitely want to go with pressure-treated wood. It will resist the moisture from the ground, preventing it from rotting as regular wood would.

How to Build a Horseshoe Pit
You’ve got your horseshoe pits planned and all of your materials and tools are gathered. It’s time to start building.
Step 1: Measure and Mark
If you haven’t yet, mark out your horseshoe pits. You can use a can of spray paint for high visibility. Alternatively, you can just use markers like rocks and logs to mark out where you plan to build everything.
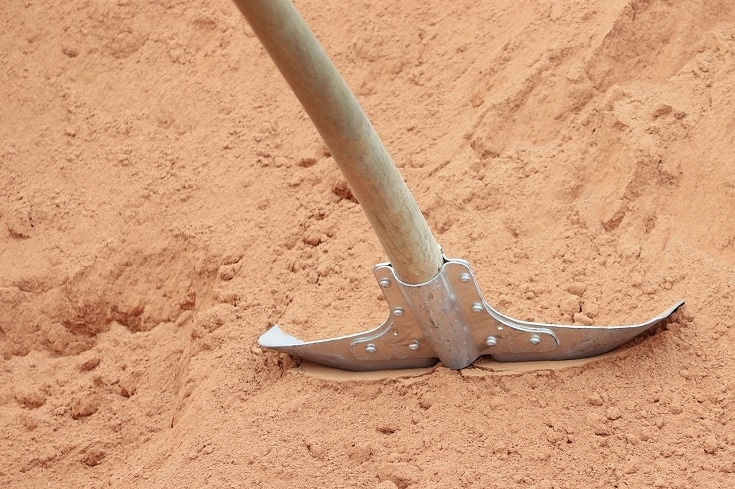
Step 2: Dig Trenches and a Hole
Bust out the shovel and start digging the pits where the holes will go. You’ll want to dig out the entire pit to a depth of just a few inches. Around the perimeter, you’ll want to dig deeper to allow the lumber you use for the box to set into the ground for stability.
Furthermore, you’ll need to dig a sizable hole in the center of the pit where the stake will go. This will need to be a foot or more in depth, depending on how large of a planter you purchased for the pole.
Step 3: Cut Your Lumber
With your pit awaiting a box frame, it’s time to start cutting wood. Measure out the pit and cut your wood to fit. To keep it simple, make a square or rectangular box with just three sides. Leave the front off, so there’s no barrier for your horseshoes to hit.
Of course, you’re free to make your pit far more elaborate if you prefer. You can make the back much higher to catch overthrown horseshoes or you can attach a front board for more stability. Additionally, you can frame out for wooden pitching platforms instead of just using dirt or sand.
Step 4: Assemble Your Box
Once all your lumber is cut, it’s time to put everything together. Using nails or screws, assemble your box. Then, set it inside the trenches you dug in step 2. Next, fill in any loose areas around it with dirt to ensure that everything is stable and secure.
Step 5: Cement Your Stakes
With the pit framed out, it’s time to set the stake. One of the best ways to do this is to fill a planter or bucket with cement and set the stake in the middle. After the cement dries, you can bury the whole bucket, leaving only the appropriate amount of stake exposed above ground, which is 15 inches. Be sure to give your stakes a slight lean of about 3 inches towards the opposite pitching platform.
Place the planter with the stake inside the hole in the center of your pit. You might need to dig more or fill it in some to get the correct height. Then, using the dirt you removed from the hole, fill it back in to be even with the floor of the horseshoe pit.
Step 6: Line with Landscaping Fabric (optional)
You don’t have to complete this step, but if you do, you’ll prevent weeds from growing up in your horseshoe pit. Landscaping fabric is inexpensive, so we recommend getting some and laying it down in the pit before you lay in your wooden box frame or the sand.
Step 7: Fill the Box with Sand
Now that the pit is framed and the pole is placed, you’re ready to fill everything in with sand. Ideally, the sand will reach a level even with the surrounding ground. Try to get the top as level as possible.
Step 8: Pitching Platforms
The pitching platforms run on both sides of each pit and they’re where players are meant to toss the horseshoes from. These don’t have to be elaborate. You can simply remove the grass from that area so it’s bare dirt. Or the simplest method is probably to use paint to just mark a pitching box in the grass or dirt. If you want to take things to the next level, you can always build your pitching platforms out of wood. But don’t worry, you can have just as much fun playing from a spray-painted pitching box as a wooden pitching platform.
Conclusion
While there are technically regulations for the proper size of your horseshoe pits, none of that really matters. Build it however you want. The only important thing is that you have fun with it once it’s built. Make this project with recycled materials if you want. You can build it as elaborate as you can imagine, or simple as can be so you can just play without all the frills. However you choose to build it, it’s right.
Featured Image: Pixabay
Contents
