

Cracked grout on a tile floor looks unsightly, and it also allows moisture to get below the tile where it can do damage. Mold mildew and bacteria are also serious concerns when dealing with cracked grout. Fortunately, fixing grout is a fantastic DIY project that requires only a few simple tools and a bit of elbow grease. If you need help with this project, keep reading as we provide a step-by-step guide covering everything from the tools required to cleaning up afterward.

Fixing Cracked Grout on a Tile Floor
Preparation
The best way to get started is by gathering the tools and supplies that you need first, to make sure you don’t need to stop to run to the store or search the garage. Luckily, you only need a few things.
- Grout saw
- Grout
- Grouting sponge
- Grout float
- Baking soda
- Dawn dish soap
- Shop-vac
- Caulking tool
- Sponge
- Grout pen
- Grout sealant

Choosing the Grout
Hopefully, the cracked tile grout in question is a standard white that’s easy to find. If it’s a colored grout, you will need an old container to know what kind to get so the color will match. If it does not match, it will be extremely noticeable.

How to Fix Cracked Grout on a Tile Floor (8 Steps)
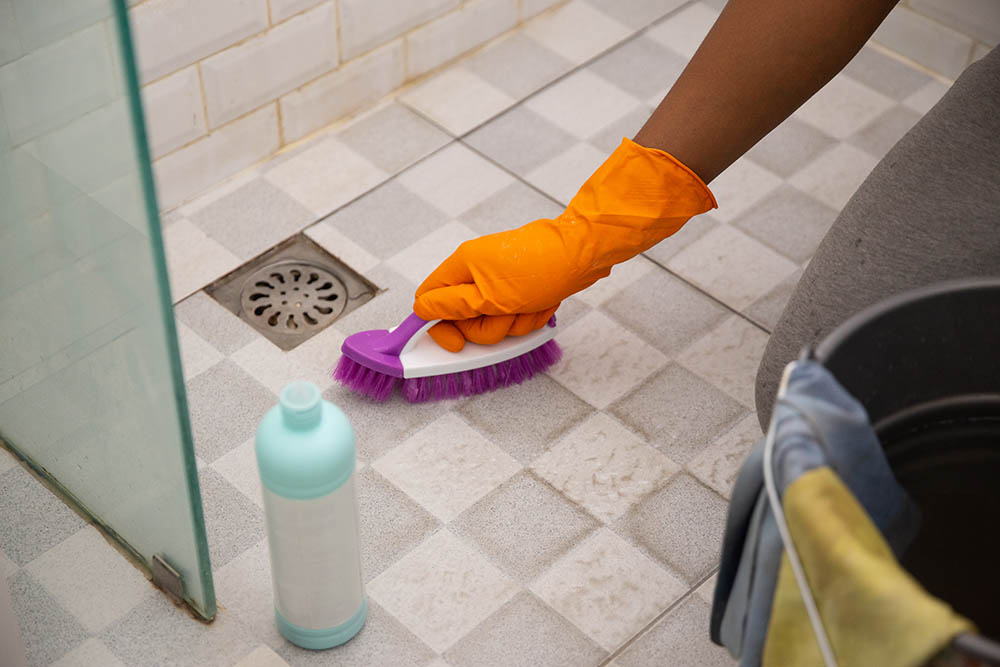
1. Clean the Area
Before you start working with the grout saw, it’s important to clean the area around the cracked grout to remove any dirt and small particles to see exactly what you need to do. Then, create a cleaning solution by mixing 1 tablespoon of baking soda or vinegar in an 8-ounce glass of water. A dishwashing detergent, like Dawn, is excellent for breaking up grease if the tile is in a kitchen area, but it can also make suds that can slow you down. Dip a toothbrush in the solution, and use it to scrub the cracked areas to remove any debris.
2. Remove the Cracked Grout
With the area clean, start removing the cracked grout using the grout saw. Use short back-and-forth motions and consistent pressure to remove the dried and cracked grout. It will be a little easier to remove because it has deteriorated, but if you have many cracks, this step can take quite a while and is likely the biggest part of the job. Be patient! Trying to work too quickly can cause the saw to scratch the tile.
3. Remove Any Dust and Dirt
Once you remove all the cracked grout, you will need to clean up the dust and dirt that are left behind. Fortunately, you won’t need to use a toothbrush or a special cleaning solution this time. A quick once-over with a shop-vac will pick up most of the dust, especially between the tiles. Then, go over the area with a damp cloth, and you’ll be ready for the next step.
4. Prepare the Grout
If you purchased a powdered grout, you need to mix it to the consistency of peanut butter. Premixed grout is better, but it’s not difficult to mix, so don’t worry if it’s all you have. It’s also normal for the wet grout to be dark in color — it will lighten as it dries.
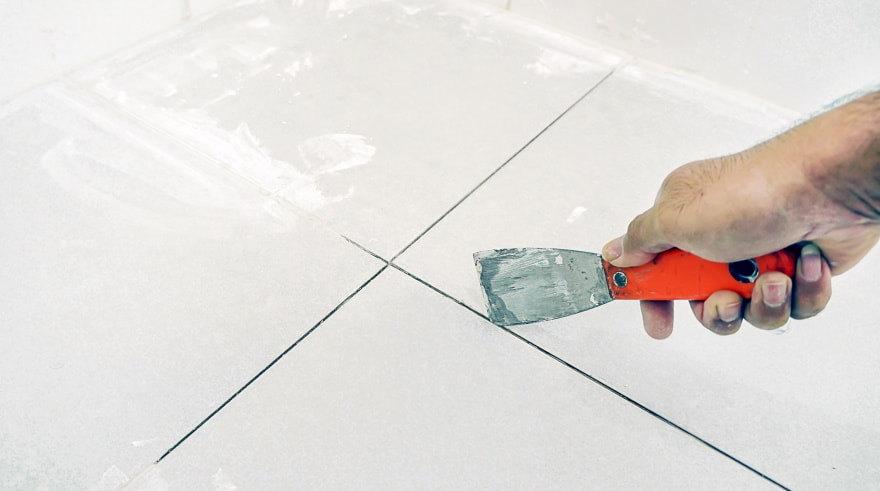
5. Apply the Grout
Place grout on a grout float or even a putty knife, and start pressing it into the gaps between the tiles. Remove any excess grout, and smooth the surface using a damp finger or caulking tool, which can help you get a nice bevel.

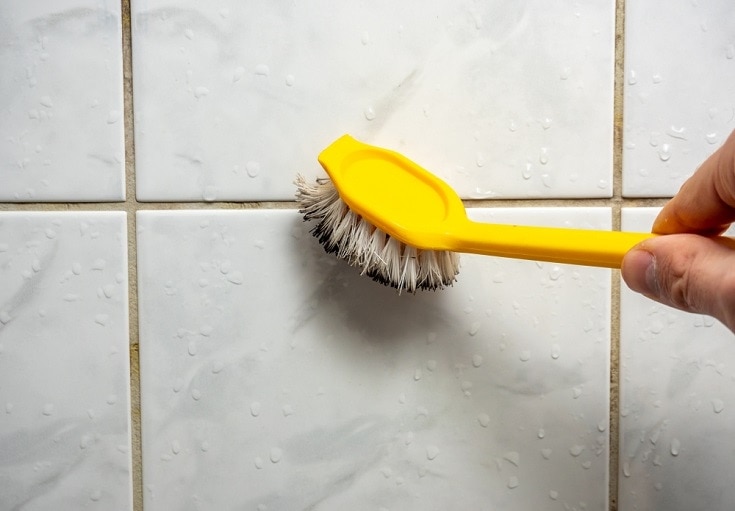
6. Clean the Area
With the grout in place, clean the area with a damp sponge before it dries; otherwise, it will be difficult to remove. Keep rinsing the sponge and going over the area every few minutes to remove any haze that might be on the tile. Cleaning can be a challenging step if you have many cracks to fill because you will need to wipe away drying grout with a damp sponge while adding grout where you need it. If you find it overwhelming, stop adding new grout until some of it is dry, so there is not as much clean-up.
7. Touch Up
If the remaining original grout is many years old, it can be stained. Your new grout will stand out and not match, even if you get the same brand. If this happens, it can be helpful to use a grout pen to improve the overall appearance of your floor. The grout pen looks like a standard marker, and you can use it to paint the grout, making it all one color again. Many of these pens will also add waterproofing and sealant to the grout.
8. Grout Sealant
Once the grout looks the way that you want and is dry, it’s time to seal it. Most sealers come in an easy-to-use spray bottle, and applying it only takes a few minutes. A sealer will help protect the grout from damage due to moisture. It also makes it less likely to stain or allow mildew to form.
Summary
While several steps are involved with repairing cracks in tile, it’s quite manageable, even for someone without much experience. Removing the old grout can take a great deal of elbow grease if there are many cracks, though, so we recommend breaking it up into 30-minute intervals, so you don’t get too tired or frustrated. The same goes for cleaning away drying grout while adding new grout to other areas. In many cases, it’s best to work on one area at a time. Patience is key to a successful repair.
Featured Image Credit: Pixabay
Contents
