
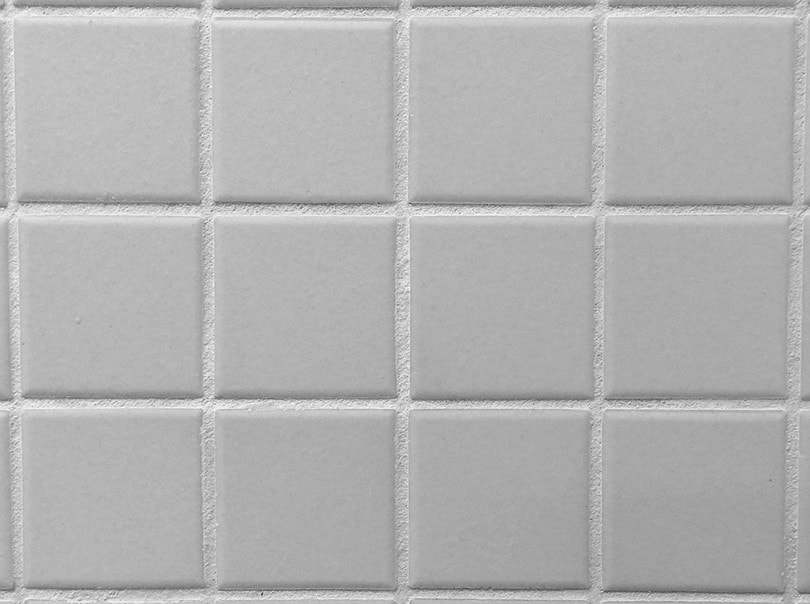
Grout is used to fill gaps between tiles. Sometimes, during the sealing process, the grout can spread onto or between the tiles. When this happens your floor looks uneven, dirty, and unattractive. Fortunately, you can correct this by cleaning it. That said, the grout between tiles needs occasional cleaning to maintain its original color.
Whichever method you choose, this article addresses different ways of cleaning out grout between the tiles. Read on to get tips and tricks on various homemade and conventional grout cleaning methods and how to apply them.

Preparation: Types of Grout
Before you start cleaning grout, you need to consider the hue and type of grout before you come up with a cleaning plan. Currently, there are two grout types namely epoxy grout and cement grout. The latter is further categorized as sanded and unsanded grout.
- Sanded cement grout has grit that you can feel and see. It’s a great option for areas with heavy traffic. However, it’s not recommended for polished and smooth stone. It’s because sanded grout scratches such tiles when it’s being applied.
- Unsanded cement grout doesn’t have grit. It’s easier to clean and work with compared to sanded grout. Unsanded grout can be used on vertical surfaces and polished stones. It also looks smoother than its sanded counterpart and it’s also stickier.
Epoxy grout has a lower possibility of sagging or shrinking than cement grout. It’s also stronger and absorbs approximately 50 times less water. This grout works well on shower surrounds, kitchen backsplashes, and other harsh environments. The downside is epoxy grout takes longer to apply and is more expensive than its cement counterpart.
Once you know the difference between these types of grouts, you can proceed to different ways of cleaning them.

Homemade Grout Cleaning Methods
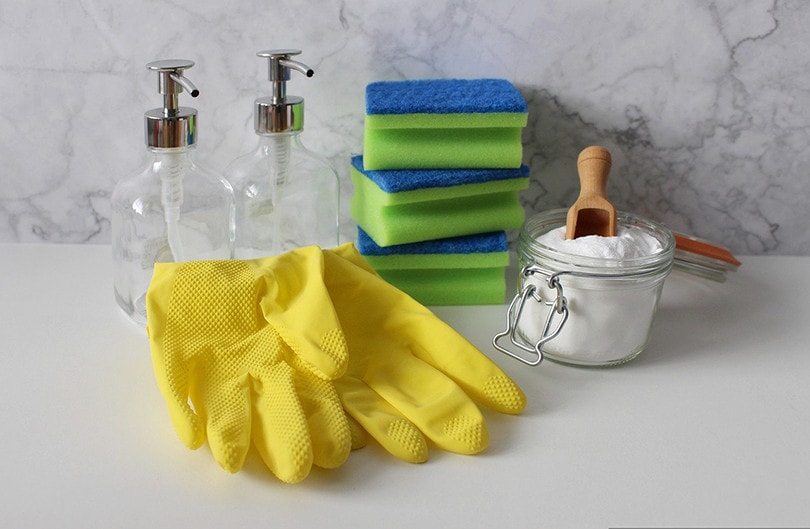
Inexpensive grout cleaners save you money, remove mildew and mold, and whiten grout.
- Rubber gloves
- A spray bottle
- Mixing tool and a bowl
- Old toothbrush or grout scrubber/brush
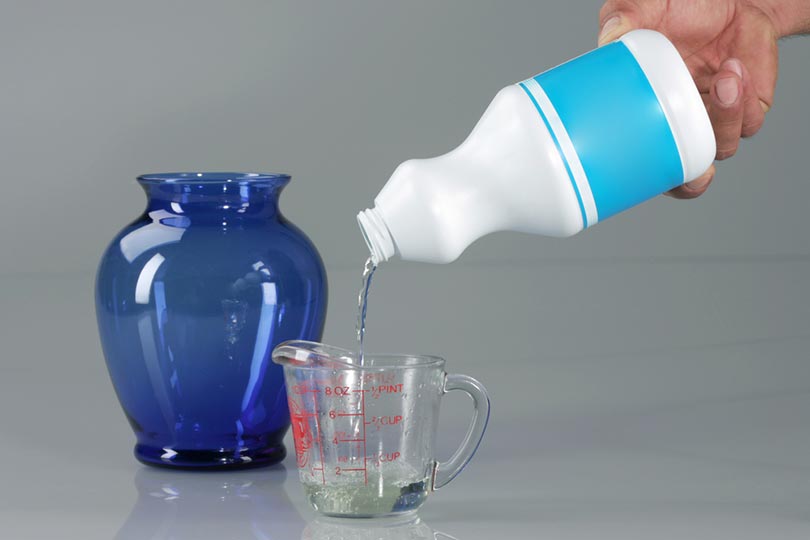
- Bleach
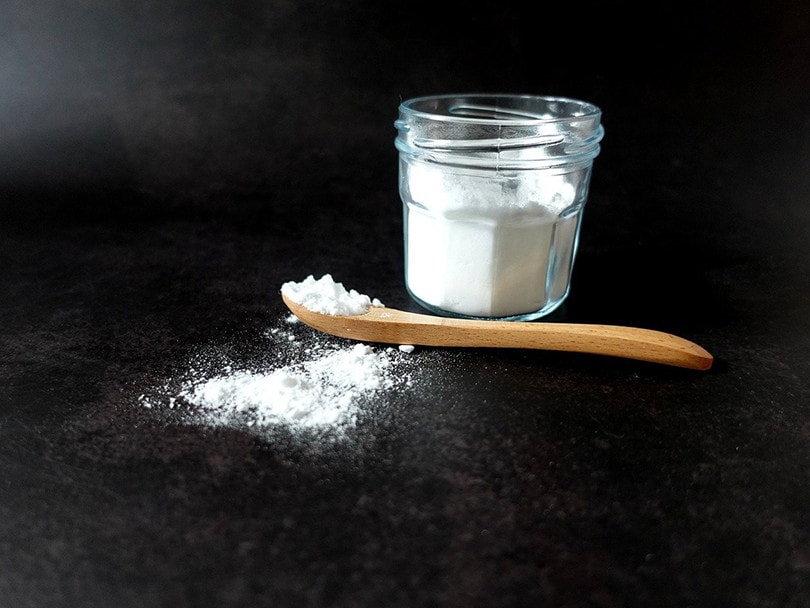
- Baking soda
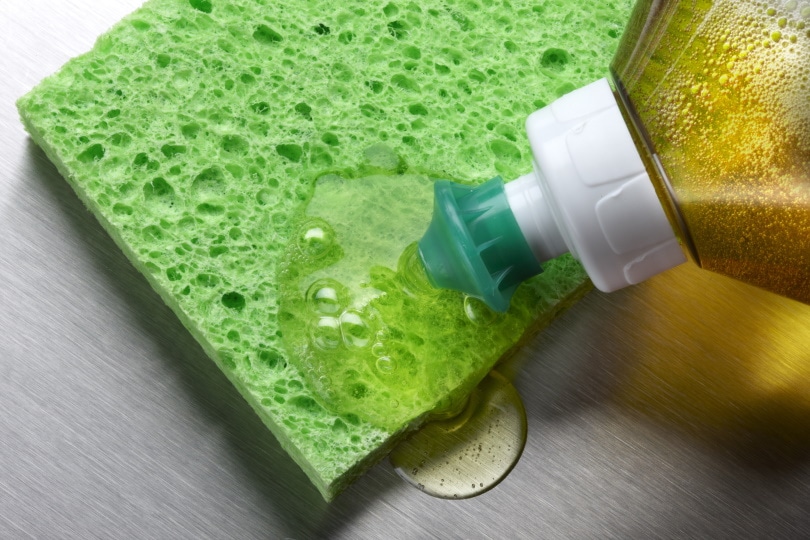
- Dish soap
- White vinegar
- Hydrogen peroxide
 The 7 Tips & Tricks for Cleaning Grout Between Tiles
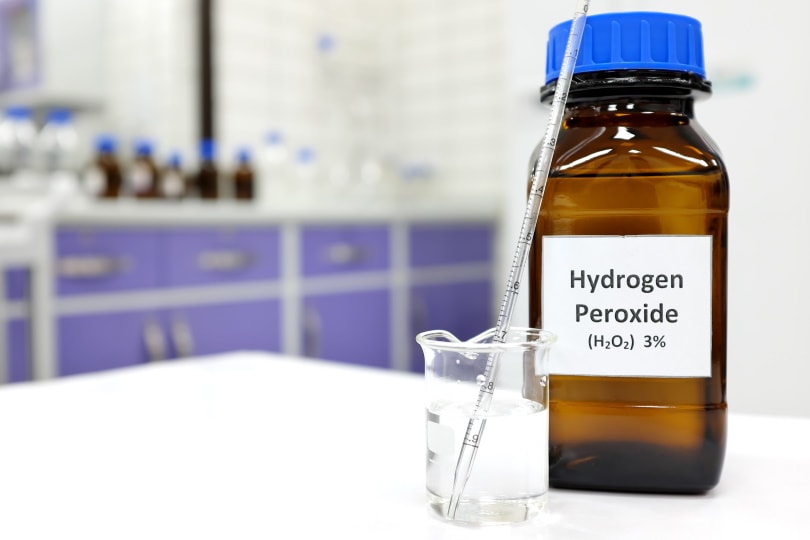
1. Cleaning With Hydrogen Peroxide
Hydrogen peroxide is one of the best grout cleaning agents. Use it with baking soda if you are looking for a grout cleaner with whitening capabilities. The combination thoroughly cleans stains on white and lighter grouts. Take note this isn’t recommended on grout that is surrounded by stone or marble tiles.
- Wipe the grout between the tiles you want to clean with a damp cloth. Next, sprinkle baking soda on the cleaned areas.
- Put the hydrogen peroxide into your spray bottle and spray it on the baking soda.
- Let it rest for about 20 minutes.
- Scrub the grout using an old toothbrush or grout brush/scrubber.
- Finish by rinsing the grout.
2. Cleaning With Vinegar and Dish Soap
Unfortunately, you can’t find grout cleaning options that don’t involve scrubbing. If you don’t like vigorous scrubbing, then this is your best option.
- Mix ½ cup of vinegar and ½ cup of water into a single container.
- Heat the mixture in a small cooking pot or in the microwave.
- Pour a cup of dish soap into a spray bottle and add the heated water and vinegar mixture.
- Carefully and evenly spray the mixture on the grout lines you want to clean.
- Let the mixture sit for a minimum of 10 minutes. If your grout is extremely dirty, let the mixture sit for 20 minutes or more.
- Use the grout scrubber or brush to give your grout a few good swipes.
- Finish by wiping and rinsing.
3. Cleaning with Peroxide, Baking Soda, and Dish Soap
You need to use hydrogen peroxide, dish soap, and baking soda for a deeper clean. Peroxide and baking soda are an excellent grout cleaning combination. However, adding dish soap to the combination makes a better homemade grout cleaning agent.
- Start by mixing the ingredients for this recipe. In a container, mix 1 teaspoon dish soap, ½ cup of baking soda, and ¼ cup of hydrogen peroxide. Mix the ingredients to create a consistent paste.
- Spread the mixture onto the areas you want to clean. Make sure you avoid applying the mixture on stone or marble tiles.
- Let the mixture sit for a minimum of 20 minutes.
- Use your old toothbrush or grout brush/scrubber to scrub the grout.
- Finish by rinsing and drying.
4. Cleaning with Bleach and Baking Soda
Bleach is a whitening agent meaning it’s a great item for brightening grout. When you add baking soda, the combination becomes a great homemade grout cleaning agent. Use the following steps to discover the power of these two ingredients.
- Add ¼ cup of bleach and ¾ cup of baking soda in a mixing bowl and mix them. Make sure the paste is thick and has a smooth consistency.
- Use a spoon to carefully and precisely apply this mixture to your grout.
- Wait for about 15 minutes.
- Scrub the grout lightly and let the mixture sit for another 15 minutes.
- Finish by rinsing and drying.
Conventional Grout Cleaning Methods
If you don’t want to mix ingredients, you can go for the conventional grout cleaning option. This involves purchasing a ready-made grout cleaning agent. There is a plethora of such products and choosing one might be a challenge. Ask a store owner, your friends, or your family for recommendations. You can also look at online reviews and ratings to find the leading brands.
- Chlorine bleach
- Powdered oxygen bleach
- Alkaline cleaner
- Large container or bucket
- Towel
- Rubber gloves
- Sponge
- Grout brush
- Optional items are safety glasses and a grout sealer
5. Cleaning with an Alkaline Cleaner
According to the TCA (Tile Council of America), alkaline cleaners are recommended for removing dirt and stains from gout. These are great grout cleaning agents for greasy and dirty grout in areas such as the kitchen.
- Use a large container or bucket to combine water with the alkaline cleaner. Make sure you follow the instructions on the package. Contrary to popular belief, increasing the amount of cleaner doesn’t increase the cleaning power of the mixture.
- Using a sponge, liberally apply the solution onto the grout lines the same way you would apply a paste.
- Let the solution sit for about 10 minutes to allow it to soak.
- Use the grout brush to scrub the grout lines thoroughly. When you see the grout’s original color, it means you have cleaned the grout properly.
- Get a clean sponge to remove any remaining cleaning solution.
- Rinse off any excess cleaning solution using fresh water. This should be done on the tile and grout lines.
- Get a dry sponge to dry and sponge up any remaining water.
- Finish by using a towel to dry the grout and tile. Don’t reseal the grout before letting the surface air dry for at least 12 hours.
Resealing Trick: In order to keep your grout clean, you need to reseal it. You should do this before you use the cleaned surface to prevent any moisture from getting on the grout lines or tiles.
6. Cleaning Grout with Chlorine Bleach
Household chlorine bleach is a good grout cleaning agent. Keep in mind you have to be cautious when using it.
- The only way to protect yourself when using chlorine bleach is by wearing safety gear. It includes putting on old clothes, rubber gloves, and safety glasses. The old clothes are to ensure you avoid damaging clothes you use on a daily basis. Keep in mind bleach can remove the color of your clothing and is caustic to your skin.
- Open all windows to ventilate the space you’re cleaning. Since bleach is toxic, it produces noxious fumes. If you are in a poorly ventilated area, these fumes may make you sick. To get the best ventilation, run the vent fan after opening the windows.
- Dip your grout brush in the bleach. Apply the bleach to your grout lines and start scrubbing thoroughly. Within a short time, you will notice the dirt and stains coming off.
- Use clean water to rinse the tile and grout thoroughly. Get a clean sponge and use it to remove the remaining bleach. Repeat the bleach removing process to ensure all the bleach is removed.
- Get a clean, dry towel and use it to wipe the grout and tile surface. Let the grout and tile air dry for at least 12 hours before you reseal.
7. Cleaning Grout With Oxygen Bleach
Oxygen bleaches are better than chlorine bleaches because they lack harsh chemical odors, are environment-friendly, and are non-toxic. Additionally, they don’t stain colored grout lines.
Take note that hydrogen peroxide is a type of oxygen bleach. Unfortunately, some are not effective for cleaning grout since they are sold as diluted solutions. The best way to use oxygen bleach as a grout cleaner is using the powdered form.
- Create a paste that has the same consistency as toothpaste by mixing powdered oxygen bleach with water. A good ratio is 1 part water to 2 parts powdered oxygen bleach.
- Apply a coat of the mixture onto grout lines using a clean sponge. Allow the paste to sit for approximately 10 minutes. Make sure you use gloves to make the paste and apply it.
- Use a grout brush to scrub the paste on the grout lines. As you scrub you will notice the grout going back to its original color. Any mildew or mold bits will also melt off.
- Use clean water to rinse off the paste. Follow by wiping the grout lines and tiles with a clean cloth
- If you want to reseal the grout, make sure the tile air-dries for at least 12 hours.
How to Reseal Grout Lines
Grout cleaning is a challenging process. Once you clean grout lines you want to ensure they stay stain-free and clean. Resealing grout creates a protective surface that makes it easier to keep grout clean and prevent staining.
Follow the product’s instructions carefully when you are applying a grout sealer. Tiles need to be clean and dry before you start resealing. Make sure the sealer is fully cured before using it. For the majority of tile grout, go for a penetrating grout sealer.
Conclusion
These are the best methods you can use to clean grout. Each has been designed to suit the needs of different people. Opt for homemade methods if you want to save some money and you have time to spare. Conventional methods are for people who want to clean the grout as fast as possible. Lastly, remember to implement the necessary safety precautions before you start cleaning grout.
Featured Image Credit: Brett_Hondow, Pixabay
Contents
