How To Clean a Self-Cleaning Oven: 5 Simple Steps
-
- Last updated:
Cleaning an oven can be tiring, especially if you haven’t cleaned it in a while. However, if you have a self-cleaning oven, you can use the self-cleaning cycle to enhance your cleaning experience.
While self-cleaning ovens are becoming increasingly popular, they are still a “mystery” to some. Many people who haven’t used such ovens before are unsure of how exactly you clean them, so we’re here to help,
Although these ovens are self-cleaning, there are certain things you need to do before pressing the button for your cleaning cycle. This article will go through everything you need to know about self-cleaning ovens and how to clean them.

What Is a Self-Cleaning Oven?
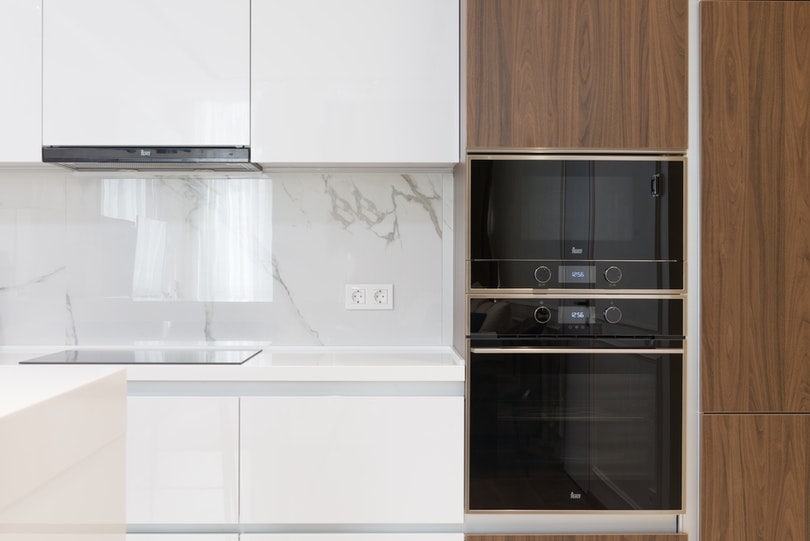
A self-cleaning oven is a smart kitchen appliance that has a self-cleaning feature. While these ovens operate like regular ovens, they also have a self-cleaning mode which uses high temperatures to clean the oven.
This cleaning method is extremely helpful as it doesn’t use any chemicals, which is why many people love it. It’s also efficient and functional and reduces the need for frequent and tiring oven cleanings.
How to Clean Your Self-Cleaning Oven
1. Read the Manufacturer Guidelines
The self-cleaning process in most self-cleaning ovens is pretty much the same. However, reading the manufacturer’s guidelines and verifying how your self-cleaning oven functions is always helpful.
That way, you’ll ensure you’re using it properly, and you’ll be able to safely apply all the safety measures to remain safe during the cleaning process. Most self-cleaning oven models are already safe enough and automatically lock after you start the cycle and stay closed until the oven is cool.
Still, ensuring you know everything about your appliance will allow you to understand the specifics and use it like a pro.
2. Ventilate the Kitchen
While the self-cleaning cycle is on, the oven uses a high temperature to burn the dirt and grime that accumulates inside the oven. The high temperatures, combined with burnt dirt and food, typically cause strong odors and smoke, which can be dangerous for your health.
Because of this, you need to ventilate the kitchen during the self-cleaning process of your oven. Open your windows and doors, and run the fan or ventilator, ensuring enough fresh air gets in the space. It’s also best to remain out of the kitchen once you start the self-washing cycle.
Remove pets and kids from the room as the fumes could be harmful to them. Once the self-cleaning cycle ends, you can go back to your regular routine.
3. Remove Everything From the Oven
Before starting the cycle, you’ll need to empty your oven. You should remove everything from the oven racks to the foil and oven liners. Don’t leave any cookware or bakeware inside as it could get damaged from high temperatures. Remember to remove the oven drawer, and don’t leave anything on top of the oven.
You can easily clean the racks and other things inside the oven by hand without jeopardizing their functionality. The self-cleaning cycle is strictly meant for the oven itself, as its components can handle high temperatures.
4. Wipe the Oven
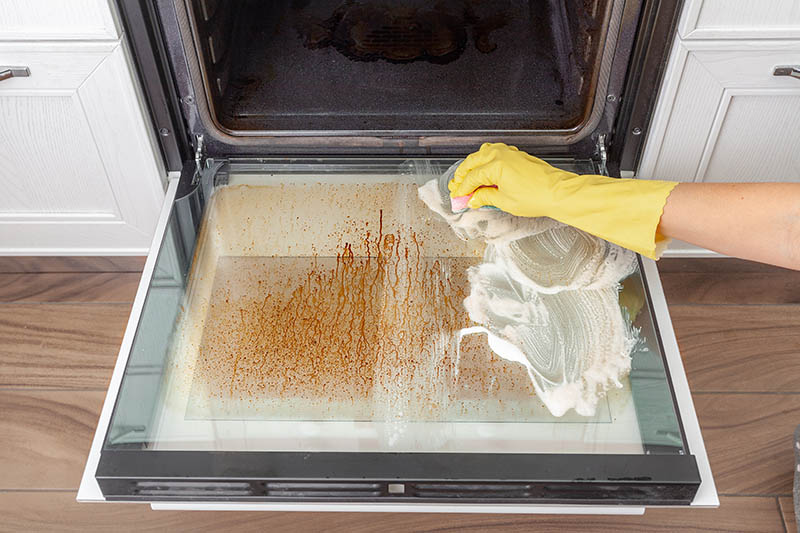
The self-cleaning cycle is powerful and can clean leftover food and dirt from your oven. However, that doesn’t mean your oven should be filled with food before you start the cycle. Instead, you should wipe the oven and remove any food residue inside.
While you do not necessarily have to do this, the self-cleaning cycle will be much more efficient, which is why we recommend it. Also, the glass on your oven can sometimes remain dirty even after self-cleaning, so you can also clean it by hand before running the program.
You can use a cloth and glass cleaner to wipe the glass and remove excess debris gently. Once the glass is clean, you can turn on the cycle.
5. Run the Cleaning Cycle on Your Self-Cleaning Oven
If you’ve checked the guidelines, you’ll know where exactly to start the self-cleaning cycle. The instructions may vary per manufacturer, so ensure you know which function you need to press. Your oven will self-lock, which indicates that the process is about to begin.
After the self-cleaning cycle is done, the oven will remain locked, typically for the next 30–45 minutes, until it cools off. If needed, you can clean the oven manually after the cycle ends to ensure there’s no dirt left inside.

Cleaning your self-cleaning oven is straightforward, so everyone can learn how to use it.
- Clean the oven regularly
- When cleaning, keep the area ventilated
- Don’t block the oven vents
- Leave the room
- Remove kids and pets from the area
- Manually clean the oven between self-cleanings
- Don’t use the self-cleaning cycle before cooking a meal
- Don’t use the self-cleaning cycle if you’re not home
How Frequently Should You Clean Your Self-Cleaning Oven?
There’s no precise answer to how frequently you should clean your self-cleaning oven as it will mostly depend on the amount of usage. People who use their ovens more frequently will need to clean them more often.
You can clean your oven manually to lower the need to turn on the self-cleaning cycle whenever your oven is slightly dirty. You will only have to clean your self-cleaning oven occasionally if you practice regular maintenance.
Is the Self-Cleaning Cycle Dangerous?
The self-cleaning cycle is not too dangerous, but it’s not entirely safe either. It releases toxic fumes due to the high temperatures, requiring you to remain out of the room and keep the area ventilated.
As long as you ensure you’ve properly turned on the cycle and the oven is locked, there’s usually no need to worry about something going wrong. However, it would be best to remain home until the process finishes to ensure everything will flow smoothly.
3 Ways To Clean a Self-Cleaning Oven Manually?
While you can use the self-cleaning cycle on your self-cleaning oven, you can also clean it manually. That’s very helpful when you need to clean the oven quickly or between self-cleaning.
- Baking soda
- Soap and water
- Lemon juice
1. Baking Soda and Vinegar
This combination is perfect for removing grease, dirt, and debris from any space, including your oven. To make the cleaning solution, pour ½ cup of vinegar and a spoonful of baking soda into a spray bottle, and shake the bottle.
Once the solution is ready, spray it into the oven, allow it to sit for 10 to 15 minutes, and gently scrub the area. Wipe it with a damp cloth, and your oven will be sparkly clean.
You can also sprinkle baking soda in the oven and turn it on to a high temperature to evaporate the dirt from the inside. If you decide to use this method, scrub the oven after it cools down to remove excess dirt.
2. Soap and Water
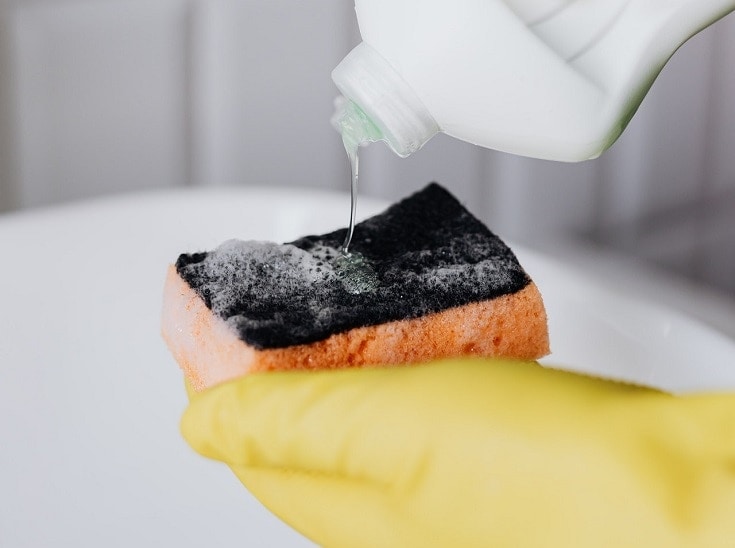
If your oven isn’t extremely filthy, but it’s not spotless, you can use soap and water to clean it and add extra sparkle. Soak a cloth in a mixture of lukewarm water and dish soap and gently scrub the oven.
Once you clean everything, use a paper towel to wipe anything that may remain in the oven.
3. Lemon Juice
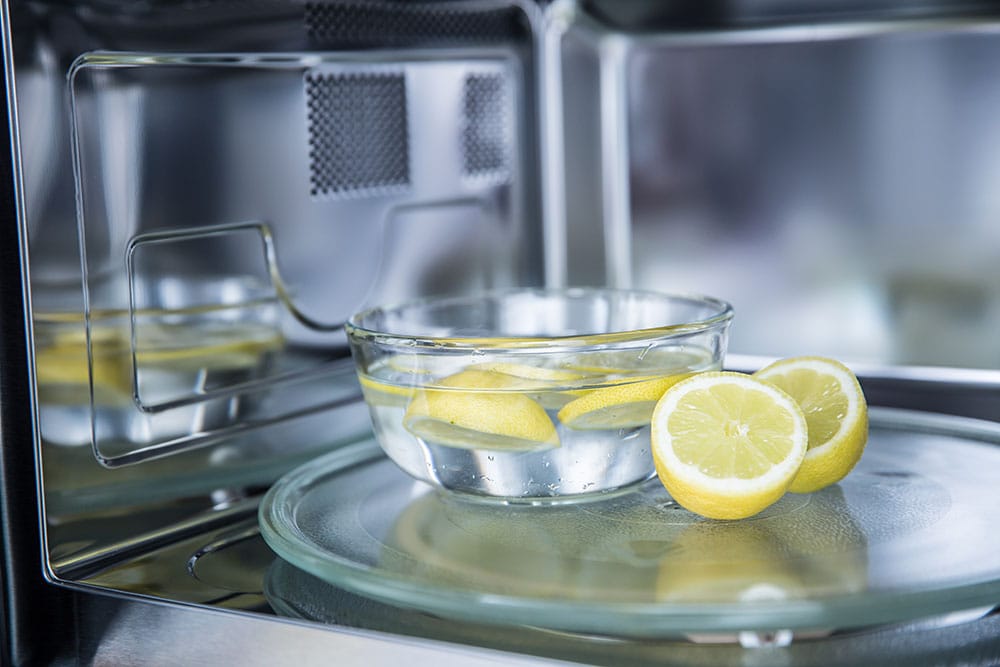
Lemons are natural cleaning products, and their juice is excellent for removing grease and food particles from your oven. To make the most out of using lemon juice for cleaning, you need to pour ½ cup of lemon juice into a dish and place it in the oven.
It’s best to set it to about 250° and leave the solution for 30 minutes. While the oven heats up, the lemon juices will evaporate, eliminating sticky residue from your oven.

Conclusion
Cleaning a self-cleaning oven is a simple process, and if you get stuck, you can always read your oven’s instruction manual. Remember to empty the oven, ventilate the area, and manually clean any excess dirt to keep your oven spotless.
See also: How Does a Self-Cleaning Oven Work? Everything You Need to Know!
Featured Image Credit: BearFotos, Shutterstock
Contents

