How to Drill Out a Stripped Screw (Step-By-Step DIY Guide)
-
Pete Ortiz
- Last updated:
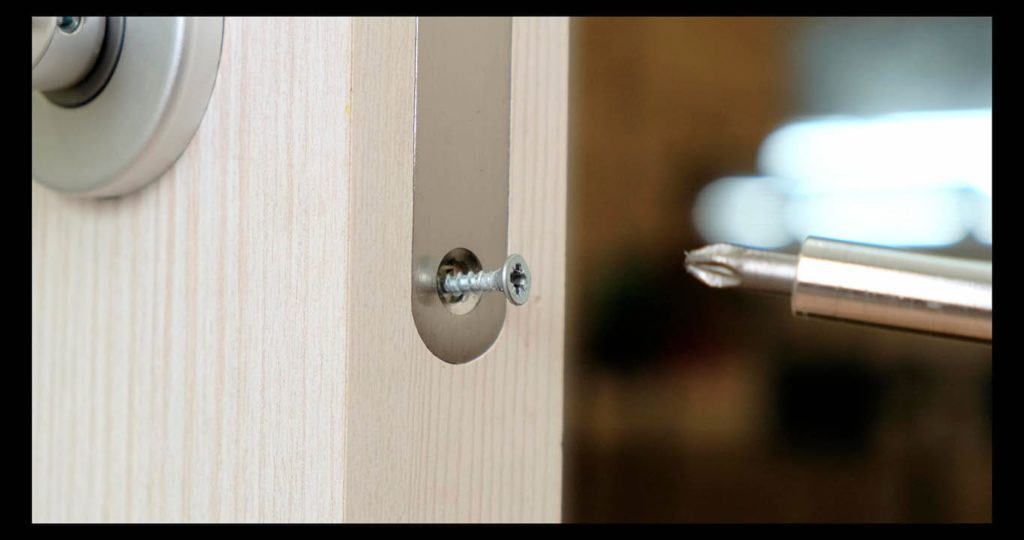
There is nothing more irritating than a stripped screw. Whether you are putting together cheap fabricated furniture that comes with soft screws or you went a little too hard on the torque, they can make a quick job into an irritating all-day affair.
We are here to save the day, however. There is an efficient way to drill out a stripped screw that won’t ruin your project or your day. Not only that, but there are also other tricks you can try that will remove a stubborn screw before you decide to go for the drill.
In the article below, we will outline a step-by-step process on how to remove a stripped screw with little fuss.
The 5 Steps for Removing A Stripped Screw
Even with the most diligent drilling, you will end up with a stripped screw from time to time. Below, we have outlined the five easy steps to remove the screw and continue with the project at hand.
1. Check Your Screw Driver
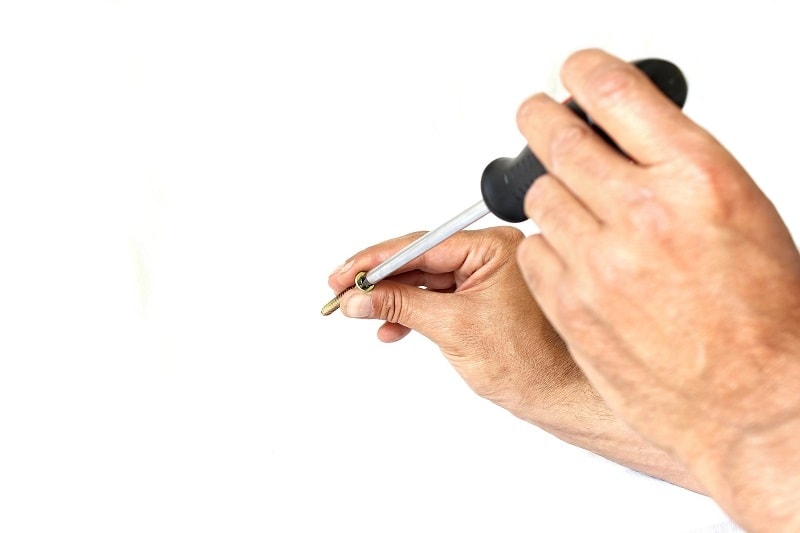
Before you pull out the drill to remove a stubborn screw, make sure you are using the right sized screwdriver or drill bit. As we mentioned above, using the wrong size is a good way to strip your hardware in the first place. If you realize it early, however, you may be able to catch the screw if you switch to the correct size.
2. Try Pliers
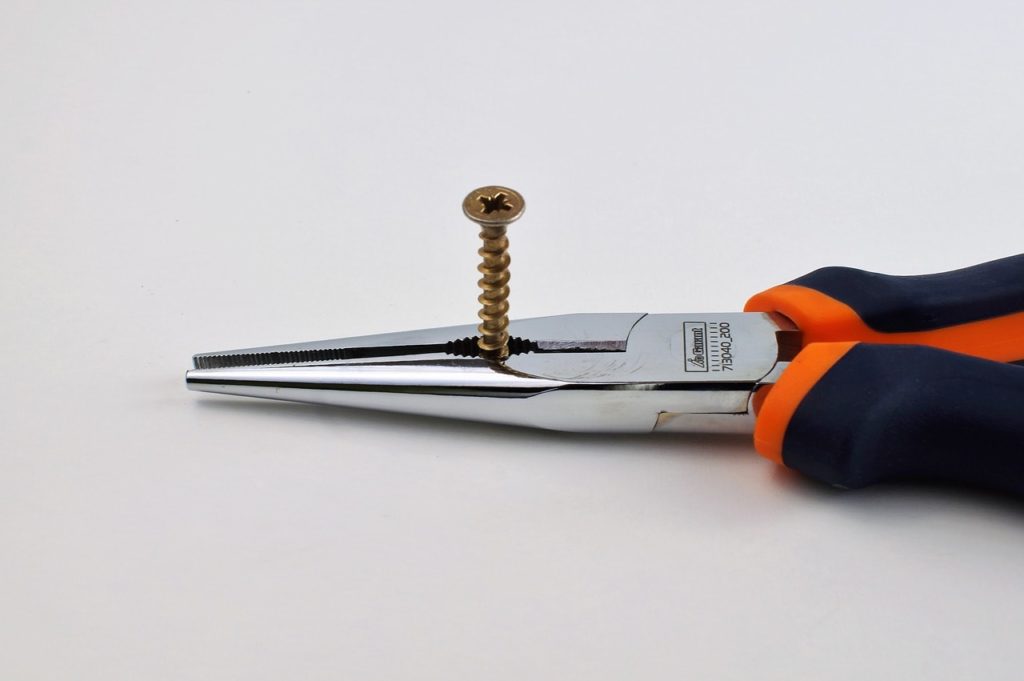
If you can raise the screw away from the surface, you may be able to remove it with pliers. A pair of locking pliers works the best, but anything with a grip can be used. This could potentially save you time but is usually only effective if you have been able to lift the screw slightly from the surface.
3. Find a Drill Bit
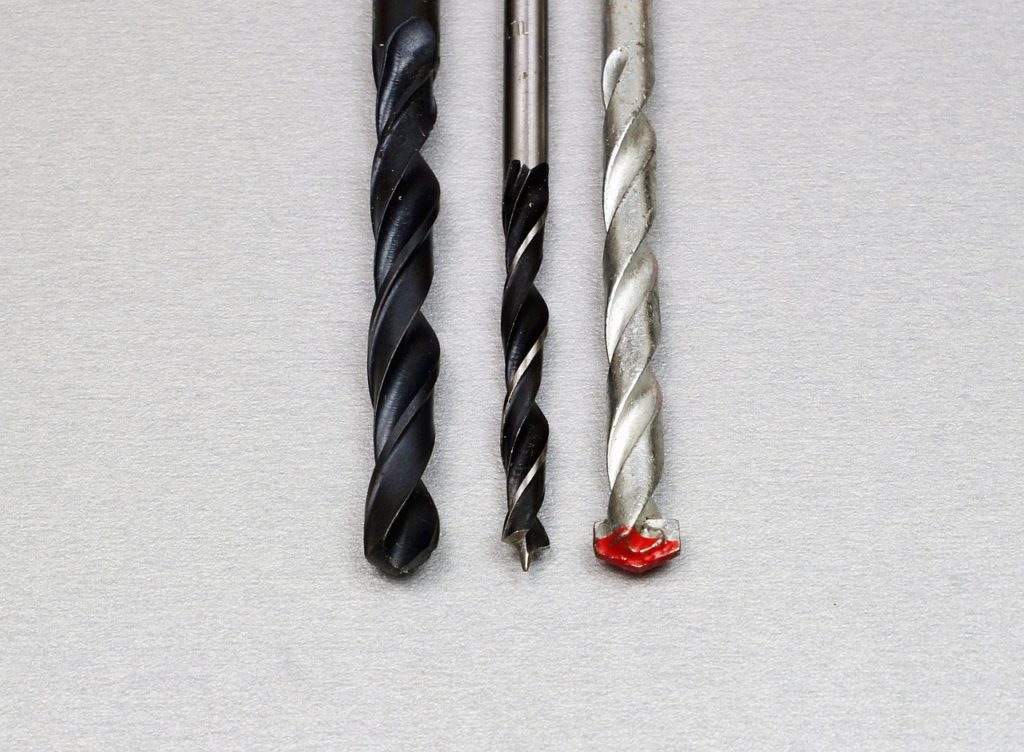
If the top two steps are not helping, it’s time to pull out the drill. The most important thing is to find a drill bit that is the same size as the center of your screw. The bit should fit squarely in the center of the stripped area. Any bigger, and it can make the situation worse.
4. Drill
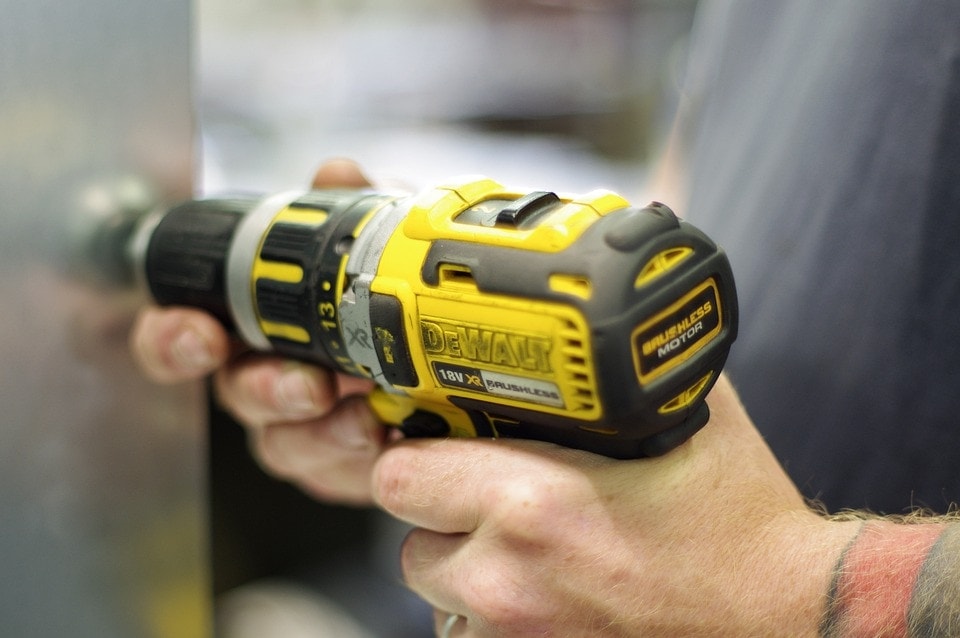
Once you have the right size, slowly drill into the center of the screw. The idea is to separate the head of the screw from the stem. You will know it has separated when the head starts to spin. You also want to make sure you stop drilling as soon as you know the head has lifted.
5. Remove the Stem
Now that the head is removed, you will see that the stem is raised just enough to grab it with a pair of vise grips. Again, a locking pair works best. Use the vice grips to slowly turn the stripped screw, and replace it with a stronger one.
Other Tips for Removing a Stripped Screw
Depending on your project, pulling out the electric drill is not always the best option. Sometimes, you may not have one available. In that case, there are a few other tricks you can try to get rid of a dead screw.
- Use a Rubber Band: If you have a rubber band handy, use it to cover the head of the screw. Push your screwdriver into the rubber to try and catch the edge. Steel wool can also work in this way.
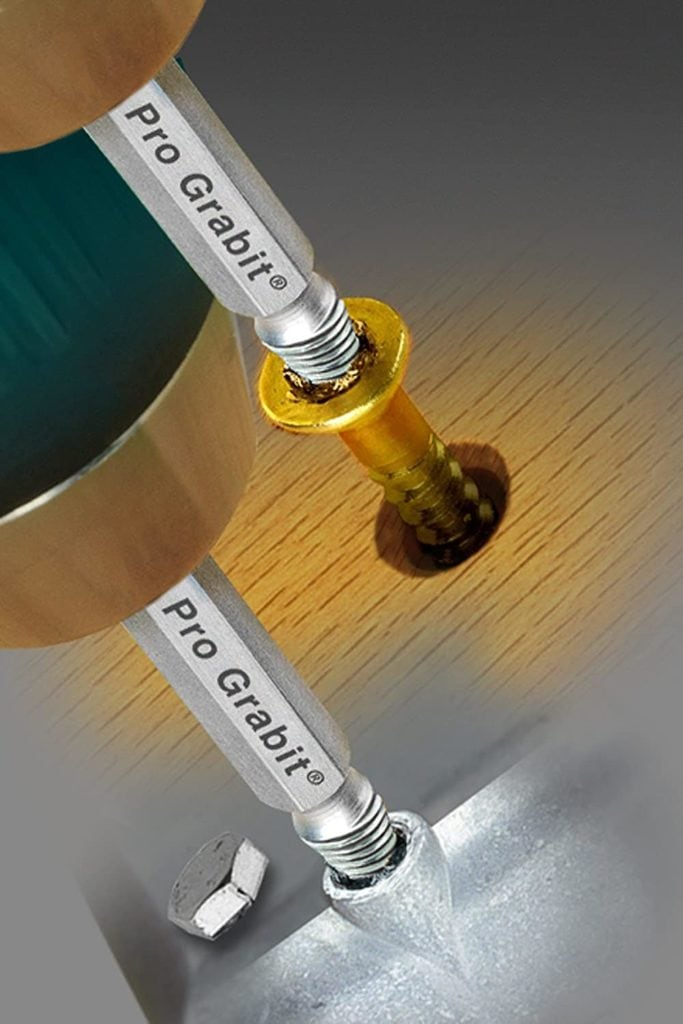
- Screw Extractor: If you didn’t know, there is an actual screw extractor tool. You can find them at any hardware store or Home Depot. If you tend to run into this issue often, it can be worth picking up. That being said, not all tools are made equal including the extractor. Ensure you find a good one, otherwise, it can be more harmful than useful.
- Use a Flat Head and a Hammer: If you have a Phillips screw that is stripped, grab a flat head instead. Use a hammer to tap the flat head into the screw essentially creating a new notch.
- Super Glue: Another trick is to use super glue on the top of the screw. Place a few dots on the screw and press your screwdriver into the liquid. Hold it there for a few minutes until the glue dries. Once your screwdriver is glued on, try to gently turn it.
- Oscillating Tool: Our final tip is to use an oscillating tool to create a new notch in the top of the screw. Make sure that you don’t use one that is too powerful nor one that is too big. A battery-operated option is typically sufficient to create a new channel in the metal.
How to Prevent a Stripped Screw?
Sometimes a stripped screw is no one’s fault, or it could be the person who came before you. Regardless of whose fault it is, the best thing to do is to try and keep it from happening in the future. Below, we have shared a few easy tips to help keep your screws in good formation.
- Use the Right Size Screw Driver: You must use the right size screwdriver or drill bit for you the screw. One of the easiest ways to gouge a hole is by going at it with a driver that is too narrow or too wide. When working on a project, have several at hand just in case.
- Replace Cheap Screws: When it comes to mass-produced, DIY assembly, furniture, chances are it’s going to come with soft screws that are easy to strip. Replacing the hardware with durable screws will not only prevent them from being damaged, but it will ensure your furniture (or project) is held together more securely.
- Go Easy: When you have a screw that is stubborn, your first instinct may be to go at it with as much strength as you can muster. Many times, however, this is asking for a screw stripping. Instead, try one of our other tips below for removing the stubborn hardware.
- Keep Firm Pressure: Whether using a regular screwdriver or a power drill, you want to keep firm pressure. If you’re using a power drill, keep a consistent grip on the trigger. Allowing the pressure to change can cause the outer edges of the screw (where they are the weakest) to wear down.
- Avoid Angles: Another thing to remember is to keep the screwdriver at a 90-degree angle and avoid leaning it to the side. Again, this will cause your drill bit or driver to run against the softest edge of the screw causing it to become stripped.
Conclusion
Having a stripped screw in the way of completing a project can be a bad turn of events. Keeping these tips and tricks in mind can go a long way in solving the problem with little muss or fuss. If all else fails, our five-step solution is a fail-proof way of removing the stripped screw as efficiently as possible.
- See Also: How To Drill Out A Lock
Featured Image Credit: Alexeysun, Shutterstock
Contents


