
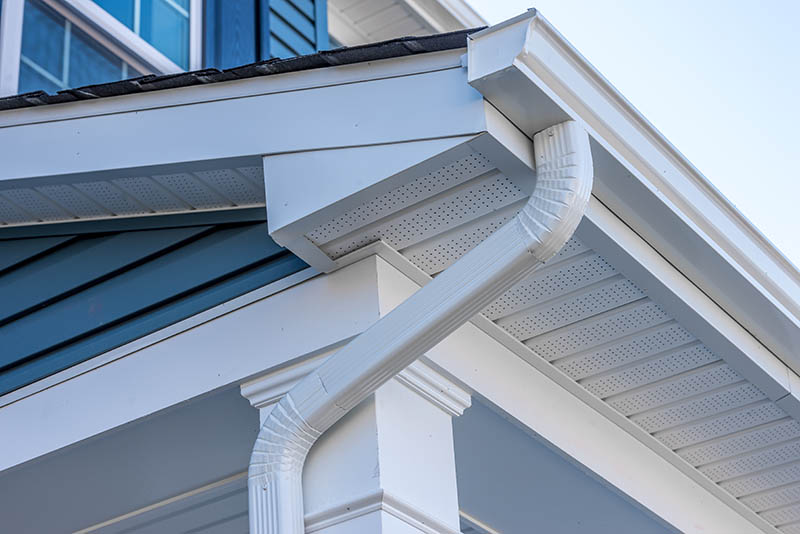
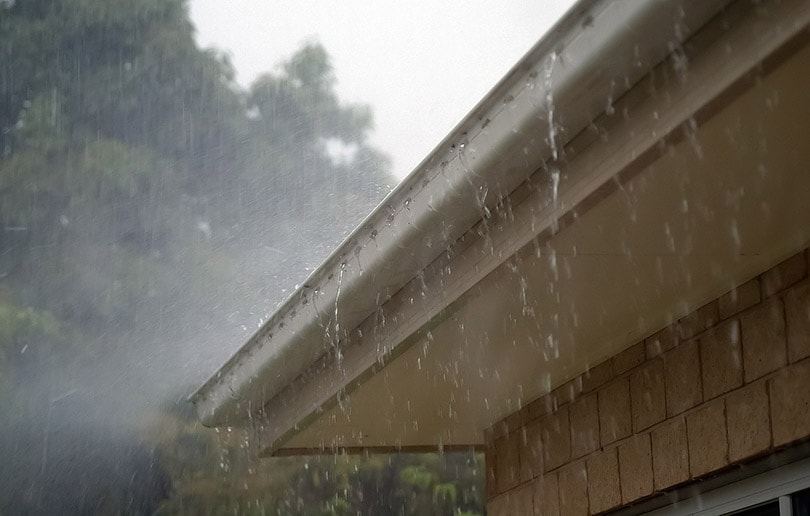
Leaking gutters can be annoying, especially if water frequently falls on you from the roof! While dodging drippings can be stressful, the bigger issue is what the water leaks are doing to your home. You may not notice any signs of damage until it’s too late, which can result in costly repairs and damage control.
Luckily enough, most gutter leakage problems are typically easy to resolve. While people unsure of their skills may need help from a professional to fix leaking gutters, handy people can tackle the project themselves.
Keep reading to learn how to fix a leaky gutter like a pro in four easy steps!

What Causes Gutters to Leak?
Leaks coming from your gutter can happen due to an array of things. However, some problems are more common than others, including:
- Physical damage: Gutters are located at the edge of your roof, which makes them exposed and prone to physical damage. Physical damage can occur from bad weather, snow, rain, human contact, and trees. It’s also common for physical damage to occur due to dirt and debris inside the gutter if you don’t clean them regularly.
- Wear and tear: Your gutters also suffer from constant wear and tear, which can cause them to leak. This is especially noticeable in homes with older gutters, although the overall state of your gutters will depend on your maintenance habits.
- Clogs: Dirt and debris constantly collect in your gutters; if you don’t clean them, they’ll eventually lead to clogging. That’s why it’s crucial to keep up regular gutter maintenance and prevent clogs as much as possible.
The 4 Steps to Fix a Leaky Gutter
1. Gather the Required Tools and Materials
- Gloves
- Caulk gun
- Drill
- A garden trowel
- A bucket
- Rubbing alcohol
- Waterproof sealant
- Gutter hanger brackets
- Roofing cement
The precise list can vary depending on the type of leak you’re dealing with, but these are some general things you’ll need. With these tools and materials, you should be able to resolve some of the most common gutter leakage issues.
2. Clean the Gutters
The gutters need to be cleaned so you can fix them, which is why cleaning them is the first step toward resolving the leakage problem. Start by putting on your protective gloves and remove leaves and dirt from the gutter.
It’s best to reach the gutter while climbing a high ladder to see and remove everything collected inside. You can bring a bucket to collect the dirt inside and prevent the need from frequently climbing up and down the ladder.
You could also use a leaf blower or a vacuum to clean the gutters if that feels easier. When you finish cleaning, pour a bucket of water into the gutter to ensure no dirt or debris is stuck. It’s best to repeat this part of the process until the gutters drain water properly.
Once there’s no longer a need to rinse the gutter, dry it out using a paper towel or a dry cloth.

3. Fix the Leak
Finally, it’s time to fix the leak, although the fixing method will vary depending on the reason behind your leak.
- Leaks from holes
- Sagging gutters
- Leaks behind the gutter
- Leaks from the gutter joint
Read more about each of the issues and their resolutions below.
Leaks From Holes
Over time, gutters will suffer wear and tear, resulting in holes that may cause leaks and water issues. While these leaks can be annoying, they’re an easy DIY fix. However, the patching method will depend on the hole size, as you’ll typically encounter small and large holes.
Small Holes
- A putty knife
- Roofing cement or sealant
To patch the hole, take a small amount of roofing cement or sealant, place it on your putty knife, and spread it across the damaged area. Ensure the layer is thin and evenly spread to cover the whole hole.
Large Holes
- A putty knife
- Roofing cement or sealant
- A metal sheet
- Put roofing cement or sealant on the edges of the hole and place a small piece of a metal sheet on top of it
- Hold it in place for a couple of minutes until it sticks, and apply the sealant or roofing cement on the metal sheet
- Use the putty knife to evenly spread it across the metal sheet and allow it to dry
Is There Anything Else You Can Do?
Another solution for fixing holes in your gutter is to use weather-proof tape. It works for small and large holes, so you can try this method out regardless of the hole size. You’ll need to purchase the weather-proof tape and tape it over the damaged gutter areas.
While this solution is quick and convenient, you should be careful while placing the tape. You need to ensure that the seal is good so there will be no leaks.
Sagging Gutters
It’s not uncommon for a gutter to start sagging and cause leakage problems. Luckily, if a sagging gutter is causing your issues, all you need to do is secure it back in place.
- A drill
- Gutter hanger brackets
You’ll need to push the gutter back into its original position and install gutter hanger brackets to secure it in place. It’s best to place the brackets every 2 feet to ensure it’s stable and well-secured.
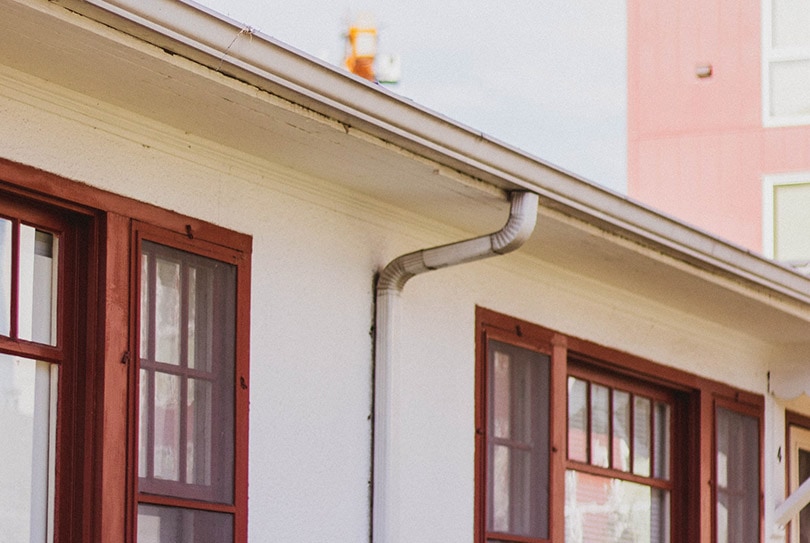
Leaks Behind the Gutter
While most gutters have holes in the front, leaks behind the gutter can also occur. They typically happen when there’s a gap between the fascia and the gutter. If that’s causing your problem, simply use a sealant to cover the gap and wait until it dries out.

Leaks From the Gutter Joint
If you still have leaks from your gutter joint even after you clean the gutter, you’ll need to seal the leak with silicone or sealant. It’s best to carefully inspect the area before you start to ensure you cover all the damaged areas.
Use the sealant/silicone and apply it to the edge of the previous seal. Once you finish, reattach the gutter and connect it with the sealant/silicone to prevent further leaking.
What Should I Do If There’s a Need for Replacement?
Replacing the gutter joint might be the best in certain situations, and luckily, it’s an easy replacement.
- Unclip the gutter and unscrew the current union
- Clean the end of the gutters to easily attach a new union
- Install the new union and use silicone lubricant to spray the seals
- Test the seal
4. Keep Up Your Gutter Maintenance
Fixing a leaky gutter is easy, but still, it’s much better if there is no need to repair the gutter in the first place. While you can’t completely prevent your gutter from being damaged as it’s exposed to outdoor conditions, you can do a couple of things to keep it in good shape.
- Clean your gutters a couple of times a year
- Clean your roof from dirt and debris
- Regularly inspect the gutters for holes, corrosion, rust, or leaks
- Inspect the downspouts
 Final Thoughts
Fixing a leaky gutter is simple as long as you know what’s causing your leak. It’s much easier to DIY your gutter problem than to spend a lot of money on costly repairs. However, the most important thing is to practice regular gutter maintenance to prevent leakage problems from occurring in the first place.
See Also: How to Remove a Gutter in 5 Easy Steps
Featured Image Credit: tokar, Shutterstock
Contents
