How to Remove a Gutter in 5 Easy Steps
-

- Last updated:

The last touches of a new home involve installing gutters to collect rainwater and redirect it. While some homes and buildings can do without it, a gutter is important as it prevents water from dripping directly to the floor and walls.
Gutters channel rainwater to proper disposal sites, saving the building’s foundation from getting drenched. It also protects basements from excess moisture, prevents a person walking into the building from being rained on, and enhances the aesthetics of a home.
Like any other part of a home, gutters wear out, and you must change them at some point. Removing gutters is easy, and this article takes you through all the steps you need to follow to ensure the job goes smoothly.
The 5 Easy Steps on How to Remove Gutters
1. Assemble Your Tools
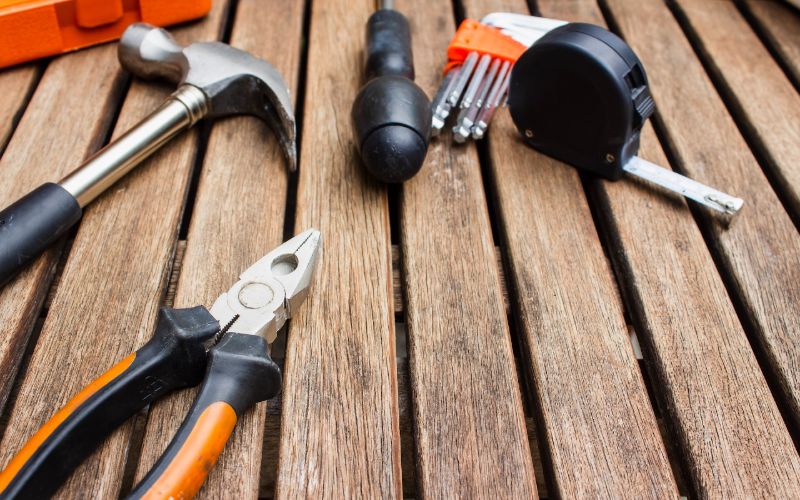
Removing gutters is a simple project, but requires a specific set of tools. You’ll need a claw hammer, screwdriver, pry bar, hacksaw, power drill, and a pair of pliers. The correct choice of tools will reduce the possibility of secondary damage to the existing structure and improve your efficiency.

2. Remove Gutter Attachments
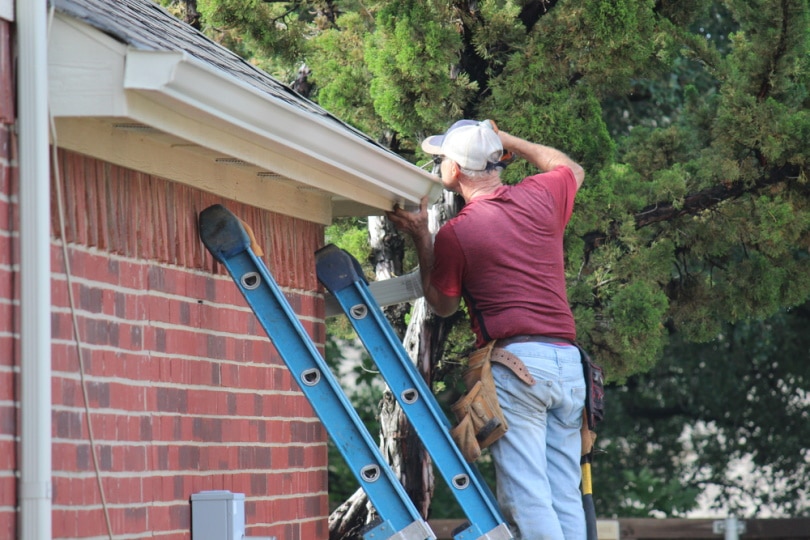
In a typical home, gutters have strings and hooks to support pots and trellising plants. Start by removing them first. Have someone help you out, especially when removing pots. They can be heavy, and you will not manage to hold them while at the same time supporting yourself on a ladder.
A second person may hold a ladder as you use both hands to remove the pot or hold the pot as you remove the hook. Take extra care when handling trellising plants because they might have colonized the gutter, and you don’t want to break off the fragile stems.
3. Examine the Gutters
First, check the gutters to see if any rivets, nails, or screws need to be taken out. Use a hammer or pry bar to remove nails and a screwdriver to remove screws.
Riveted gutters are a bit more complicated to remove. Separate the rivet’s head from the shank using a hacksaw. If that doesn’t work, use a power to drill through the rivet to loosen it, and try cutting it again.
Another thing you should not miss is the elbow. A gutter system usually has several of them around corners. Unless safely secured to the gutter with glue, elbows are easy to pull out.

4. Remove the Downspout
A downspout is a pipe carrying water from the gutter to the ground. It should be easy to remove once the elbow connecting it to the gutter’s drop outlet has been removed. It’s crucial to do this step first because the attached downspout can make the process tricky. It can also harm the fascia to where the gutter is attached to.
To remove the downspout, locate and remove the wall straps. Wall straps are either screwed on the wall or pillars and painted in the same color as the wall. So, if you can’t spot them, feel your way up the downspout with your hands. You will feel a textual difference at a point where wall straps are securing the downspout.
After finding a wall strap, use a hammer or screwdriver to remove whatever is holding it on the wall.
5. Bring Everything Down
After all the cutting, screwing, and hammering, one might ask, when is the gutter finally coming down? This is the long-awaited moment.
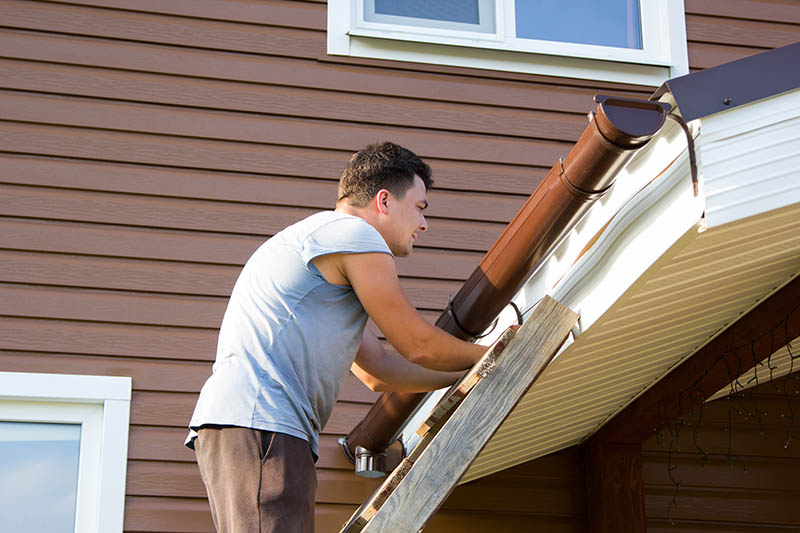
A gutter has several points attached to the fascia board. Have someone hold it on one side as you remove the screws. While doing this, ensure the ground is safe and no kids or pets are around.

Frequently Asked Questions
Can You Remove the Gutters by Yourself?
It can be daunting to remove gutters by yourself, especially if it’s your first time doing so. But once you have grasped the procedure, it’s an easy process that you can perform alone.
Otherwise, you can always hire the right professionals to get the job done perfectly.
Find a gutter specialist in your area, and get free, no-commitment estimates for your project.Consult a gutter installation expert

How Can You Protect Gutters?
After removing old gutters, you will likely install new ones. And since gutters hold a lot of leaves and other debris, they deserve a little maintenance.
The following section highlights some tips on how you can do so.
Clean them at least twice a year
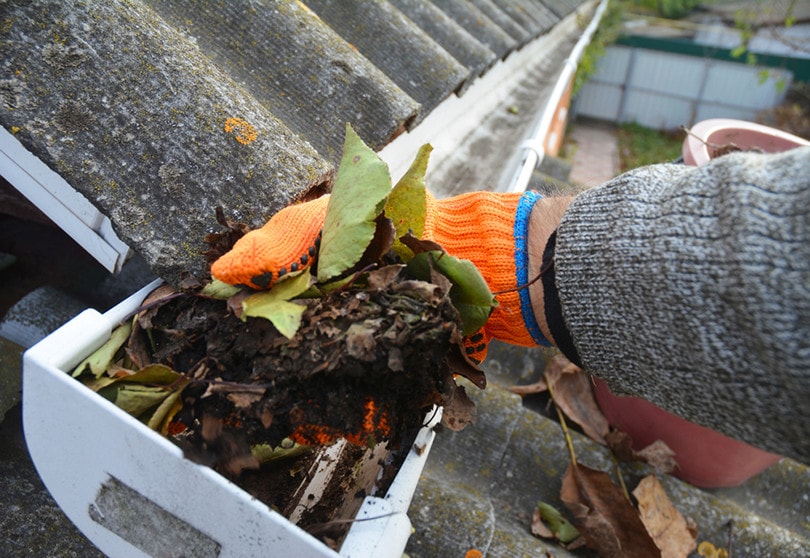
Leaves from trees destroy gutters. They accumulate in the whole system and rot, clogging and damaging your gutters. If you are staying in a wooded area, you’ll need to clean leaves more often. Consider using a plastic scoop to shovel them out. A broom can also remove some leaves.
Do this in fall or throughout summer when trees are actively dropping off leaves.

Install gutter guards
Gutter guards are ideal for preventing large amounts of debris from collecting on your gutters. These guards are made of plastic mesh or metal and sit above the gutters. If this is your first time using gutter guards, the best time to install them is after repairs or cleaning.
Otherwise, it would be best to install them with the new gutter.
Inspect and clean the downspout
Downspouts are critical parts of your home drainage. Therefore, it’s prudent to inspect them for any holes, leaks, corroded joints, or rust, and address any repairs or adjustments.
Trim hanging trees
Trees produce leaves, seeds, and pollen that might eventually block your gutters. Except in cases where trees directly overhang above gutters, this debris shouldn’t be a concern.
That is why we advise early trimming as part of your cleaning practice. By cutting overhanging trees, you’ll keep the majority of the tree debris out of your gutter system and limit the number of times you need to clean your gutters year-round.
Pollen removal is crucial since, when it combines with water, it becomes a corrosive solution that weakens gutters.
Conclusion
With basic home tools, you can easily remove gutters. Use a hammer to remove nails, a hacksaw to cut through rivets, and a pair of pliers to pin the gutter in the right place. When performing this task, have someone close by to support you on the ladder and hand you tools from the ground.
Featured Image Credit: ronstik, Shutterstock
Contents


