

Wood floors have a timeless look that makes our homes beautiful. They also add value to our house and make any room look more aesthetically pleasing. That’s why it’s a real shame to have them scratched.
Although scratches on wood floors can be a common issue, they are luckily not difficult to resolve. Today, we will provide you with a guide on fixing scratches on a wood floor. By following the 4 simple steps below, your wood floors will look brand new in no time!

How to Fix Scratches on a Wood Floor (4 Steps)
1. Clean The Floor
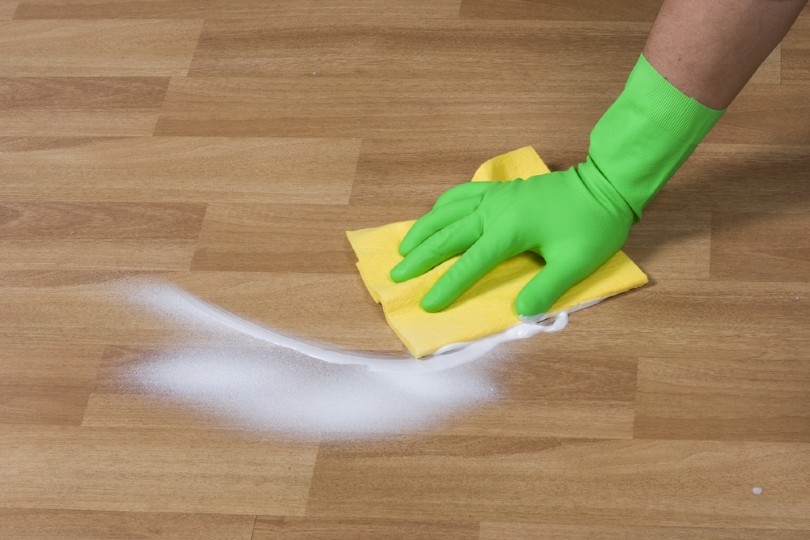
Before you treat the area and fix the scratch, you must ensure that the area is clean. You need to remove dust and dirt around the scratch. Dirt and dust can interfere with your fixing process, so a clean surface is a key to fixing your wood floor scratches. The scratch should be completely dirt-free, so pay attention to it while cleaning. Either vacuum or use a soft mop and make a solution from lukewarm water and liquid soap.
2. Determine The Finish

You should know which finish was used on the floor to match it once you fix the scratches.
- Stain
- Varnish
- Wax coating
- Shellac
- Water-based polyurethane
- Oil-based polyurethane
- Aluminum oxide coating
There are a couple of ways to determine which finish was used on your wood floor. The easiest method is to run your hand on the floor surface and feel the grains and texture. If you can feel the texture and the grains, the finish is probably wax or oil. You could also rub the spot with a rag soaked in mineral spirits and check if there’s discoloration on the rag. That should show if the finish is wax or not.
You can also do a quick scraping test to check if the finish is polyurethane, varnish, or aluminum oxide. By using a sharp blade, scrape off a bit of the finish from the floor, and pour a drop of alcohol over the scraping. If it reacts with the alcohol, the finish is shellac. If there’s no reaction, the finish is varnish, polyurethane, or aluminum oxide.

3. Treat The Area
Once your floor is clean and you know the type of finish used on it, it’s time to treat the area. The treatment will vary depending on the depth of the scratches so you would use different methods for deep floor scratches and fine floor scratches. Below you can see which strategies work for both scratch types.
Fine Floor Scratches
Here are some great techniques for removing fine floor scratches.
DIY Apple Cider Vinegar and Olive Oil Solution
The first method you can try out is a DIY apple cider vinegar and olive oil solution. This solution works well for fine floor scratches, but it isn’t helpful for deeper scratches. All you need to do is mix them and apply them to the scratch. The mixture should sit for a couple of hours, after which you should wipe it off.
Blending Pencil
Another thing you can try to fix fine scratches on a wood floor is a blending pencil. Their purpose is to fill in scratches that look like light color marks on your floor. Just choose a blending pencil that matches the color of your wood floor before you apply it to the scratch. This method is excellent for minor scratches as they will not be visible after the application.
Walnuts
Although this might sound strange, you can fix scratches on a wood floor by gently rubbing walnuts on the surface where the scratch is visible. Walnuts contain brown dye and natural emollients, which can repair worn-out wood and make it look more beautiful. After this treatment, wipe the floor with a soft cloth, and the scratch shouldn’t be visible anymore.
Deep Floor Scratches
Here are some great techniques for removing deep floor scratches.
Sand and Refinish
If your wood floor has deep scratches, you might need to sand and refinish it. Sanding is fantastic for removing scratches on wood floors, so take a sander and begin the process. If your floor has a lot of scratches, it might be best to sand the whole floor instead of doing it area by area. Either way, be patient and sand out the surface until the scratches are no longer visible. When you finish sanding, refinish the floor completely. Once everything is done, your wood floor will look brand new.
Wood Filler
If your wood floor has deep scratches or gouges, another useful treatment would be with wood filler. Simply take a putty knife and apply wood filler to the damaged areas on the floor. Leave it to dry for a couple of hours, and then apply stain and finish. After this treatment, nobody will realize that your floor had scratches in the first place.
4. Practice Prevention & Create a Maintenance Routine

There are certain things you can do that will lower the chances of your floors getting scratched:
- Take off your shoes before entering a room with wood floors
- Add rugs and mats
- Put felt pads on your furniture
- Clean the floor regularly
Maintenance is essential for keeping your wood floors in good shape. That means regular cleaning and dusting, as well as polishing and refinishing every couple of months. That’s the only way to prolong the lifespan of your wood floors and make them look beautiful and timeless.

How much does it cost to repair a scratch on a wood floor?
There is no precise answer to this question as it depends on the repairing method you choose. Some techniques you can use to fix the stains are entirely free since you probably have the ingredients in your home. On the other hand, if you need to buy a product like a blending pencil or a wood filler, that can cost you $5–$20.
The most expensive method would be sanding and refinishing the floor completely, as you’ll need more products and you’ll need to put more time into the project.
See Also: How to Install DIY Pine Flooring in 7 Simple Steps (with Pictures)

Conclusion
As you can see, there are various ways you’ll be able to fix scratches from a wood floor. Determine the finish on the floor and whether the scratch is fine or deep. Check out the solutions we provided and choose the one that seems the easiest for you. Of course, you can always try one of the methods and go for a different one if the first one doesn’t work.
Featured Image Credit: umaruchan4678, Shutterstock
Contents
