

From our point of view, a hardwood floor is an incredible home investment. Compared to other features, it’s the kind that lasts a lifetime, but only if it’s well looked after.
When left unchecked, they often undergo some serious wear and tear. However, if those effects are nipped in the bud before it’s too late, you won’t have much to worry about.
Uninstalling or reinstalling new floors every time you notice a couple of dents or scratches is unnecessary. Sanding a hardwood floor is a great solution, and fairly easy to DIY. Read on below to find out how.

Things You’ll Need
Of course, you might not need all these tools and materials, but it’s good to have them close by if the plan is to sand back your floors to bare wood. Of course, it’s going to be a time-consuming project, but we promise you, the results are worth it.
- Protective eyewear
- Mask, earmuffs
- Pry bar
- Broom
- Painter’s tape
- Paint scraper
- Brad nailer
- Clean cloths
- Upright drum sander
- Hammer
- Vacuum cleaner
- Sand
- Edge sander
- Fine-grit sandpaper
- Sanding pads
- Sanding belts
- Plastic sheeting
The 7 Steps to Hardwood Floor Sanding
1. Coarse Sanding
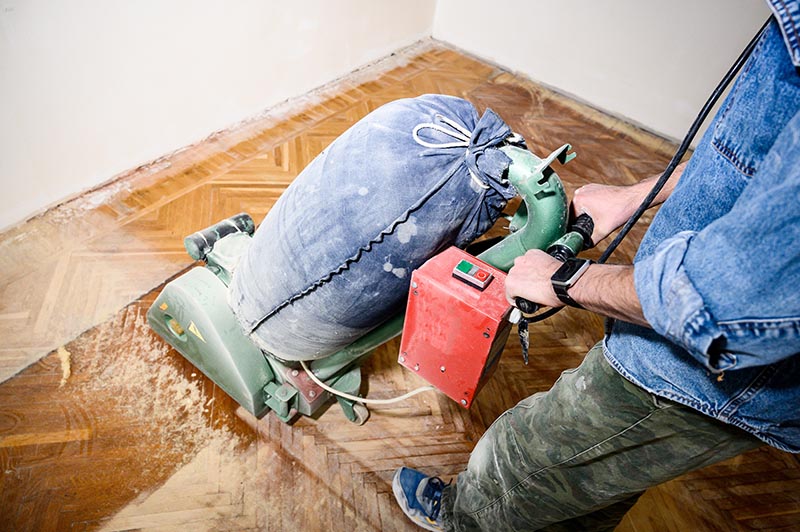
Before doing anything else, we have to first get rid of the old finish and any gray discoloration. That’s why coarse sanding is critical. For this process, you’ll require a 16-grit sanding pad, as well as a walk-behind sander.
For those who aren’t well-acquainted with these tools, “grit” is the technical term used to define the abrasiveness of a pad, as it tells you the approximate number of particles that can be found on the abrasive side of the product. For instance, by estimation, a 16-grit sanding pad has around 16 abrasive particles covering each square inch of the pad.
Even though the 16-grit sanding pad is less coarse in comparison to the 40 or 60-grit pad, it’s still considered extraordinarily coarse by most professionals. Hence, the reason why it’s only suitable in situations where the square-buff sander is useful.
If the plan is to use the belt-style walk-behind sander, the most effective pad will be the 40-grit. The 60-grit is more appropriate in situations that require the hand-held belt sander approach.
2. Finer Sanding
This step is also key to the success of the project, as it prepares the floor for sealing. But before getting to this point, make sure your hardwood floor doesn’t have any bits and pieces of old finish. If it still does, you won’t get smooth wood.
For intermediate sanding, you’ll need both the 40- and 80-grit abrasive pads, working in tandem with a walk-behind sander. Logic dictates that you start fine sanding using the 40-grit abrasive, before moving on to the 80.
Kindly note that the type of abrasives utilized in floor sanding typically varies from the ones used in building furniture—they usually aren’t as fine.
If you’re fortunate enough to also have the 120-grit abrasive lying around, use it to get an even finer finish.
3. Sand the Edges
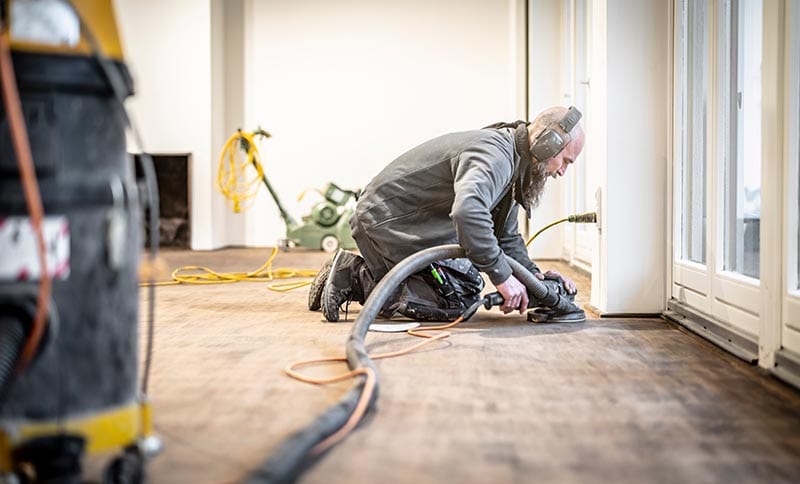
For the edges, you’ll need a sanding edger. If you’ve never handled it before, you should probably test it on some scrap wood first. It’s designed to get to all those hard-to-reach areas, especially those that are typical of closet floors. Your edger should have the same grade of abrasive as the sander for the sake of uniformity.
That’s to say, if you were sanding other sections of the house using a 40-grit pad, maintain that same grade of abrasiveness throughout.

4. Sweep & Vacuum
This might seem like an inconsequential step, but it’s just as important as the rest. If you’re not meticulous in your cleaning, or if for some reason you fail to remove all the dust after sanding, the effects will be evident after the application of the first finishing coat.
Your hardwood floor will be rough, and the situation will be exacerbated if your wood material is aged, with conspicuous gaps in between the boards. The gaps will definitely act as a dust trap. Meaning, any time you decide to apply urethane (the floor finish), the dust particles will be pulled up by the brush, making a mess. Floor finish is vital if you want to protect your floor surfaces against wear and tear.
To do away with the dust in a more effective fashion, get a shop vac—or maybe you prefer calling it the wet-dry vac. It’s no different from your typical vacuum cleaner, save for the fact that it really knows how to take care of wet messes, and can pick up chunky objects like wood scraps.
Remember to be very cautious while using it, since most of the new models have wheels and hoses that sometimes leave behind black marks. It’s no secret that wooden floor surfaces are more susceptible to such marks.
5. Coating
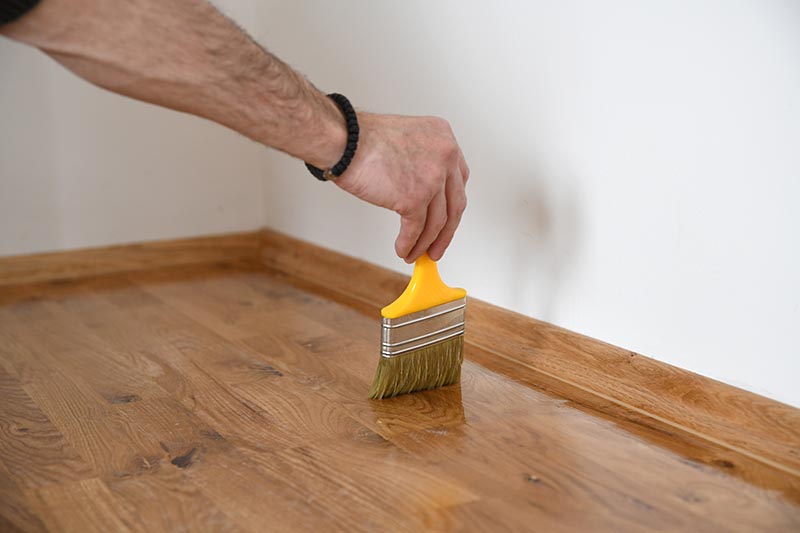
Once you’re done vacuuming, reach out for the finish. And you’ll have to be swift while applying it. Because from our experience, most finish-coating products tend to dry up really fast, leaving behind bubbles and brush strokes. Seeing as this is a DIY project, we’d encourage you to go for an oil-based finish that takes a relatively long period of time to dry to the touch.
Also, don’t forget to choose a floor finish that comes with a matte sheen or stain. It will help you hide any unrepairable flaws that are visible on your floor.
As recommended by the manufacturers, you have to vigorously stir the floor-finish can before application, as the additives often settle at the bottom. If you forget to stir before use, you’ll start noticing some inconsistencies in the floor’s glossiness.
Using a 4-inch brush, apply the coat on 3 to 6 boards at a time. Move on to the next group once you’re done, and then the next, until the whole floor is covered. To ensure the coat is applied evenly, you’ll have to rely on a portable floodlight. One that can light up the floor at a shallow angle.
6. Screen Sanding
As the first coat starts to dry up, you’ll notice some raised grains in some sections. Just don’t fret, as that’s completely normal. It’s also the prime reason why we asked you to bring the 220-grit abrasive pad. We know you’re tired of sanding, but this step is critical as well. Should you decide to skip it, your floor will feel rougher than it did before you applied the finish.
What’s causing the roughness? It’s the urethane in your finish. As it settles on the wood, it causes its microscopic fibers to harden, after swelling. Lucky for you, this bit isn’t as physically taxing as the previous sanding processes. It should only take you a couple of minutes to smoothen the affected areas.
7. Apply a Second Coat
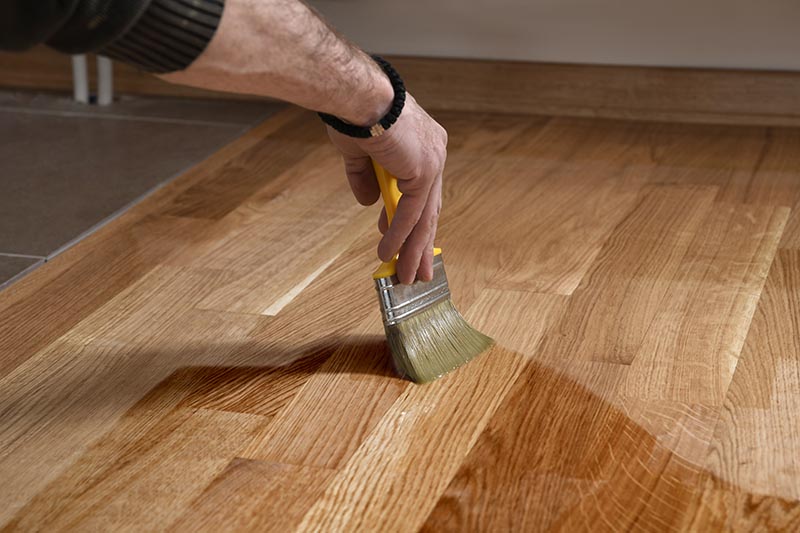
The second coat is absolutely necessary, but the third isn’t. You should only apply a third or even fourth coat if you still don’t like the results that you’ve gotten after the second application. Please do not forget to vacuum the floor every time you sand it. Even if you just sanded a small section.
Conclusion
You can sand your floor using any tool you’re comfortable with. Some DIYers prefer the upright drum sander, while others swear by the walk-behind sander. Procuring a drum sander won’t be easy, as it’s expensive.
To protect yourself, wear some sort of eye protection, a mask, and more importantly, hearing protectors. All the windows have to be opened, as well as the doors, to ensure the room is well-ventilated.
Featured Image Credit: taurusphoto, Shutterstock
Contents
