
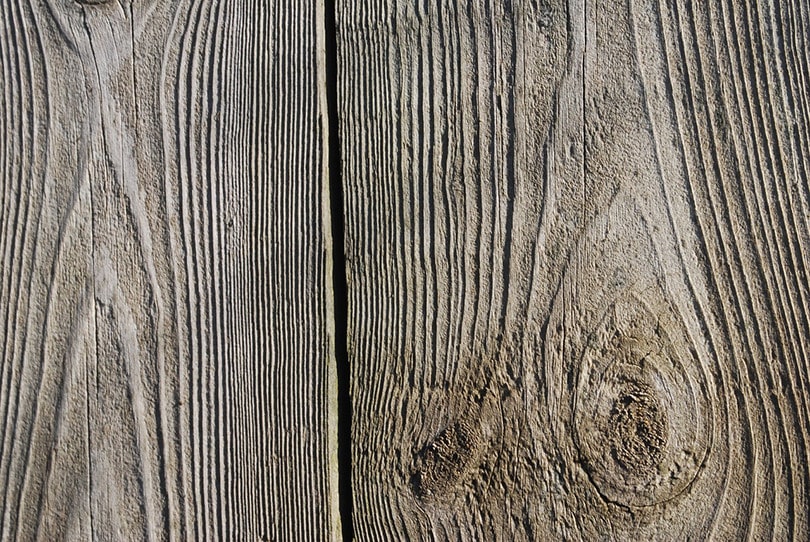
Due to its incredible natural durability, pine makes for fantastic and gorgeous floor material. And with the right tools and basic construction knowledge, most DIYers can easily install tongue-and-groove pine flooring.
There are two important things to do before starting any wood flooring project. You will need anywhere from two weeks to a month to accomplish these two tasks. So, the sooner you get started with them, the better.
- Measure the room and order the appropriate amount of flooring needed. A good rule of thumb is the room’s total square footage, plus 10–15%.
- Once the wood arrives, put it in its allocated room for approximately two weeks. This will allow it to acclimate to the room to avoid major expansion or contraction once installed.
Once you have that out of the way, here is everything you will need for installing pine flooring.
Safety
- Safety glasses
- hearing protection
- work gloves
Materials
- pine flooring
- stain
- polyurethane sealer
- nails
- screws
- wood filler
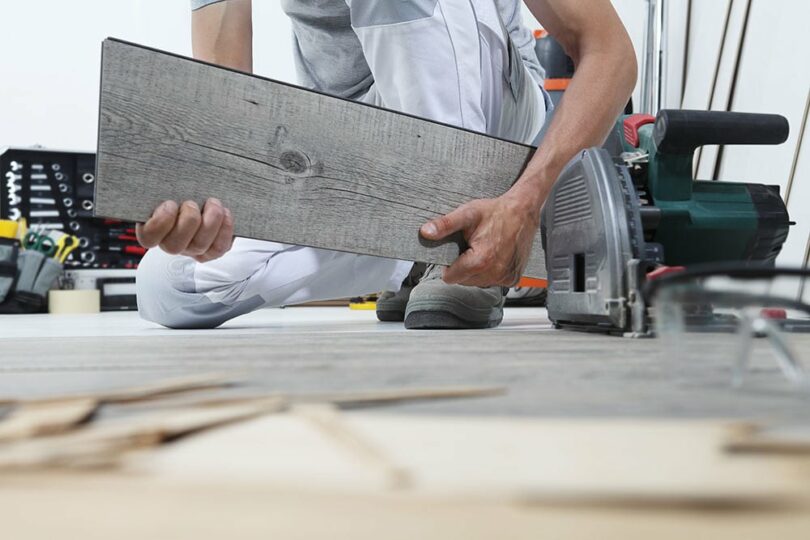
Tools
- flooring stapler
- hammer
- pry bar
- chalk line
- circular saw
- framing square
- shims
- table saw
- miter saw
- tape measure
- drill
- hand saw

The 8 Steps to Install DIY Pine Flooring
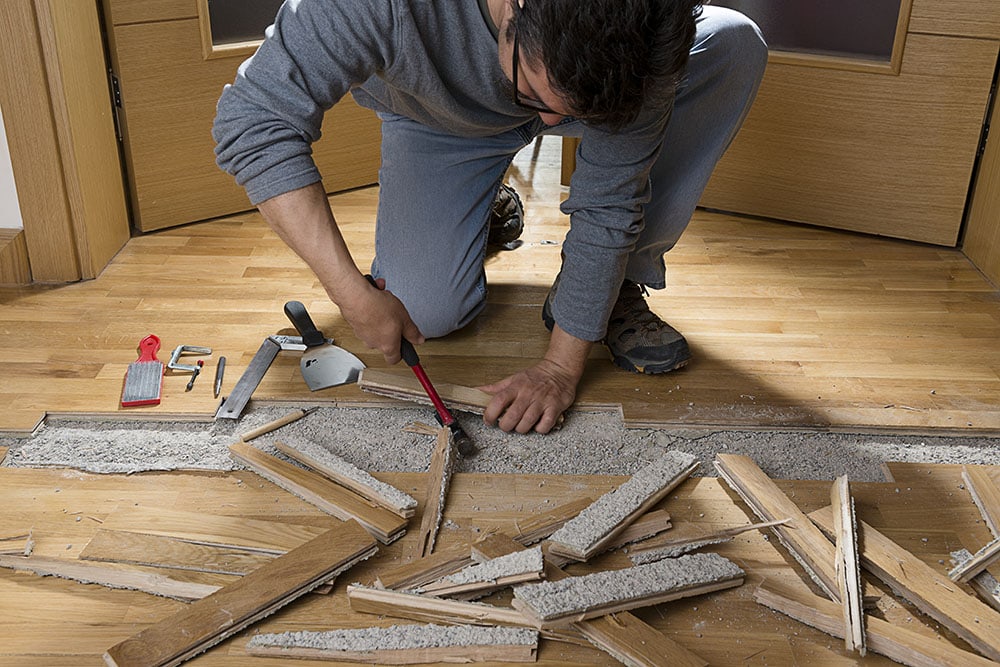
1. Remove the Old Flooring
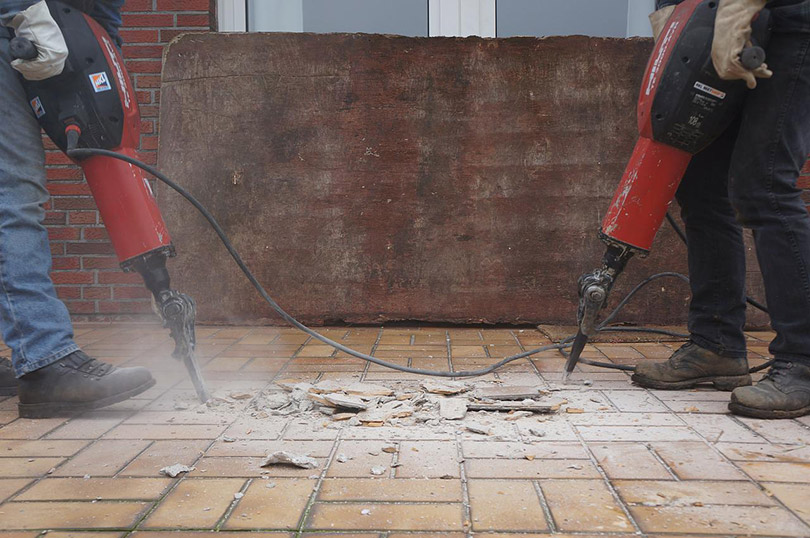
The difficulty of this step depends on what type of flooring is currently in the room. If there is carpet, not only will you need to rip up the carpet, but you will also need to tear out the underlay. If it’s hardwood floor, there probably won’t be an underlay.
The key with removing the existing floor to prepare for pine flooring is getting down to the subfloor. Not only will this give you the proper surface to lay pine flooring on, but you will be able to make any repairs to prevent squeaking or damage to the pine once it’s down.
2. Prepare the Subfloor
Once you’ve got the old flooring removed, you will almost have a blank canvas to work with. Give the floor a good sweep and make sure there are no nails, staples, or screws sticking up. Also, walk over the entire floor and locate any areas that squeak. If you find any, secure the subfloor to the nearest joist with a 2” screw.
One other thing to note is if there are any damaged subfloor areas, you’ll want to cut them out and replace them with new plywood. Typically, the subfloor will be ¾ inch plywood.
3. Lay the First Row of Flooring
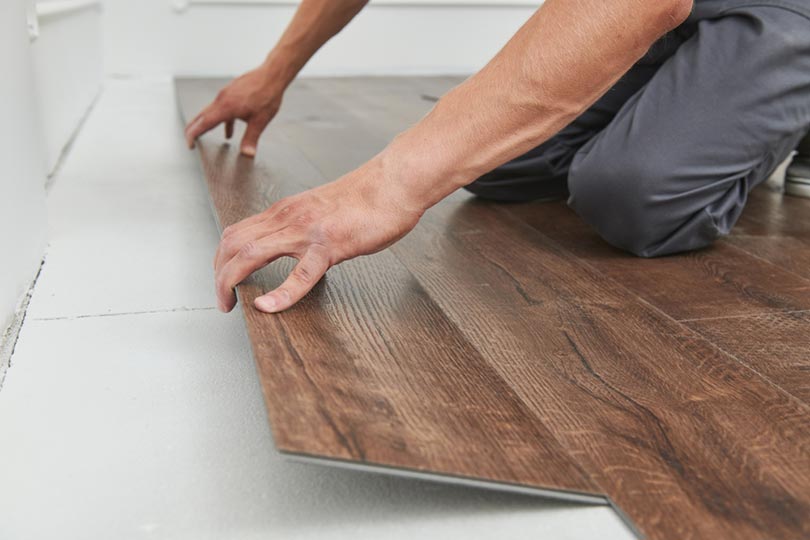
The first row is the MOST critical in the entire process of installing any flooring. Before laying the first row, make sure you snap a straight chalk line. This line should keep the first row approximately ¼ inch away from the wall. This gap allows for expansion and will be covered by the baseboard.
It’s important to nail at least the first two rows by hand. This prevents the blow from the flooring stapler from knocking the row off your chalk line.
4. Continue Laying the Floor
After you’ve finished the first few rows, it gets much quicker because you can break out the floor stapler, which will speed up the process considerably. The main thing to make sure you’re doing is securing each board every two feet and also maintaining a gap of approximately ¼ inch at the start and finish of each row.
If you are going around door jams—in a closet, for example—then you’ll want to undercut the jam. Hold a piece of the pine flooring against the jam and mark with a pencil. Then lay a handsaw flat and cut away the bottom of the jam. This will allow the flooring to slide underneath to give a finished look.
5. Cut the Final Board to Fit
Unless you measured the distance perfectly and started your first row with cut pieces, then it’s almost a guarantee that you will have to end with a ripped piece of pine for the final board. Even if you did measure and start with a cut piece, most rooms are not perfectly square, and you will still end up having to at least trim the final row.
It’s possible to accomplish this carefully with a circular saw, but it is easiest and safest on a table saw. When measuring for the cut, ensure that you account for the gap to the wall. You won’t be able to use your floor stapler for the final board, either. So, hand nail this final row, and your floor is installed—not done yet, though!
6. Fill Holes and Knots
Pine is notoriously knotty. Plus, there will likely be some uneven or large gaps if the pieces aren’t perfectly straight. Starting at one end of the room, go over the entire floor, filling knots, cracks, and other imperfections. Depending on the filler you use, you may be able to go back to the beginning and start sanding right away once you’re done.
7. Stain and Seal
You have two options with a pine floor. You can either oil it as a finish or lightly stain it, then use polyurethane as a topcoat. Both are viable options that are primarily personal choices because neither will give a significant benefit over the other.
The oil will give you a more natural and rustic finish that really highlights the characteristics of the pine, but you will have to redo it more often than the polyurethane. On the other hand, the stain will allow you to customize the color to match the room’s theme and will be slightly more durable.
8. Oil the Floor
When your floor is installed and sanded, use a paint roller to roll on a thick coat of penetrating oil or polyurethane sealer. Let it sit for 15 minutes before applying another, thinner layer. Wait another 15 minutes and go over the flooring with a clean rag to dry any damp spots.
Let the oil dry for 24 hours and revisit the floor to see if it needs more sanding. If it does, use 150-grit sandpaper to gently buff the floor and apply another light coat of oil. Give the oil 15 minutes to soak in before drying any wet areas with a clean rag.
Instead of oil, you can also use a polyurethane sealer. Follow the manufacturer’s directions and roll on several layers for a smooth, shiny surface.

Conclusion
As you can see, installing pine flooring is not overly complicated as long you prepare properly by either buying or renting the proper tools. For example, you could install the flooring without using a flooring stapler. However, it would be exhausting, painful on the knees, and take you forever. Many home supply centers have tool rental options if you don’t want to invest in the tool. Let’s be honest, though—collecting tools is half the fun of DIY projects!
Featured Image Credit: Merio, Pixabay
Contents
