
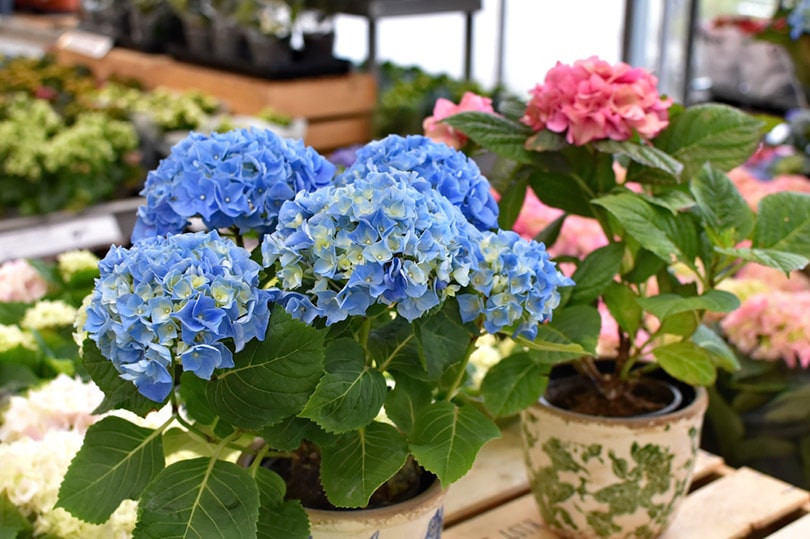
From the flower bed to bouquets, hydrangeas steal the show wherever they go. They’re long-lasting and robust, and the thriving plant’s magnificent color-changing pom poms can transform any landscaping scheme. Once you invite this flowering delight into your garden, the only problem you’ll have is figuring out how to make more!
Doubling up your hydrangeas can be a satisfying process, and you’ll love the recurring bevy of beautiful blooms that come with propagated plants. Learn how to expand your garden with these 10 expert tips on growing hydrangeas from cuttings.

The 10 Tips How to Grow Hydrangeas From Cuttings
1. Start Taking Hydrangea Cuttings in Late Spring
Hydrangeas get woody throughout the year, and many find that taking late spring cuttings when the stems start to firm up gives them better yields when propagating. The softwood cuttings root more readily than cuttings from late summer or fall growth, and rooting them early will help them prepare for the winter.
Take hydrangea cuttings from May through early July for the best results. Look for light green, flexible stems indicating softwood growth, preferably sporting abundant leaves but no flowers. You may be able to pull quality cuttings from flowering branches, but no matter what, ensure they are clean and clear of pests and disease.
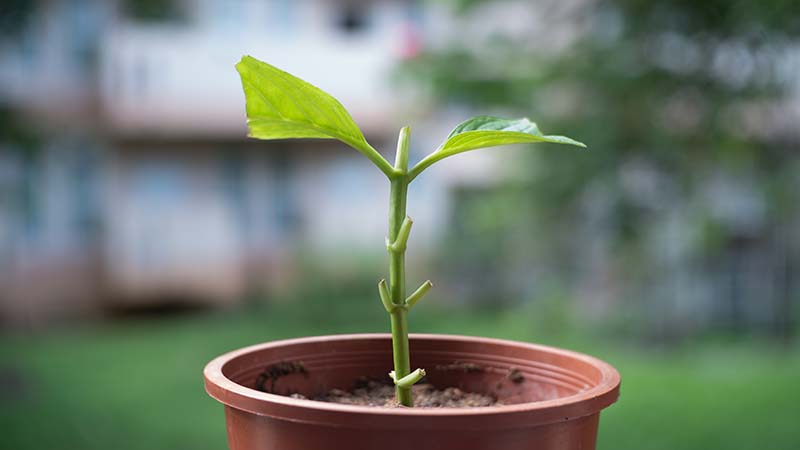
2. Prepare the Pots
Prepare pots about 3–6 inches wide with your potting media. Each will hold one plant, but you can double up in larger pots if you keep your plants at least 2 inches apart.
The potting mix should be light on nutrients, preferably a well-moistened blend of 10–50% peat moss and the rest perlite. You can also use vermiculite or sand instead of perlite to receive the same moisture retention and distribution.

3. Maintain Moisture
Hydrangea cuttings require moisture throughout the propagation process from the moment you take them. Take cuttings during the morning hours before the sun has fully risen and the dew is still fresh on the leaves. Keep a bowl of clean, warm water available to hold all your cuttings until you can transfer them to a pot. After cutting, you’ll want to soak them for roughly 30 minutes.
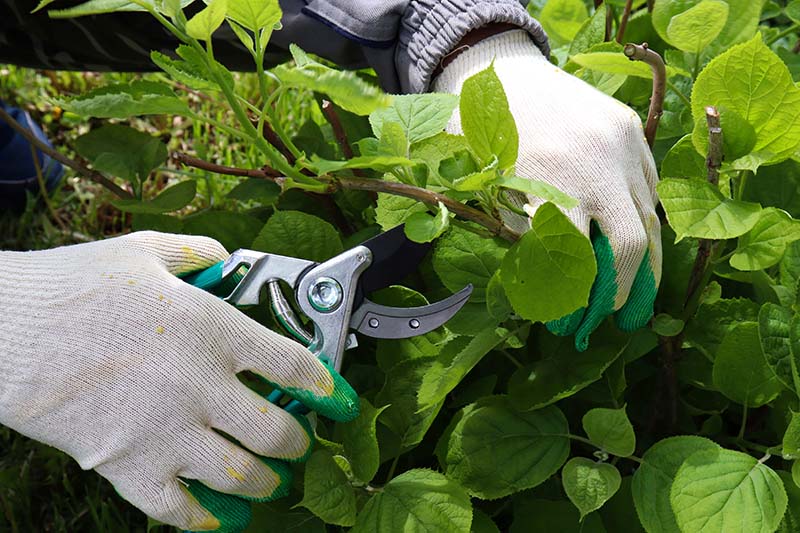
4. Take Cuttings Above and Below the Nodes
With clean, sterilized cutters, cut the softwood barely below one of the leaf nodes, stripping off any leaves attached at that point. Cut at a 45-degree angle, exposing more area for roots to come out. The next cut should be barely above another node, giving leaves and stems a place to emerge on the new plant. Each cutting should measure 4–6 inches with at least three sets of opposite or whorled leaves.
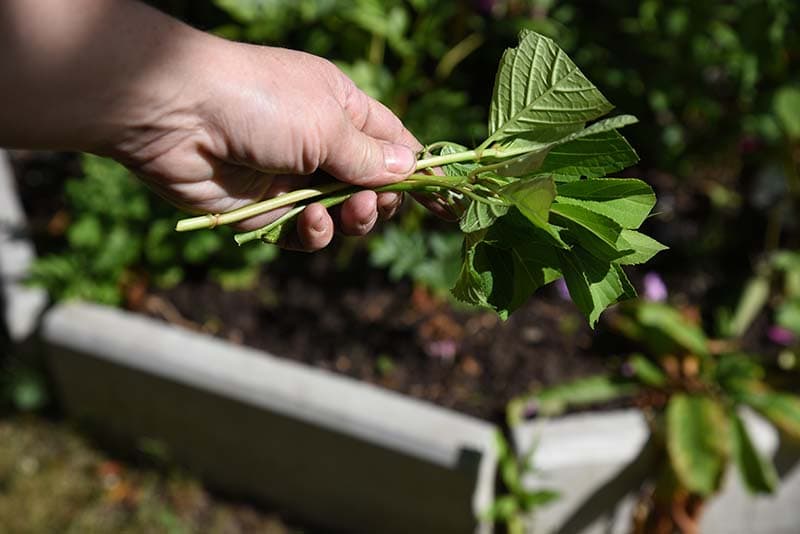
5. Cut the Leaves
Trim off the lower leaves of your hydrangea cuttings where they meet the stem. Once you reach the top leaves, cut them in half. Since the cuttings have no roots to absorb more moisture, reducing the leaf surface area will limit water loss from transpiration and decrease stress on the plant as it tries to reroot.
Cutting the top leaves across the middle to about ¼–½ of their size will remove shade that prevents the sun from reaching the entire plant and prevent plants from touching one another in the pots, which could transfer disease. If the top leaves measure around three inches or less, you don’t have to cut them in half. Put each cutting in your bowl of warm water as soon as you finish cutting the leaves.
6. Dip Hydrangea Cuttings in Rooting Hormone
Rooting hormones improve root growth in fresh hydrangea cuttings, with most solutions consisting of indole-3-butyric acid (IBA) as the active ingredient. Apply rooting hormones as a powder coating by pouring a small amount into a dish and dipping 1–2 inches of the bottom of the stem into it.
Pour only enough rooting powder for one cutting into the dish with each use. Dump out any remaining powder between cuttings to prevent disease transfer.
Take your cuttings from the water bowl, and dip each in the rooting hormone to cover the stem bottom. Ensure the leaf nodes have good coverage, as those are where new roots will come out. Tap off any excess powder. Hydrangeas will still be easy to root if you skip the rooting powder, but it will almost guarantee faster, more successful propagation across your cuttings.
7. Plant the Hydrangea Cuttings
Plant the cuttings immediately after taking them from the donor plant. Use a pen to poke a hole in the potting soil about 2–3 inches deep in each pot. Position the hole in the middle of small pots that will hold only one cutting, or evenly space up to four holes in containers over 8 inches wide for multiple cuttings.
Carefully insert the cutting into the potting mix, and gently pat it firm to hold the plant in place. Add plenty of water to each pot after planting your hydrangeas until water starts flowing out of the drain holes at the bottom.
8. Provide a Humid Environment
After planting hydrangea cuttings in your pots, supply a humid environment by covering them with a clear plastic shield. A deep plastic tote is perfect, giving you enough room to fit several containers and plenty of height for the plants to grow before reaching the ceiling.
If you don’t have a tote, you can cover the cuttings with a clear plastic bag to retain moisture. Push a few long sticks into the soil around the edge of the pot to hold up the bag, keeping it away from the plant leaves. Place your covered plants in a well-lit, warm space away from direct sunlight.
9. Continue Watering
Continue watering the pots to keep the mix moist but not oversaturated, and mist the plants regularly to keep the humidity up. Check your cuttings 1–2 times weekly to ensure they’re not too dry. New roots will begin to form in 1–3 weeks.
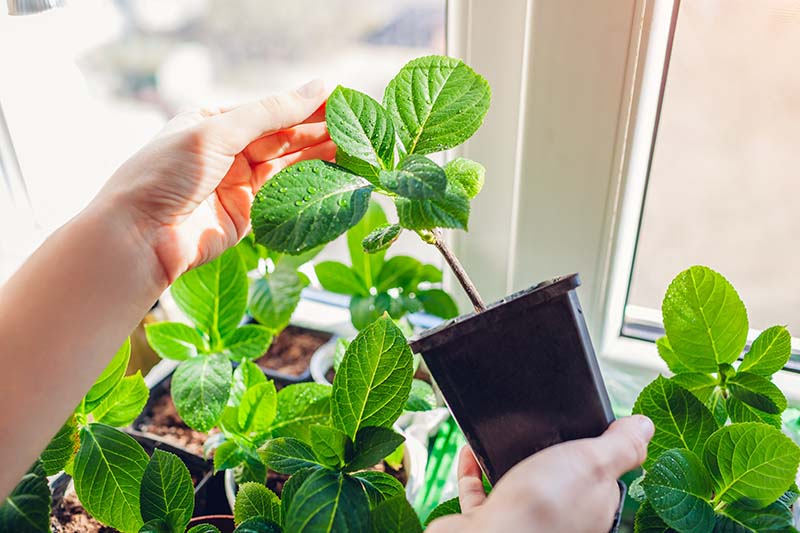
10. Transplant Your Growing Hydrangea Cuttings
The rooting period will vary depending on the hydrangea variety, quality of your cuttings, soil type, and a host of other factors, but you can expect a healthy cutting to root in about 3–5 weeks.
Test the hydrangea’s roots by giving the plant a gentle tug and feeling for resistance. With established roots, the plant will begin developing new leaf growth. Water needs will decrease at this stage as the plants are more efficient at pulling moisture, and the hydrangeas will be ready for their next home.
If your plants are ready for transplanting at least 2 months before the first frost, you may be able to overwinter your hydrangeas in a container or in the garden. Otherwise, move your hydrangeas to a greenhouse, or shelter them outdoors by sinking the pots in the ground and covering them with thick, lightweight mulch or straw.

Conclusion
Hydrangeas are a rare treat in the gardening world. While their awe-inspiring blooms eclipse virtually any competing garden flower, they’re also mercifully easy to propagate. Growing hydrangeas from cuttings offers a massive reward without much effort, and with these tips, you’ll ensure you maximize the payout.
Featured Image Credit: SariMe, Shutterstock
Contents
