
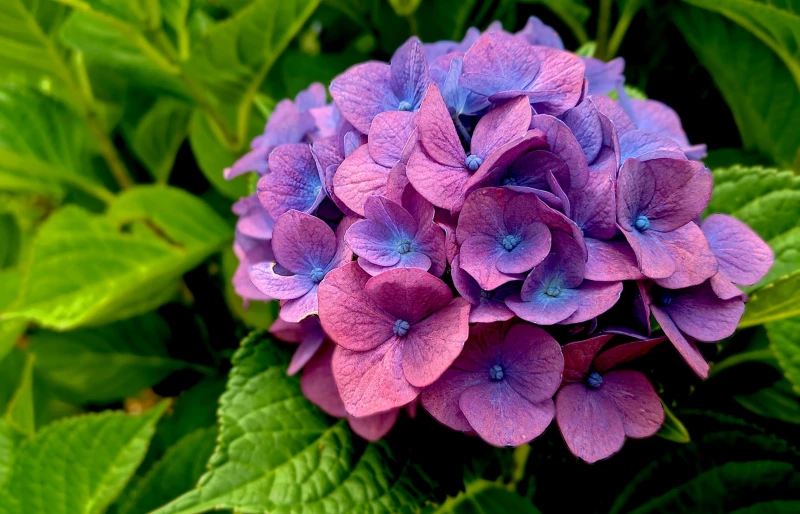
The hydrangea is an amazing plant that produces large, showy flowers that will attract anyone’s attention. You can find them growing in the wild, but many people struggle to grow them in pots at home. If you are having trouble, it could have to do with the potting soil that you are using. Keep reading as we provide a step-by-step guide to creating potting soil that will help you grow strong, healthy hydrangeas.

What Kind of Soil Does the Hydrangea Need?
The hydrangea enjoys a well-draining, slightly acidic soil. The pH can also affect the color of the flowers, with less acidic soil producing red flowers and more acidic soil producing blue flowers.
Before You Begin
We recommend gathering your tools and supplies before you get started to complete the project in one go. You will need a large bucket to hold the soil, protective gloves, and equal parts sphagnum peat moss, perlite, and organic humus, along with a few other items.
- Large bucket or pail
- Gardening gloves
- Small shovel
- Sphagnum peat moss
- Perlite
- Humus
- Soil pH test kit
- Sulfur or lime
- Fertilizer
The 8 Tips How to Make Potting Soil for Hydrangeas
1. Choose the Right Variety
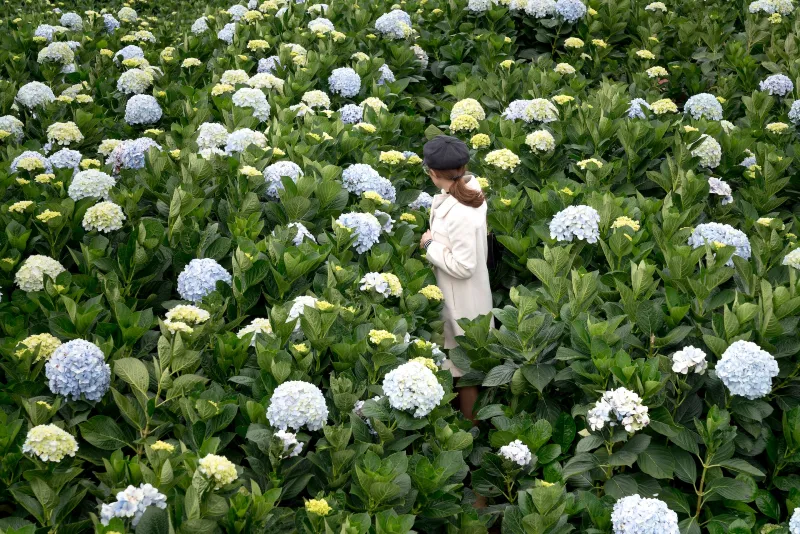
There are many hydrangea varieties, and choosing one that grows well in pots is crucial to creating a potting soil that works. The mophead hydrangea is a great choice because it is relatively easy to find, grows well indoors, and is available in many colors, so you should be able to find something that you like. A few other varieties will grow fine in pots, but you want to make sure they can tolerate shade and won’t grow too large to fit in the house.
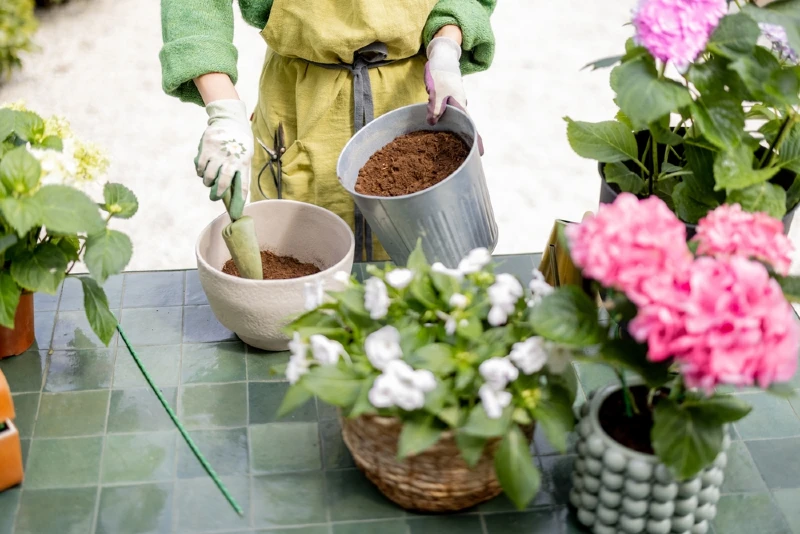
2. Add the Sphagnum Peat Moss
Add sphagnum peat moss to the large bucket or pail, and break it up using your hands or a small shovel to ensure that no clumps are present. We recommend wearing gardening gloves because peat moss can irritate the skin. If you are mixing a large amount, a small shovel can help you break it up more easily.
3. Add in the Humus
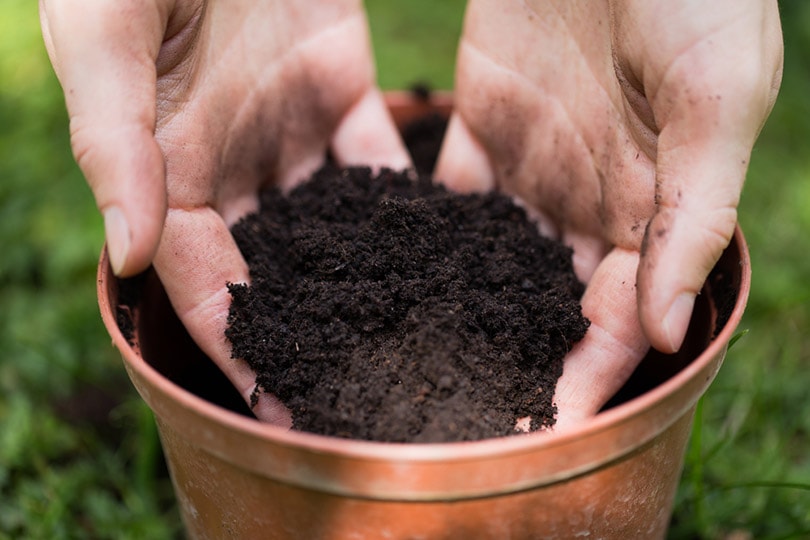
Once you break up the sphagnum peat moss, add the humus. Mix it by hand, or use a small shovel to blend it evenly throughout so there are no clumps of either item when you finish. The humus will be the source of many nutrients available to your hydrangea, so an even mix will improve availability.
4. Add in the Perlite
The last ingredient to add is perlite, a lightweight volcanic material that resembles Styrofoam. Mix it through the soil like you did with the humus to get an even blend, with no clumps of material. Since the perlite is easy to see, you can tell when you have a good mix.
5. Test the Soil pH
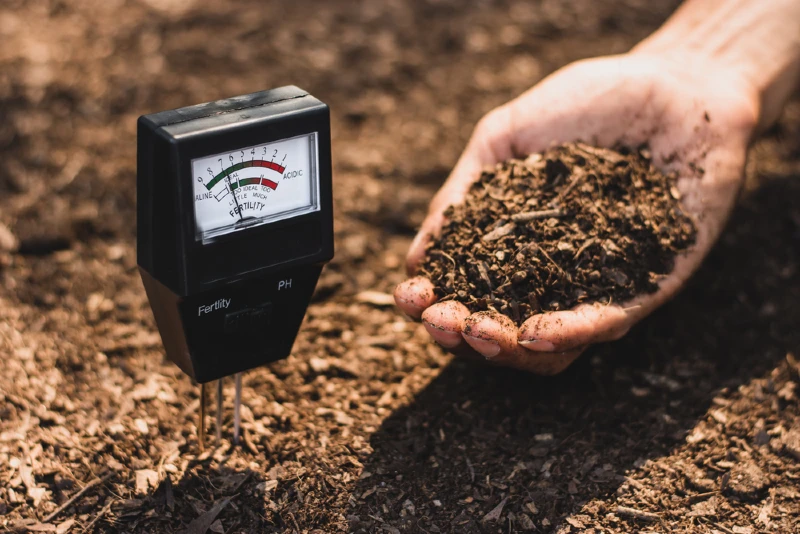
Once you have your soil mix, we recommend testing the pH. A hydrangea plant likes slightly acidic soil that ranges from 5.5 to 7.0. More acidic soil will produce blue flowers, while less acidic soil will produce red flowers. Values in between the extremes will produce flowers with a purple tint. Sphagnum peat moss helps the soil have a slightly acidic value that should be suitable for the hydrangea, but you can adjust it by adding sulfur, to reduce the value and make it more acidic, or lime to increase the value. Only add a small amount of each nutrient at a time, and retest to be sure the soil is at the desired pH.
6. Prepare the Pots
Once the potting soil is mixed, it’s time to prepare the pots. We recommend adding an inch or two of small pebbles or rocks mixed with organic material, like dried leaves or grass clippings, to the bottom of every pot. The pebbles will enable water to drain out of the pot more easily, while the organic material will break down over time, providing important nutrients.
7. Plant
In the next step, fill the pots with the potting soil that you created, and plant your hydrangeas.
8. Fertilize
Place your pots where they will receive plenty of indirect sunlight, and water only when the top 3 inches of soil feel semi-dry. You will also need to fertilize your plant weekly with a fertilizer suitable for the hydrangea while it’s growing and producing flowers, then less often once the flowers die off.
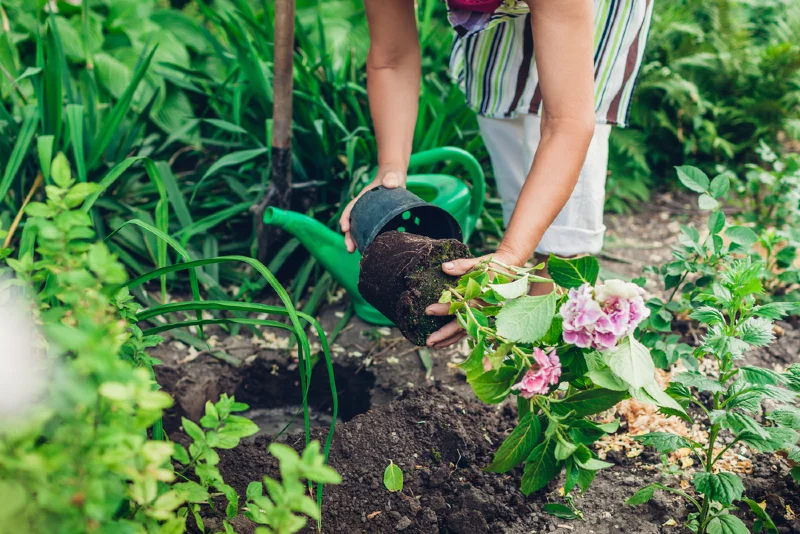
Can I Move My Hydrangea Outside Once It Starts Growing?
Yes, you can move your hydrangea outdoors once all danger of frost passes. When planting, choose a sunny spot large enough for a 3–4-foot shrub, and test the soil to ensure that the pH is suitable.
How Can I Make the Flower Blooms Last Longer?
Watering the hydrangea more frequently while it’s blooming can help the flowers last longer, but be sure to not overwater and make the soil soggy, which can damage the roots. It also likes cooler temperatures while it produces flowers, so move it to another area of the house if you feel that it should be producing more flowers or the edges of the leaves are turning brown, indicating that the plant is too hot.
Will My Indoor Hydrangea Bloom Annually?
To get your indoors to bloom annually, like outdoor plants, you will need to force it into a short period of dormancy. To make the plant go dormant, place it in a room where temperatures hover around 45 degrees Fahrenheit and allow the soil to be dryer than usual, but not so dry that the plant starts to wilt. Keep the plant in this cool area throughout fall and winter to receive blooms again in the spring.
Conclusion
Creating potting soil for the hydrangea is not too difficult. It needs well-draining, nutritious soil like many other plants do. You can create it with sphagnum peat moss, humus, and perlite. This recipe will provide you with fantastic potting soil that is slightly acidic, and you can adjust the pH further by adding sulfur or lime to achieve the perfect flower color. Fertilize weekly until the flowers die off, then allow the plant to go dormant through the winter to receive new blooms next year.
Featured Image Credit: Summer Quinn, Unsplash
Contents
