
Metal is taking over the edging world with its supreme durability and wide array of customization options. You can use metal for straight lines, curves, and angles alike. Installation is a bit tricky, but it’s no harder than many DIY jobs. Let’s check out what you’ll need to install metal landscape edging and how exactly to go about doing it.

Before You Start
The first order of business is to decide whether you’re going with steel or aluminum edging. Steel is much stronger yet heavier, while aluminum is light and flexible. If you want steel, you’ll have to get coated steel, or else it’ll rust in the rain. Aluminum, on the other hand, doesn’t develop a rusty patina.
For edging that sticks up an inch or more out of the ground, go with steel. Edging that sticks out too far is more prone to being backed into by a car. Aluminum edging would get wrecked, while steel would be more likely to survive such an impact. If you’re set on aluminum, we’d suggest going with the thickest variety available.
Before you order your edging, you need to measure the area to get an idea of how much material you need. Curves and angles may need to be fabricated, which you can either order or do yourself. Aluminum edging is easier to work with, while steel is much harder to cut and bend.
To install your edging, you’ll need to gather some supplies. It’s best to get everything together beforehand, so you don’t have to go hunting for items as you work. Some of the things you’ll need include:
- Tape measure
- Straight-edged shovel or spade
- Mallet
- Edging
- Scrap wood block

The 4 Simple Steps on How to Install Metal Landscape Edging
1. Dig A Trench
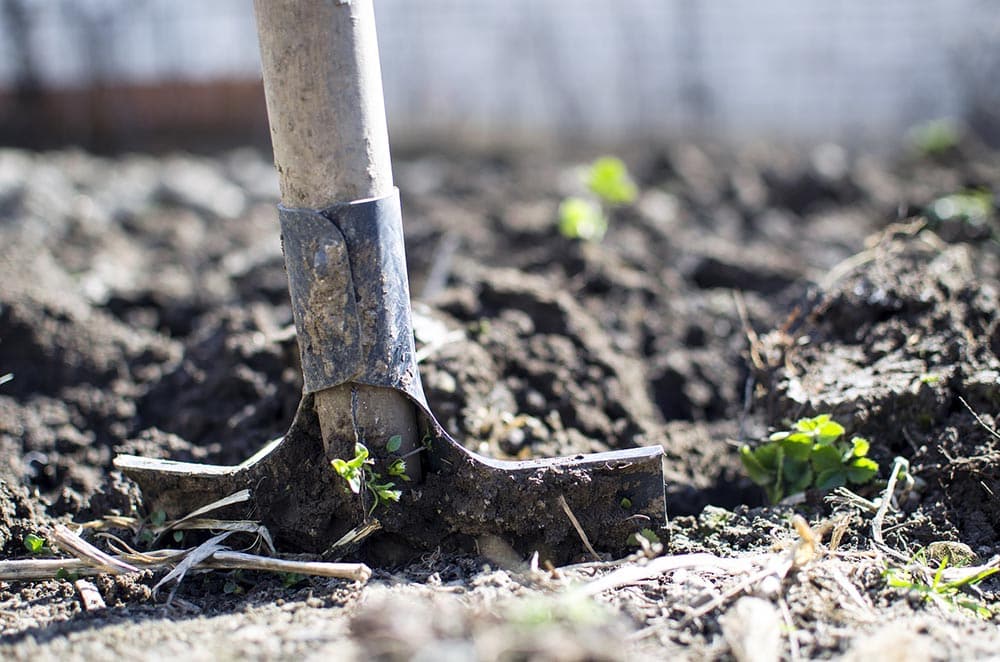
Metal edging is narrower than other types of edging because its spikes are vertical. This means you only have to dig a narrow trench. If the soil is dry or hard, you can soften it by spraying it thoroughly with a water hose.
Place your shovel’s straight edge directly down into the soil, using your foot to step down and create a notch. Use this technique to dig a trench along the entire length of your garden bed or lawn. You can also use a trowel, but using a shovel or spade saves you from having to get on your hands and knees.
To determine how deep you should dig, take the edging’s height and add an inch to account for its spikes. The top of the trench should be lower than your lawnmower blades if you’re edging a lawn. For decorative edging that’s designed to protrude, read the attached instructions to find out how deep to dig.
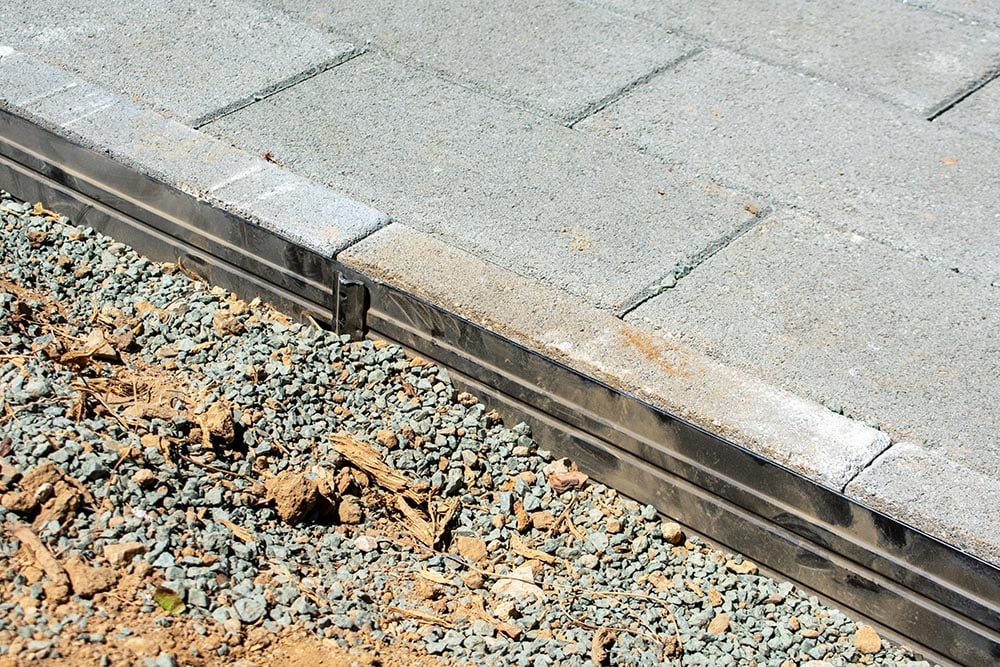
2. Fit Your Edging
Depending on your edging, one side should face toward the lawn or garden bed. Place your edging in the trench along the length of the area, overlapping pieces as necessary. If you have U-shaped sleeves that serve as overlaps, put them over the edging as needed and fit them lightly. Don’t push anything too firmly into the trench yet because you may need to adjust things while you work.
Once you have your edging laid out and overlapped, go back and make sure you’re satisfied with how it appears and fits together.
3. Install the Edging
Hold a scrap wood block over the first piece of edging and lightly tap down on it with your mallet to drive it to your desired depth. We suggest holding the middle or opposite side that you’re hammering, or to have a helper hold it for you while you hammer the first piece down. Once the edging is driven down, continue along its length with your block and mallet.
When you reach overlaps, ensure they’re correctly placed before hammering them into place. Some edging calls for attaching the overlaps or connectors to stakes, which may or may not be provided. Read any instructions that came with your edging materials for more detailed information.
4. Backfill the Trench
When the entire length of edging is secured to your satisfaction, use your shovel or spade to scrape the excess dirt back into the trench. It’ll be a tight fit because of the edging, but you can tamp down the dirt along the edging with the edge of your shovel. Spread or dispose of any extra dirt when you’re done.

Conclusion
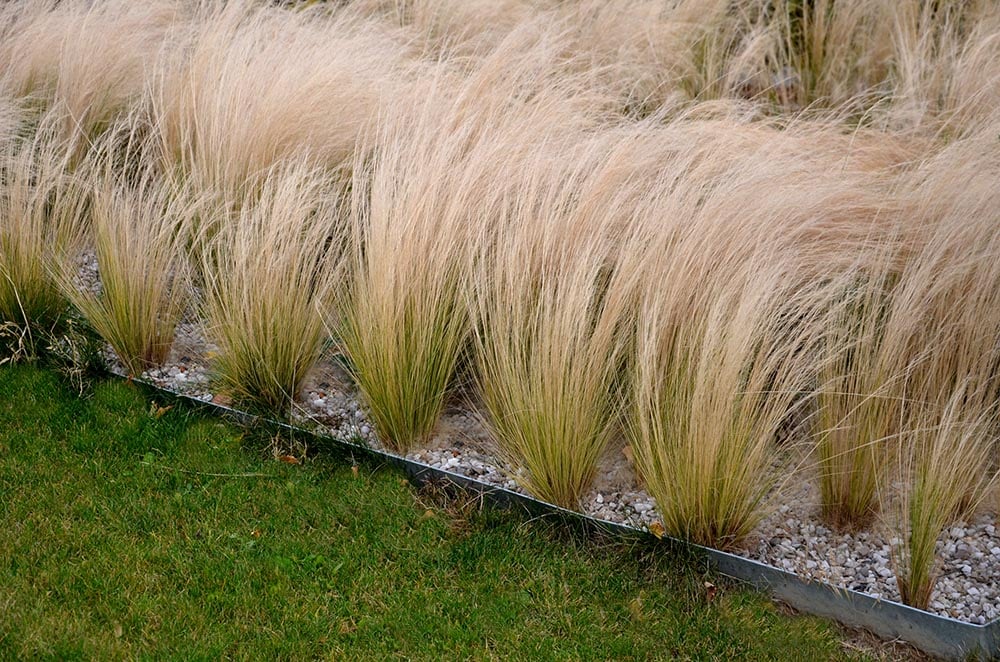
Metal edging is durable, long-lasting, and comes in a huge variety of colors and styles. Unlike other DIY jobs, this one requires no special skills and little equipment. If you want, you can finish edging your lawn or garden over the weekend!
Featured Image Credit: Beekeepx, Shutterstock
Contents
