How To Pack Dishes for Moving: 12 Tips & Tricks
-
Brooke Bundy
- Last updated:
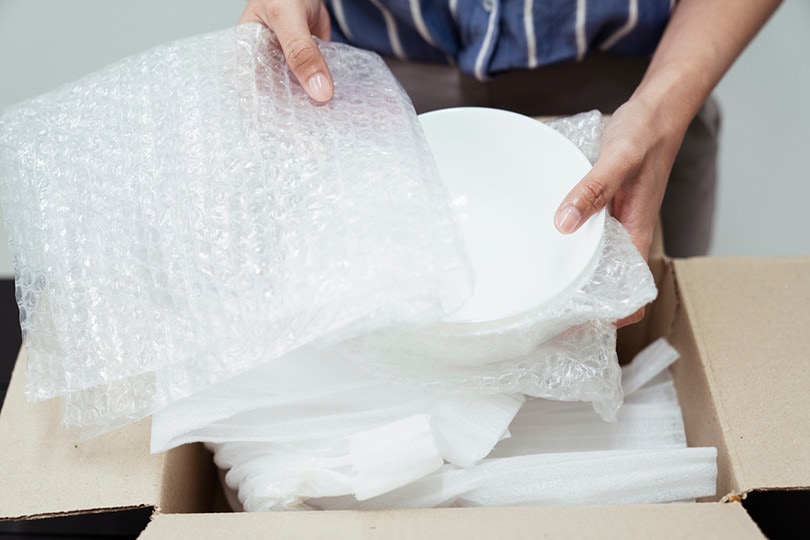
Packing the kitchen is arguably the worst part about moving. You always want to save it for last because it’s the part of your house you use most frequently, except for limited items in the bathroom and your cozy bed. However much you’re dreading packing up those teetering piles of plates, there are ways to make moving day less stressful if you prep ahead of time. Here are the best ways to pack your dishes for moving, without damaging your dinnerware or spending a lot of money on packing materials.
The 12 Tips & Tricks To Pack Dishes for Moving
1. Stock Up on Your Packing Materials Ahead of Time
As soon as you learn you’re going to move, start evaluating items you typically toss in the trash or recycle. Newspaper, plastic grocery bags, brown bags, Amazon packaging, even gift wrap and tissue paper can all help you move. Recruit your neighbors’ help and in a short time you should have a good supply of free packing supplies.
2. Limit Your Grocery List
About a month out from moving day, start planning your meals around the ingredients lingering in your pantry and freezer. Ideally, you want to eat through as much as possible, so you don’t have to pack it all, especially food in the freezer if you’re moving long-distance. Additionally, only buy a minimum amount of fresh food (milk, eggs, etc.) that you’ll eat in a given week to go with the food you’re preparing from frozen.
3. Start with the Fine Chinaware You Never Use
While it’s prudent to delay packing most of your kitchen supplies until the end, you can go ahead and box up the bowls you only use on the holidays or the dusty bread maker you haven’t turned on in a year. If it isn’t used at least once a week, you can go ahead and box it up.
4. Alternatively, Consider Donated Items You Rarely (or Never) Use
There might have been some good intentions when you bought that ice cream maker, but if you never use it, you might want to evaluate whether it’s worth the trouble moving it and finding space for it in your new home.
5. Make a Trip to the Liquor Store
You can find some good quality boxes and glass dividers for free at your local liquor store, just be sure to ask the store manager first. As a courtesy measure for sponsoring your move, you might also want to buy a bottle of wine to relax with at the end of a long day of packing. We think the liquor store is one of the best places to find free boxes for dishes because wine boxes are crafted to hold heavy glass, and they tend to be small, which will help you not to overload the boxes.
6. Buy Some Packing Tape
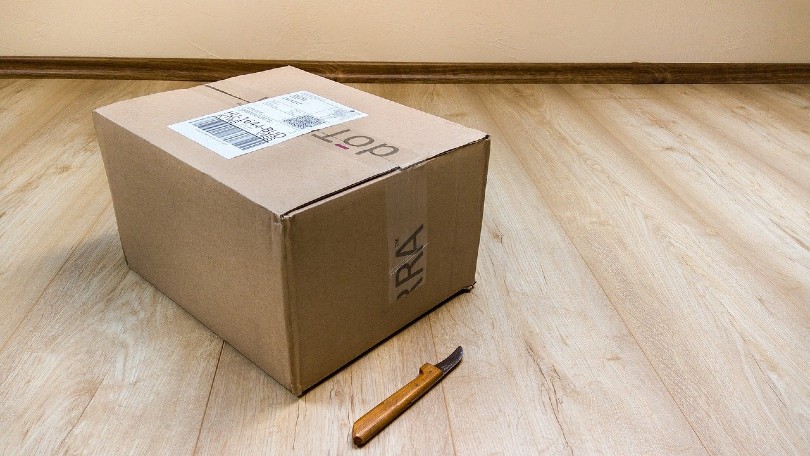
Although you can find a lot of your packing supplies second-hand, you’ll at least need to buy packing tape, and perhaps a few heavy-duty moving boxes, packing paper, and/or bubble wrap if you couldn’t find a thrifted source.
7. Pack Small Appliances in Their Original Boxes
If you still have the original box for your blender, it’s best to pack it in there and pad any gaps with packing paper. Even if you don’t have the box, try to match your appliance with a similarly sized box to prevent it jostling around while it’s on the truck. You should also include any appliance accessories, such as included blades or trays, in the box to prevent confusion down the road.
8. Pack Plates with Paper or Bubble Wrap
Set the plate upside down in the center of the paper or bubble wrap and fold the corners of the packing material towards the center. Secure with tape, and then place on its side along with the other plates like you’re loading a dishwasher. Repeat with the other plates, making sure not to overload the boxes. If you have cloth kitchen towels, you can place them in the bottom of the boxes to prevent them from shifting around.
9. Wrap Flatware in Bubble Wrap
You can pick up the divider for your flatware and pull bubble wrap around the sides. Secure it at the bottom with some tape, and you’re good to go.
10. Set Aside a Kitchen “Junk” Box
Toss in all of your lightweight items such as spatulas, twine, scissors, extra teaspoons, and all the loose items floating around in your kitchen.
11. Make an Essentials Box for the First Few Days in Your New Place
This should ideally include a couple pieces of each flatware utensil (forks, spoons, knives, etc.), dish soap, a roll of paper towels, a couple mugs, a medium-sized pot, a pan, a spatula, a bowl, one set of measuring cups and spoons, and 2-4 plates. You could also include glasses if you’d like, but mugs are better because you can typically put them in the microwave, and they can function as bowls.
If you don’t want to wash dishes, you could switch the flatware and plates for disposable from the dollar store. As you pack your pantry, you might want to add non-perishable items like boxes of pasta and some sauce to your essentials box for a quick meal after the pizza boxes have been tossed.

12. Give Yourself Time, and Make It Fun
The kitchen may be one of the last things to get packed but save the best for last. Turn on some music, invite some friends for a packing party, and open the bottle of wine you bought while searching for supplies at the liquor store. While you might be tempted to get overwhelmed by the cardboard boxes and noisy crinkle of bubble wrap, remember that every item you pack is a part of your life that you get to bring to a new chapter.
Conclusion
Packing doesn’t have to be a chore. Start planning early by gathering your materials and emptying your refrigerator in the month leading up to moving day, and you’ll find that the actual act of packing isn’t so bad.
Featured Image Credit: theshots.co, Shutterstock
Contents
