
Painting your ceiling can be a challenging job, but it will make a massive difference in your home’s appearance. People often dislike this task because they constantly need to hold the paint roller above their head, hurting their shoulders and neck. Although painting a ceiling isn’t exactly fun, it doesn’t have to be too hard. If you know how to paint a ceiling properly, you can do it efficiently and without hurting yourself. To help you, we created a step-by-step guide on how to paint a ceiling in eight easy steps.

How to Paint Your Ceiling in 8 Easy Steps
1. Equipment
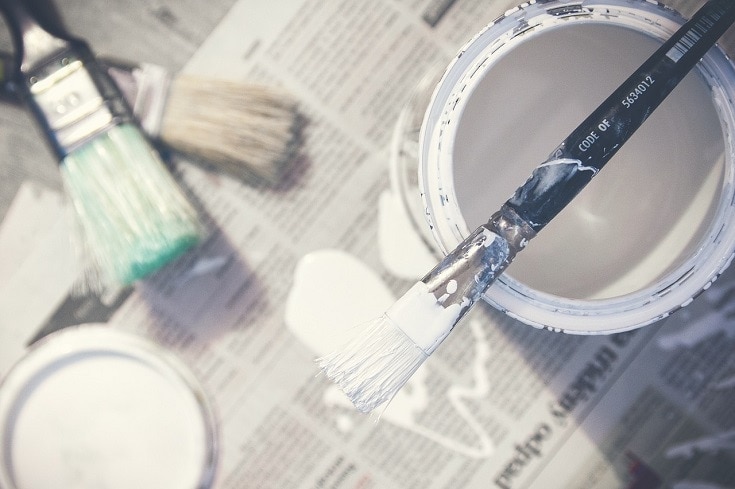
First things first, you need to purchase the necessary equipment for painting. You might have some tools at home already, but ensure to have everything to complete the job easier for you. Here is a list of things you need for ceiling painting.
- Painters tape
- Ceiling paint
- Primer
- Putty
- Drop Cloth
- Paint Roller
- Paint roller extension pole
- Paintbrush
- Paint tray
- Bucket
- Ladder
- Putty knife
- Sandpaper
These are the essential materials and tools for painting a ceiling. It’s always best to be adequately prepared to make the job faster and easier.
2. Cover up your furniture and floor
Once you’ve purchased the required equipment, you’ll need to cover up your furniture and floor. That way, you can ensure that nothing will get stained or splashed on while you paint. Use drop cloths to cover up the furniture and the floor, or, if you have a lot of furniture, you could also move it from the room. That will allow you to easily maneuver through the room while you paint.
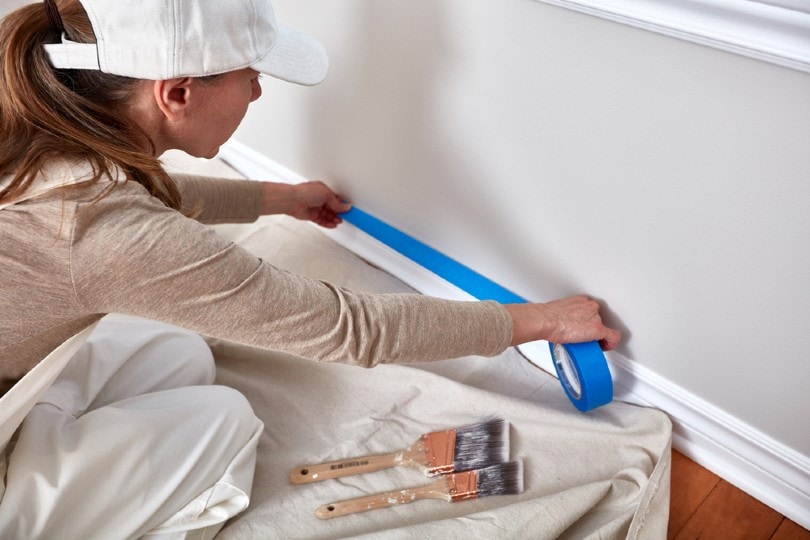
3. Tape the edges of the wall
When you finish covering furniture and the floor, you should tape the wall edges where the wall meets the ceiling. It’s best to use painter’s tape to cover the wall edges. That way, you will ensure that you won’t accidentally paint on the wall. Also, the line between the ceiling and the wall will look sleek and neat. On the other hand, this step is not a must if you plan to paint the whole room. You don’t need to worry about spills since you will paint the walls later anyway.
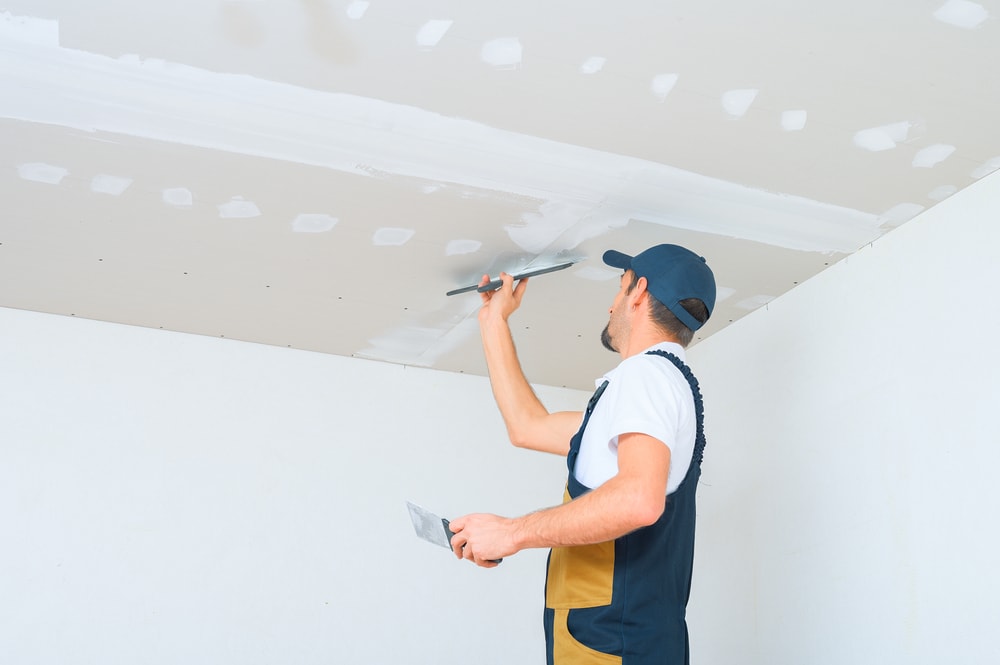
4. Prepare the ceiling
You will need to prepare the ceiling before painting. The first thing you should do is to patch any holes. Use the putty knife and fill any small gaps in the ceiling and remove any excess. Once that is done, lightly sand the area with sandpaper. This will ensure that the ceiling is smooth and has no lumps. Last but not least, wash the ceiling with a slightly dampened sponge to remove any dust and dirt. This will help the ceiling paint to stick to the ceiling better and look brighter and neater.
5. Apply primer
Once the ceiling is prepared, you should apply primer before painting. For the best results, you can use a stain-blocking primer. Some people even use a paint and primer combination to skip this step. A primer will help you smooth out the color evenly, and it will be a great base for the ceiling paint. You can choose whichever option works best for you. If you decide to apply a regular primer without paint, apply a single, even coat of primer and spread it out in straight strokes.
6. Mix the paint
You need 1 gallon of ceiling paint to cover approximately 300-400 square feet of the ceiling. You probably have yours ready by now, so you should place it in the bucket and mix it. Ingredients in the paint can separate, so stir it frequently to make sure that doesn’t happen. If you don’t stir it enough you might have uneven coverage.
7. Paint the ceiling
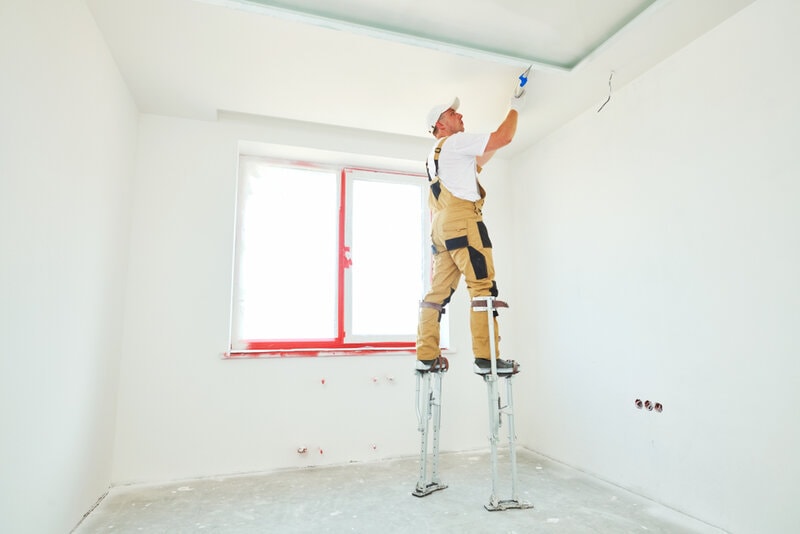
When you’ve finished all the above-mentioned steps, it’s finally time to begin painting. Pour the paint in the paint tray and lightly roll a paint roller over it until it’s coated. If your ceiling is high, use a ladder to help you reach the ceiling or use a paint roller extension pole to reach every area of the ceiling.
You should paint the ceiling from one side to the other, and repeat in long strokes. Try and maintain an even pressure to get the same color throughout the ceiling. Once you blend in all the paint, leave the ceiling to dry. If you need a second coat of paint, just repeat the same pattern as previously.

8. Clean up
With step seven done, the painting process is over, but you still need to clean up and put everything back in place. You should remove the painter’s tape from the edges and uncover floors and furniture.

Frequently Asked Questions (FAQ)
How can I paint my ceiling without making a mess?
It’s always good to prepare the area for painting and cover up furniture and floors. Of course, just because they are covered doesn’t mean you should splash paint all around the room. Painting the ceiling without making any mess is not quite possible, but you can minimize the splashing and dripping. Instead of applying too much paint at once, apply a small amount of paint to the roller before every stroke. Lightly press on the roller and use slow strokes to roll the paint on the ceiling gently.
Do you need to prime a ceiling before painting?
You do not necessarily need to prime the ceiling before painting, but it would be beneficial. Primer is used to smoothen the ceiling and bind the paint securely. Adding a coat of primer will make your ceiling look smooth and cover any imperfections. Also, it will prevent staining and make the color even.
Do ceilings need two coats of paint?
Most people practice putting two coats of paint on a ceiling, but that’s not a must. If you did a coat of primer first or used a primer paint combination, you won’t need two layers. The primer will make the ceiling smoother and help the color to stick to the ceiling better.

Conclusion
Painting your ceiling doesn’t have to be as challenging as it seems. By following these steps the whole process will be simplified and help you finish the job faster. We hope this article has helped to tackle the job yourself and made the process of painting your ceiling easier overall.
Featured Image Credit: Dmitry Kalinovsky, Shutterstock
Contents
