
Chrome is a sleek stylistic choice we’ve all admired at one time or another, with its slippery futuristic feel and look. When that look starts to dull or you want to replace the color with something else, you run into this problem: can you even paint chrome?
Yes, you can paint over chrome. The downside is that if you neglect your prep work, your lovely chrome surface will rust in no time! It takes some special preparation to paint over chrome, whether you’re redoing your old lounge or painting over a dull bumper.
If you notice that your chrome seems scuffed or like it’s wearing away, you’ll need to immediately act to protect the paint and underlying materials. This is because chrome is, other than visually appealing, protection against rust. When chrome on metal wears away, the metal becomes vulnerable to rust.
Let’s check out what kind of equipment and preparation you need to do before you actually slap some paint over your chrome.

Preparation
- Soap
- Rags
- 5-gallon bucket
- Adequately ventilated area
- Sandpaper (coarse 120-grit and fine 240-grit)
- Electric sander (optional but handy)
- Automotive rust-inhibiting paint primer
- Automotive enamel paint or other metal paint
- Painter’s tape
- Painter’s plastic
- Nylon brush
- Safety goggles
- Dust mask
- Sealant/clear coat
- Paintbrushes and/or foam brushes (personal preference reigns here)
- Liquid metal filler or welding putty
Setting Up a Workspace
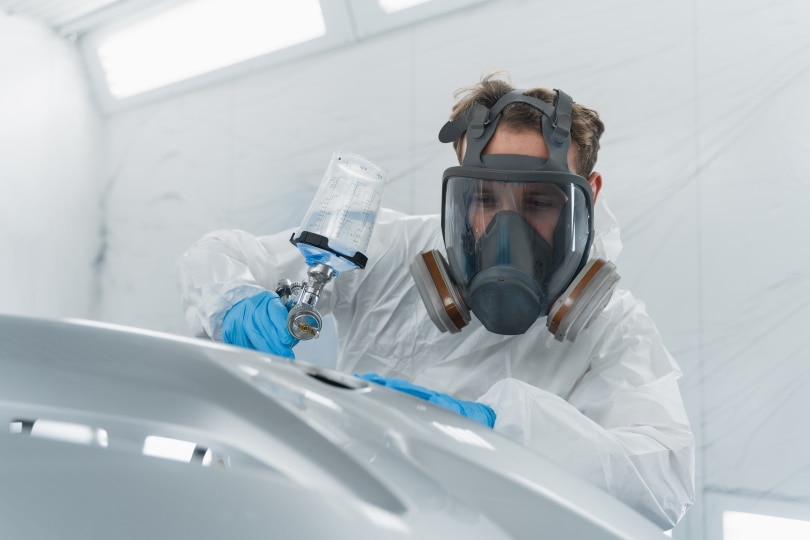
We can’t emphasize enough how crucial it is that you work in a very well-ventilated area. Chrome contains chromium, which is a toxic compound that can irritate the eyes, nose, lungs, and other organs. We’d recommend using an open garage, driveway, workshop, or even a dedicated painting tent for this task. For redundancy’s sake, always wear safety goggles and a dust mask when working with paint and chrome.
Regardless of where you do the work, you’ll have to clear the area of miscellaneous objects and put down some painter’s plastic. Use painter’s tape to secure the plastic and cover any attached edges that aren’t getting painted. This goes for furniture, fixtures, bumpers, and so on.
How to Paint Chrome | Step-by-Step Guide
1. Clean the Surface
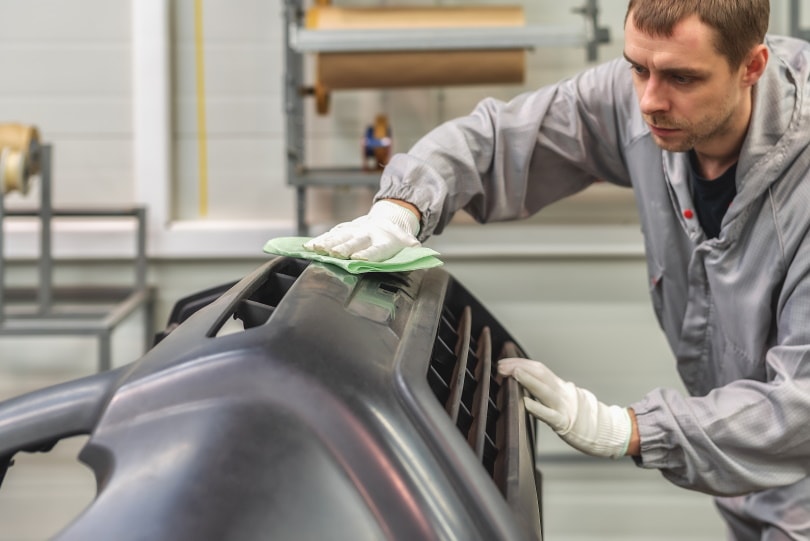
The very first step is to clean the chrome you wish to paint with soapy water. Mix your soap with warm water, then use a rag to remove any visible dirt, sand, or other debris. Use your nylon brush to clean any hard-to-access crevices. For optimal results, it’s key to clean the chrome as meticulously as possible.
This step is often overlooked but is essential because any loose particles on the surface when you paint can scratch the paint job.
2. Sand the Chrome
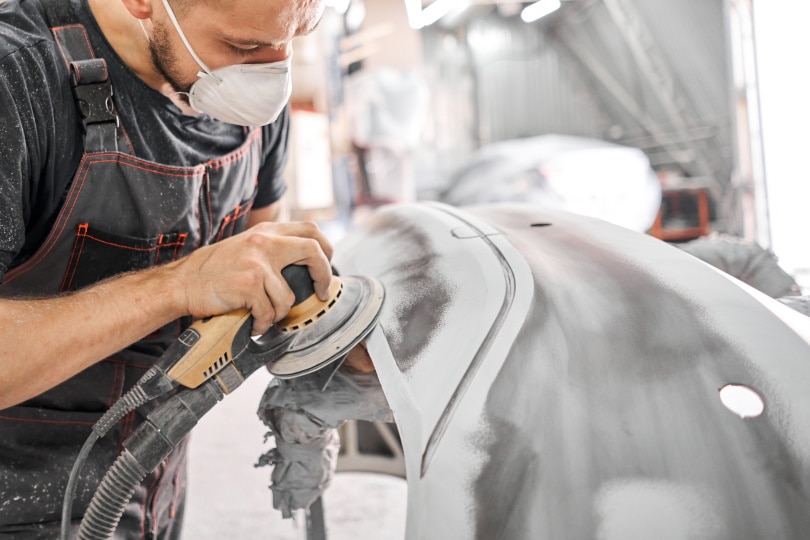
Once your chrome is cleaned to your satisfaction, it’s time to sand. Primer and paint don’t stick well to unsanded surfaces, and chrome is especially hard to paint. If you try to paint unsanded chrome, at best the paint will stick but later flake, and at worst it won’t stick at all.
Sand the chrome in a circular motion with coarse sandpaper until it’s scuffed up, then finish with fine sandpaper. Because the coarse sandpaper will make random scratches or scuffs, you have to follow up with fine sandpaper. Use the fine-grit sandpaper until you achieve a uniform surface, which will help your primer and paint adhere.
3. Repair Flaws

This step is optional, but it helps to fix any cracks, gouges, or dents in your metal before you move on. Using welding putty like JB Weld or a liquid metal filler, follow the manufacturer’s instructions to fill any flaws in your chrome’s surface.
After you’ve filled in any flaws, you have to resand the area you filled in. First with coarse sandpaper to scuff it, then fine sandpaper to get the surface as close to its surroundings as possible.
After this step, rinse the chrome with water and pat it dry with rags. This helps to wash away any lingering particulates.
4. Apply Primer
Primer is vital for any paint job because it helps the paint adhere to the surface. Especially when painting metal, foregoing the application of primer will cause a paint job to peel, bubble, crack, or otherwise appear shoddy. Save yourself the trouble and use a rust-inhibiting primer like Rustoleum.
Primer application varies depending on whether you have spray primer or liquid primer. For spray primer, spray your chrome with light, overlapping passes from 12 inches away until the entire surface is covered. Be sure to get any edges or crevices, too!
With liquid primer, use your preferred brush to paint the chrome. Use long side-to-side or edge-to-edge strokes and lightly tap your brush into any nooks to prime them.
You may need to let the first coat of primer dry and apply another, depending on how the first coat covered the surface. If you can see the surface through your primer, however dimly, you need another coat. If your primer runs and dries that way, lightly sand it until it’s uniform.
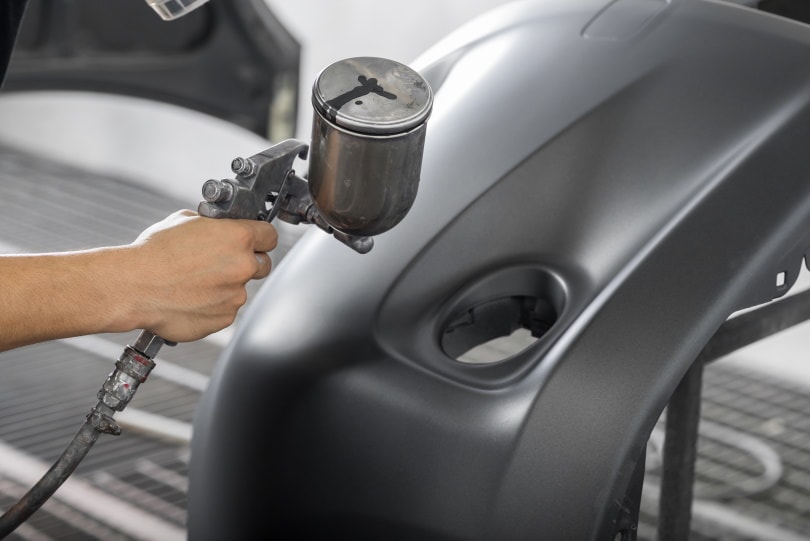
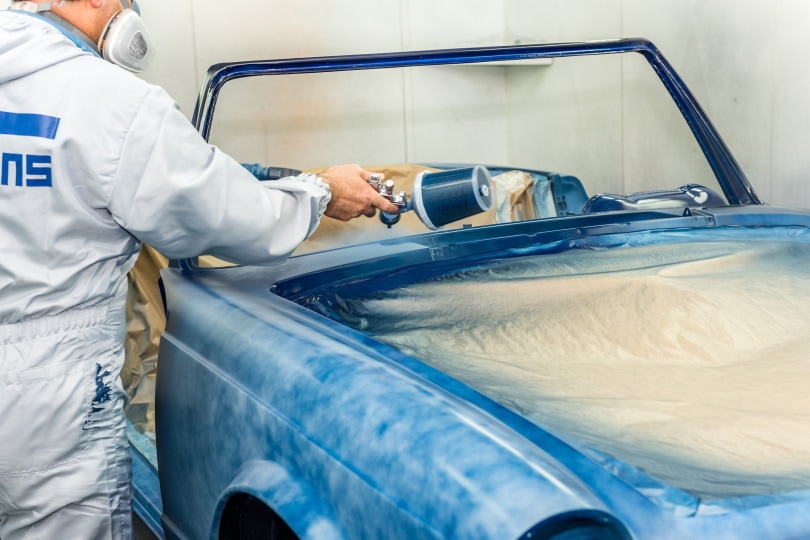
5. Paint!
If you’re spraying, spray your surface from 12 inches away in long, straight passes. Be careful not to spray too heavily in a single coat, because chances are you’ll need 2 or 3 coats anyway to achieve your desired look.
If painting, use your brush of choice to apply paint in long, uniform strokes. It’s better to overlap your passes than to slap on a thick coat, so go easy on the paint here. The tricky part comes when you try to paint crevices because paint tends to pool and drip there. Use your brush to soak up excess paint in these areas and reapply it elsewhere.
Let your first coat dry, which may take a day or so depending on the temperature, humidity, and ventilation. If possible, set a fan or two up in the area near your newly painted chrome. Do not point the fans at the paint, but leaving them pointed elsewhere in that area will improve ventilation and accelerate the drying process.
6. Apply Sealant

This step is technically optional but strongly recommended. Using a sealer on your newly painted chrome will keep it from chipping and peeling and preserve its integrity. A glossy clear coat is the most well-known sealant, but matte variants are available too if you prefer an understated look.
Using the same technique you used for priming and painting, apply your chosen sealant to your chrome surface. Make sure you achieve a uniform coat because any drips or runs will need to be sanded and resealed. This sealant will provide the final touch on your chrome, so take your time and make it look pretty.
A few days to a week after your sealant dries, you can rub it down with a buffing cloth to improve the shine.
Featured Image Credit: Bhakpong, Shutterstock
Contents
