
Whether it’s for touching up a scratch on a vehicle, or giving a boring old plastic planter new life, there are about a million and 1 reasons you might want or need to paint plastic.
The only problem is that it isn’t porous like wood or even metal (yes, metal is porous). That doesn’t mean it can’t be done, though! Follow these 7 simple steps to make short work out of your next plastic painting project.
How to Paint Plastic in 7 Easy Steps
1. Protect the Area and Yourself
How you go about this is going to depend on the area that you are working in, and the size of the project. It’s important to always ensure that you have good ventilation when working with paint, as it can emit fumes that aren’t good for you. Just open some windows and turn on a fan.
Next, it’s time to protect the area itself. Usually, laying down some cardboard, or even working inside a box that has its top and one side removed, are perfectly good means of protecting your workspace.
2. Clean the Plastic
The next thing you need to do is to clean the plastic. It might not seem logical if you’ve jumped ahead and read the next step, but it’s essential.
Dirt and even harder to remove oils prevent the paint from curing to the plastic properly, and the effect is noticeable. Start with some dish soap and warm water and give it a good once-over. Next, it’s time to prepare the surface.
3. Lightly Sand the Surface
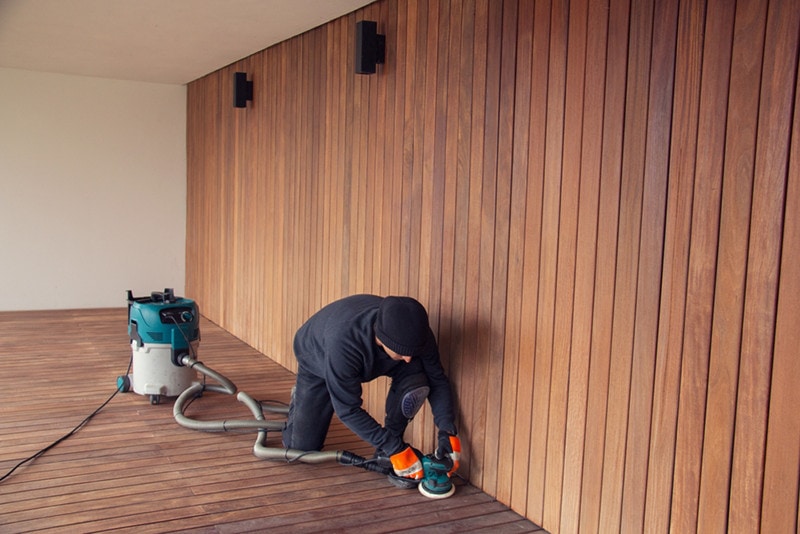
Using some 180–220 grit, or fine-grained sandpaper, you need to buff up the surface. The trick here is to rough the plastic up, just a little bit, without going too hard and scratching it.
This part of the process is how we get around the lack of porousness that makes plastic so hard to paint. This enhances the surface just a little bit to allow the paint to bond to it properly. Be sure to wear a dust mask and use a dry cloth to wipe away the plastic ‘dust’ when you are finished, or better yet, a vacuum.
4. Remove Any Oils
Now it’s time for the last bit of cleaning. Once you’ve made the plastic a little rougher, it’s time to go over it with either mineral water or isopropyl (rubbing alcohol). This works to remove any oils and fine dust that may have been left over from the sanding process.
Drying time will vary depending on which you use—otherwise, just wipe it down with a clean dry cloth, and we’re almost ready to paint!
5. Further Preparation – Taping
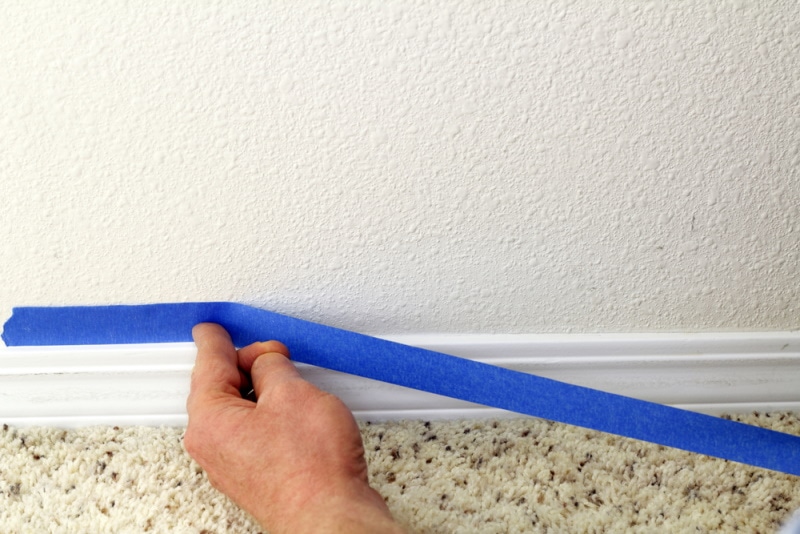
If you are only painting portions of the piece, you will want to put some protection around the borders of the area to paint. Masking tape works great and won’t leave any residue. If you are working on a vehicle, there are products available to protect the glass and paint of your vehicle.
6. Apply Primer
If you are changing from one strong color to another, you may want to apply a primer coat first. Primer is usually grey or white and is designed to cover the preexisting color. If the piece you are painting is white clear, you may not need to apply a primer coat. Let it dry in your properly ventilated workspace.
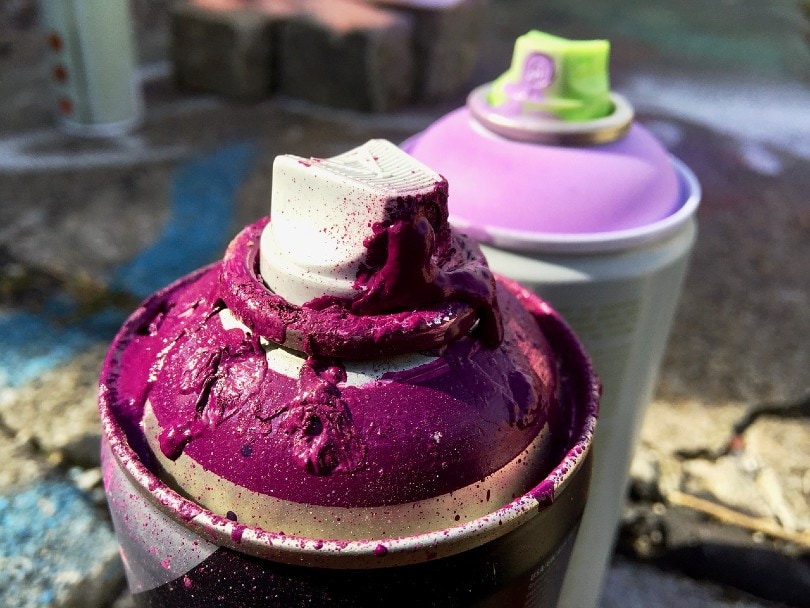
7. Paint!

Once your primer coat has dried sufficiently, it’s finally time to start painting. Whether you decide to go with spray paint or a brush on is entirely up to you! Brushes tend to leave the texture of the brush behind, so if you are looking for a more even coat, a spraypaint product may be the way to go.
You’ll want to put at least 2–3 coats, or more if you didn’t prime it. Let it dry overnight. In the morning you can remove the tape, and you’re done! A freshly painted—er, whatever it is! Beautiful!
Final Thoughts
Painting plastic does come with its own unique set of challenges, but if you follow some easy steps, you can paint just about whatever plastic you want! There are a ton of fun arts, crafts, and fixes that you can apply these steps to. Always remember to be careful and have fun!
See also:
- How to Open a Paint Can In 5 Easy Steps (With Pictures)
- How to Paint Baseboards In 11 Easy Steps (With Pictures)
Featured Image Credit: motointermedia, Pixabay
Contents
