
It is embarrassing to admit, but many people get home with a fresh load of paint, ready to give their home a facelift or redesign, only to find out that they cannot open the paint cans. They don’t unscrew, and they don’t have a pop-top. They look completely sealed. Many people have pawed the paint can lid or tried to jam their fingers under the edge to no avail. If you tried that, don’t worry, you’re not alone. But let it be known that you cannot open a paint can with your fingers alone.
Opening a paint can is easy. You just need the right tool and the proper leverage. Here is how anyone can open a paint can in five super easy steps.

Preparation
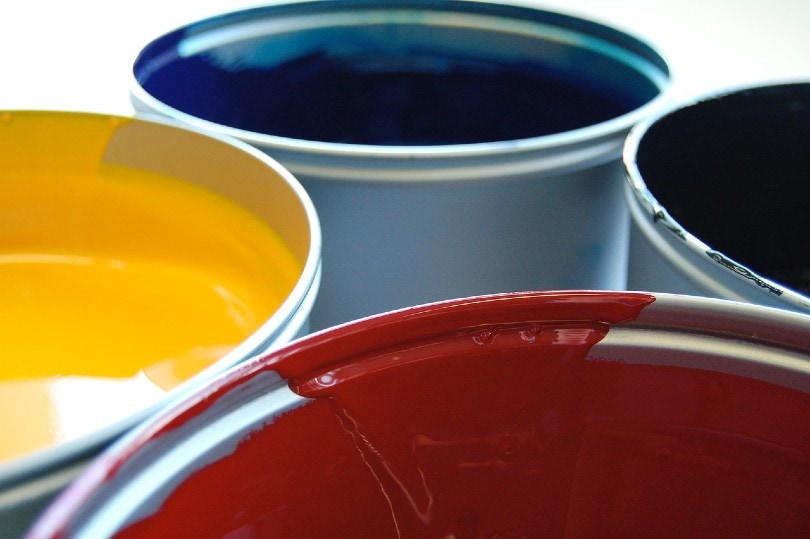
Before you can open your paint can, you need to obtain your paint can. These instructions apply to basic paint cans that are bought from your local home improvement store. It does not apply to spray paint or other non-standard paint cans. These are the round cans with the silver lids that have the lip around the edge.
In order to open a paint can effectively, you will need just a few items on hand.
- Paint can
- Flat tool
- Drop cloth
After you have your paint, your tool, and your protective cloth, you are ready to get started.
The 5 Easy Steps to Open a Paint Can
1. Choose Your Tool

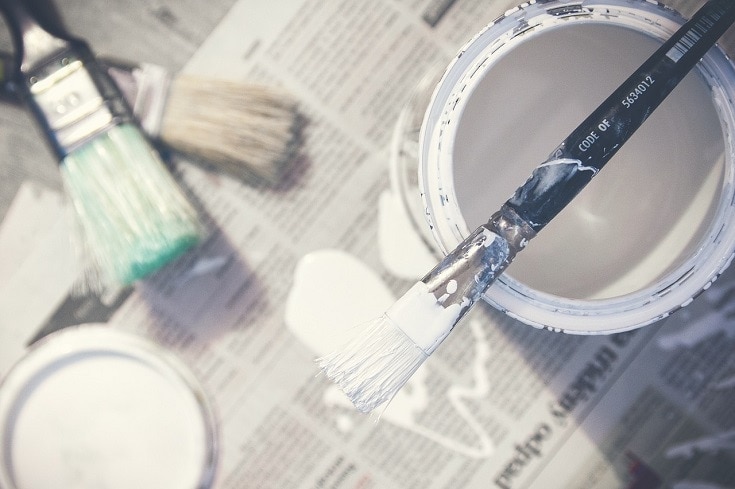
The first step to opening any paint can is to choose the tool for the job. There are many different items that can effectively open a paint can. The most common is either a flathead screwdriver or a paint can opener. Other things that can be used include putty knives, bottle openers, and keys.
The ideal tool is the specially designed paint can opener. The second best is the flathead screwdriver. But any tool with a sturdy flat edge that can fit into the paint can’s lid will theoretically work.
2. Insert Tool Under Lid’s Edge
Next, insert the edge of your tool under the lid’s edge. There should be an easily spottable place to insert your tool. If you need to, wedge it firmly and give it a solid pound to get the edge into the space properly. Make sure you are actually in the seal between the lid and the can itself and not simply jamming your tool into just the cover.
If done properly, you should see a small gap appear between the lid and the can. This tells you that you are separating the lid from the can appropriately.
3. Gently Pry
Gently pry the can lid up using the tool. Put leverage on the base of the tool to begin to lift the lid up from the can. Do not move quickly or jerkily because you do not want to damage the lid. If you just jam your tool in and wildly pry, you are likely to bend the lid, which is not an ideal outcome.
You should see the lid start to come up from the can. If you are doing it too hard, you will see the lid start to bend in the middle.
4. Move Around The Lid
Now that you have some purchase, you can move your tool around the edge of the can. With the gap opened up, it should be easy to slide the flat tool around and separate the lid from the can in a fluid manner that does not damage either one. As you do this, the lid should begin separating more easily from the can. A large gap should appear. You are almost finished now.
You do not need to move around the entire lid for this to be effective. A third of the way should be enough to get the leverage you need for the next step. Sticky lids might need more work around the edge.
5. Work The Lid Free
Once you have moved the tool around the perimeter of the lid and created a large gap, it is time to work the lid free. At this point, you can grab the lid and gently pull it off. You might want to wear gloves if you are worried about getting paint on your fingers for this step. If everything else went well, the lid should come right off.
In some cases, once the lid is loose enough, you can simply pry it free with your tool, and it will pop off altogether, leaving the can open. Either method is effective.
After you remove the cover, your can should be completely open, and the lid should be intact and ready for future use.
Ask for a Paint Can Opener
If you are buying your paint from a store, you should ask for a paint can opener. Many places provide these for free. They are usually free and are taped to the lid of one of the cans being purchased. It never hurts to ask. A paint can opener is the ideal tool for the job because it was designed to open and close paint cans specifically.
Some stores do not provide these tools for free, but they can be purchased for cheap. The most likely place to find the paint can openers for free is at paint stores or large paint centers. Small hardware stores might not provide them.
Obtaining a paint can opener makes this job much easier than if you use an alternative tool.
What If The Paint Can Lid Is Stuck?
Sometimes paint can lids get stuck. This can be extremely frustrating but do not worry. First, if a can is good and truly stuck shut, the first thing to do is to throw out the idea of saving the lid. Keeping the lid intact is very useful, but if you cannot get the can open, it doesn’t matter. If your can lid is stuck fast, get a hammer and use it to hammer in the edge of your tool. Hammering will likely dent the lid, but that is okay. You just need that extra force to get the edge inserted properly.
Now, use as much force as possible. You can pull, yank, lean, or wedge. There is a proper amount of force that will inevitably cause the lid to pop off.
Be careful when doing this. Sometimes stuck lids will fly off and spray paint around. Make sure you are opening the paint in an area that is free from risk. Use a drop cloth or open the paint outside to prevent splatters from contaminating your home.
If push comes to shove and you really, really can’t get the paint open, you can bring it back to the store, and they can open it for you. Just be careful transporting the paint home with a lid that is not secured.
Do I Need to Close My Paint Cans?
We made a fuss about saving the paint can lid. Why? Because in most cases, you will need to reseal the can when you are finished. If you do not use all of the paint or want to save some paint for later, you will need the lid to fit back onto the can properly. You should close up any paint cans that you plan on reusing in the future.
Not closing paint cans can let out bad fumes and cause the paint to dry out over time. If you are planning on storing any paint, you must reseal the can for the best results.
Simply put the lid back onto the can and gently tap it back into place. Reopening the can should not be as difficult as it was the first time.
If you are using all of the paint in one session and have no plans on reusing it or storing it you do not need to save the lids.
Conclusion
Next time you are ready to start a painting job, you will impress everyone with your ability to open any jug deftly. No lid will be too tough for you. You won’t make a frustrating mess by wildly flinging lids off of cans. You will be able to open your can in a calm and professional manner. And everyone will be better off because of it.
Featured Image Credit: zivica, Pixabay
Contents
