

Pressure treated wood is a great way to ensure that your painted surface lasts a long time outside. Unfortunately, pressure treated wood often has a rather unsightly greenish tint that most people would prefer to hide. If you are someone wanting to cover up your pressure treated wood, know that you can’t just slap on primer and paint like you would other surfaces.
To ensure that your paint lasts as long as possible, you have to look at the wood’s moisture content before starting. From there, you also need to select the best paint and primer for your needs. Below, we delineate exactly how to paint pressure treated wood for a beautiful and long-lasting finish. Read on to find out more.

What to Know Before Painting Pressure Treated Wood?
Before getting started on the painting job, there are a few things you should consider before starting. This will ensure that you understand everything required when painting pressure treated wood.
What Makes Painting Pressure Treated Wood Difficult?
Pressure treated wood comes with a variety of advantages. Most notably, it is better for outdoor environments, and it is especially great for construction lumber. Still, pressure treated wood comes with a drawback, and it is that it takes a long time to dry.
Because of the chemicals used in the pressure treatment, this type of wood can take weeks to months to dry. When paint is added too quickly, the paint does not last long, making it prone to chipping or peeling. Other than the painstakingly long drying process, prepping pressure treated wood isn’t all that difficult.
Consider Staining
Before assuming that the best option for you is painting, think about staining the wood. Staining is likely to last longer, and it tends to be easier to apply. This is especially true if you want to cover horizontal wood, such as that found on a deck.
Outdoor wood will be exposed to more wear and tear because of the elements. As a result, painted horizontal wood will need repainting every two years or so. Unless you are okay with this frequent commitment, then you might want to opt for staining instead.
Related Read: Is Pressure Treated Wood Safe for Vegetable Gardens?
Not to mention, many people prefer staining the wood because it is simply easier to apply. It’s ultimately up to you, based on your preferences for frequency of painting and ease of application. Either would do fine.

Getting Started
To get started with the process, here’s some things you need to do first:
Confirm the Wood is Pressure Treated
Make sure that the wood is actually pressure treated. The process for painting pressure treated and regular wood isn’t all that different, but it will save you some time. Luckily, determining whether or not wood is pressure treated is typically very easy.
In most cases, pressure treated wood will have some sort of identifying stamp to inform you what chemicals were used. These stamps are sometimes found at the base of the wood. In addition to stamps, you can look for other identifying markers, such as a greenish tint or an oily or chemical smell.
If you really cannot determine if your wood has been treated, you can use a wood testing kit to find out for sure.
Don’t Paint Too Soon
If you only recently bought the pressurized wood, don’t get to painting too soon. Painting this wood too soon would be completely pointless and lead to peeling paint. The reason for this is that pressurized wood takes much longer to dry than you would expect.
Though many factors affect how long the wood takes to dry, most pieces of lumber will dry out within two to three weeks. Because of this fact, you really need to be patient when it comes to painting pressurized wood to ensure that it is adequately dried.
What You’ll Need
- 4-inch paintbrush
- Garden hose
- Latex exterior paint
- Mild liquid detergent
- Outdoor cleaner (optional)
- Paint primer (exterior)
- Paint sprayers
- Pressure washer (optional)
- Stiff-bristled brush

How to Paint Pressure-Treated Wood
After you have completed the preliminary steps, you can move on to the actual painting process. Here are the quick 3 steps to painting pressure treated wood:
1. Clean Wood
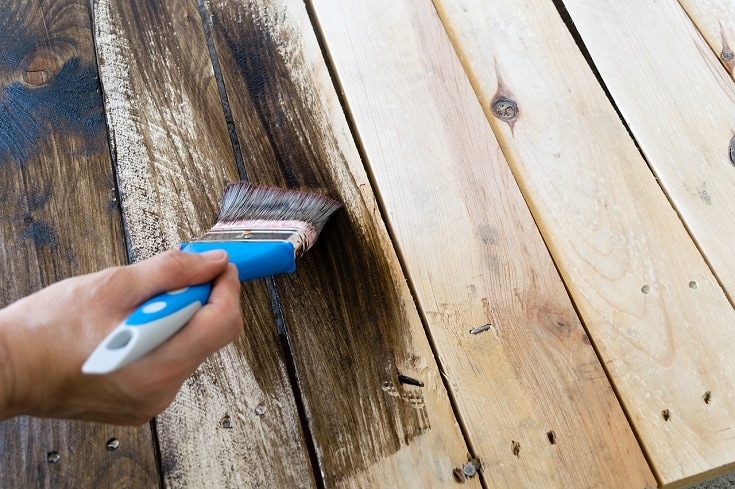
Pressure-treated wood must be thoroughly cleaned before painting. Grab the stiff-bristled brush and some soapy water. Make sure the entire surface that you plan to paint is clean. For particularly dirty or troublesome surfaces, you may need to invest in a wood cleaner or power washer.
Rinse off all soapy residue and let the wood dry completely. Once again, letting the wood dry is very important. Because of the chemicals that are used in pressure treated wood, it may take a few weeks or months for it to dry completely. You need to do more than simply look on the surface to know if it’s dry.
To ensure that your wood is dry enough for painting, touch its surface. Whenever it feels dry, sprinkle a few drops of water on the top. If the water soaks into the wood, you are free to paint. In contrast, the wood needs to dry more if the water beads up on top.
2. Apply Primer
After the terrible waiting game is over, you can get to more active steps in painting your pressured wood. Most important, apply a primer that is specifically designed for exteriors. Additionally, choose a primer that is listed as being suitable to use on pressure-treated wood.
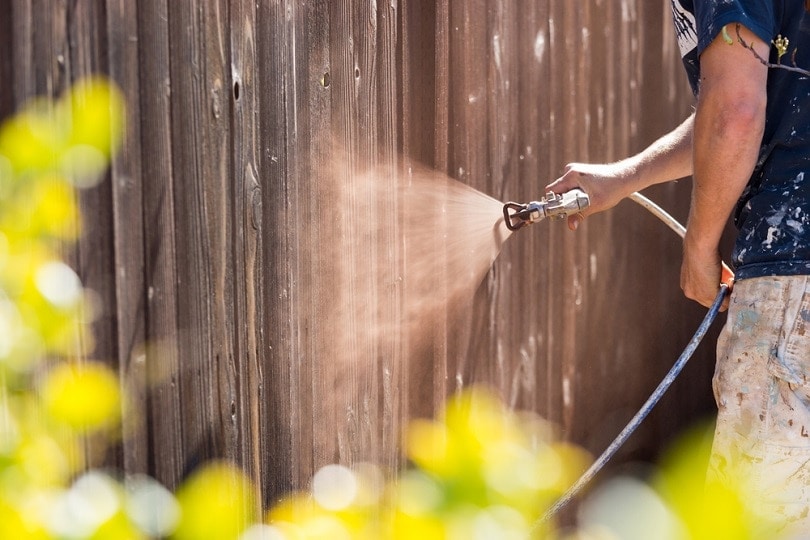
The easiest way to prime and paint this type of wood is through a sprayer. If you need to get into hard-to-reach places or do any detail work, choose a brush instead. You will likely find it beneficial to use a combination of both for different aspects of the job. Let the primer dry. It should take about a day at most.
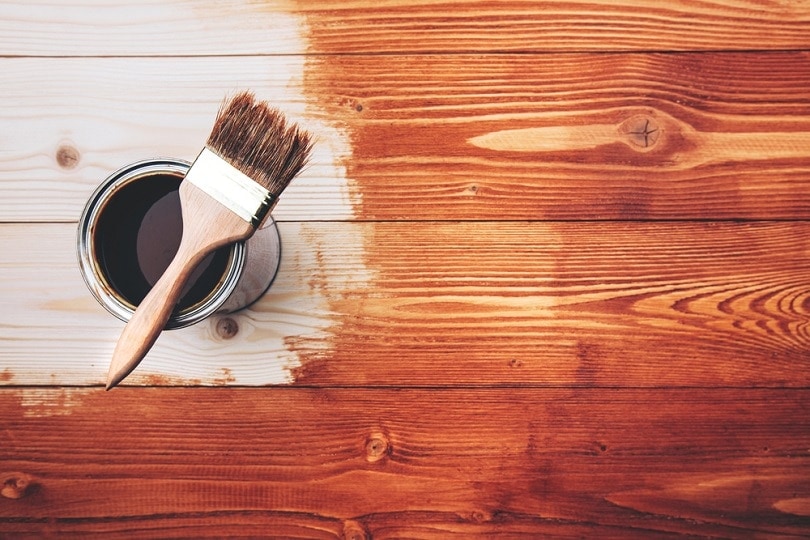
3. Paint
Now, it is time for the last step: applying your final top coats of paint. The paint you select should be latex-based and safe for exteriors. Paint one layer and let it dry. Once the first layer has dried, add the second and final layer. Allow that layer to dry as well before touching the wood. You have now successfully painted pressure-treated wood!

Conclusion
Painting pressure-treated wood isn’t all that difficult. In fact, the hardest part is waiting. Still, it requires some extra precaution and products. Most importantly, make sure the wood is completely dry. From there, select exterior primer and exterior latex paint. By ensuring the wood is dry and selecting the best products, your paint should last a long time.
Featured Image Credit: _Alicja_, Pixabay
Contents
