How to Paint Tile Backsplash: 7 Tips & Tricks
-
Pete Ortiz
- Last updated:

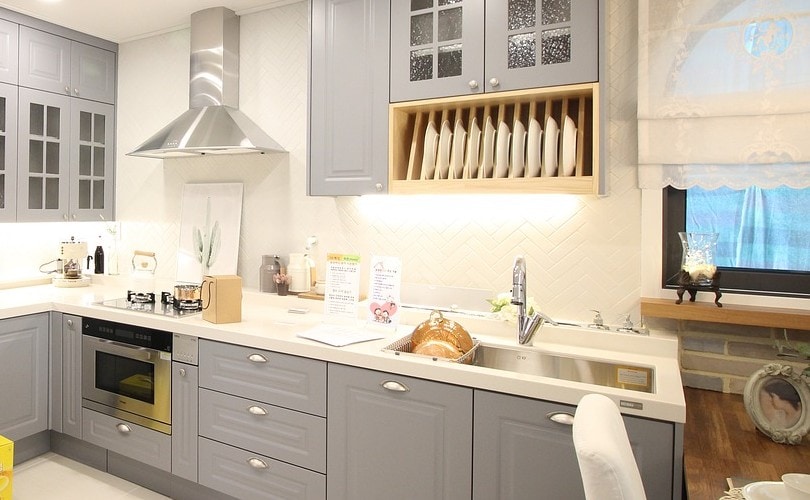
Most of the time when you purchase a house the tile backsplash on the oven is already set. However, you can replace the backsplash if it becomes damaged or you simply want to try a different décor. But did you know that you can also paint the tile as a cheaper alternative? In this post, we are going to go over the steps to painting tile backsplash to get the look that you want.
The 7 Tips & Tricks to Paint Tile Backsplash
1. Getting Your Supplies

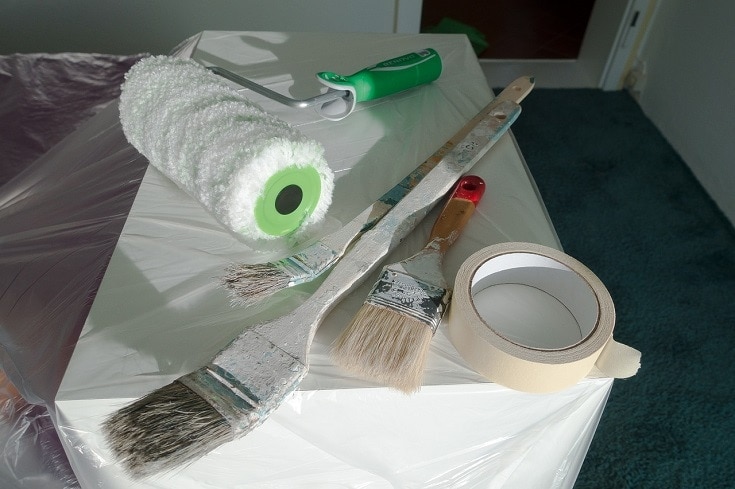
Before painting your backsplash, you’ll need to get some equipment and materials. Depending on your goals, you may need to use various products to remove the current paint from the backsplash, or to make sure that your new paint will adhere properly to the tile. You also need safety tools such as goggles, gloves, and painter’s tape to go around the oven and walls.
- Etching cleaner
- Paint primer
- Epoxy or silicone paint
- Paint Thinner
- -respirator mask, rubber gloves, goggles
- Paint brushes and rollers
- Sandpaper
- Tarp
- Painters Tape
2. Prep The Area
Next, you’ll want to make sure to clean the backsplash tile to remove any dirt, debris, and grease. Scrub the backsplash with your degreaser or an all-purpose cleaner. This step is important as it can have a significant impact on the final look.
You can also clean the grout around the corners and seams of the tiles with diluted bleach or peroxide. And if it’s especially bad, you can simply re-grout the tile as well. Be sure to wear gloves for this step. Clean the backsplash with warm, clean water. Then, dry it with a microfiber cloth or lint-free towel.
3. Sand the Tile

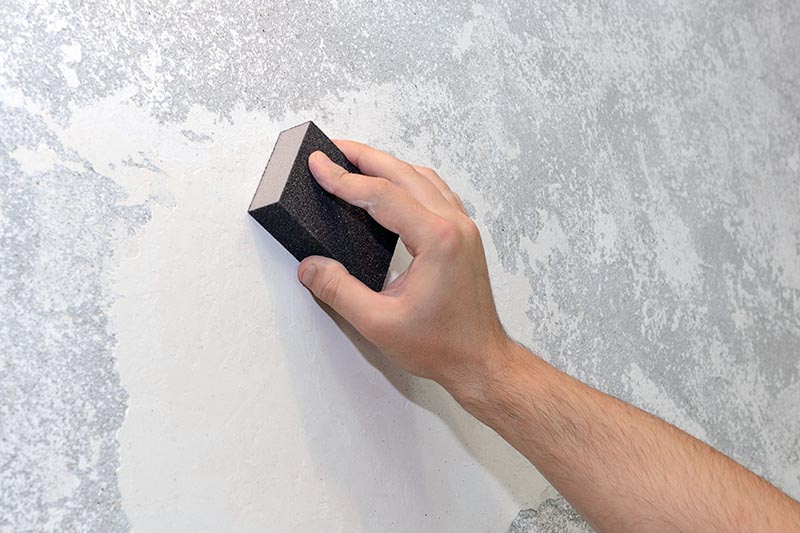
Next, use a piece of 220 or 230-grit sandpaper to sand the backsplash tile. The primer and paint will stick better to the backsplash if you have it etched by sanding it. Begin at the top of the backsplash, and then work your way down using left-to-right motions. Don’t apply too much pressure but go over it lightly to scratch the surface of the tile. And to remove any accumulated dust or paint, use a semi-moist paper towel or cloth to wipe it clean. Then, dry the surface before going to the next step.
4. Apply Painter’s Tape to the Surrounding Areas
The next thing that you want to do is to prepare the area around the backsplash so that you don’t accidentally paint it. Apply your painter’s tape around the edges of the backsplash tile and be sure to cover any surrounding ornaments or hardware as well.
5. Prime the Backsplash Tile

Now it’s time to prime the tile. Priming helps the paint stick to the tile. Start by placing the primer in a paint tray. Use an angled paint brush and primer to apply to the backsplash. Begin at the top left, then move to the right to apply a thin layer of primer to the backsplash. Paint the edges of the backsplash and then paint the middle going from the top to the bottom.
6. Paint the Backsplash Tile
After you have applied a few primer coats, get another paint tray and pour your paint into it. Next, follow the same steps as with the primer. Apply the paint in a zig-zag style to ensure that the entire tile surface is covered. After applying the first coat, take it apart for a second inspection to make sure you don’t miss any edges.
7. Apply 2-3 More Coats

It’s best to apply at least two coats of paint to the tile for a good final finish — or you may find your paint peeling after a few weeks. However, you should wait at least 24-48 hours before you apply another coat of paint to the backsplash. This may vary depending on the paint, but generally, this will give the paint more time for bonding.
Before applying more paint coats, it’s also a good idea to do a quick, light etching again with your sandpaper (or a fine-grit sanding block). You should be good to go after applying another coat. Lastly, before you remove your painter’s tape, make sure that the last coat is dry completely.
Conclusion
Painting a backsplash is a relatively simple project. However, it’s best to ensure that you have all of the tools and materials that you need beforehand and that you properly prepare the area. This includes using the right paint and properly cleaning the tile beforehand.
Featured Image Credit: EDDIE_LEE_KR, Pixabay
Contents


