

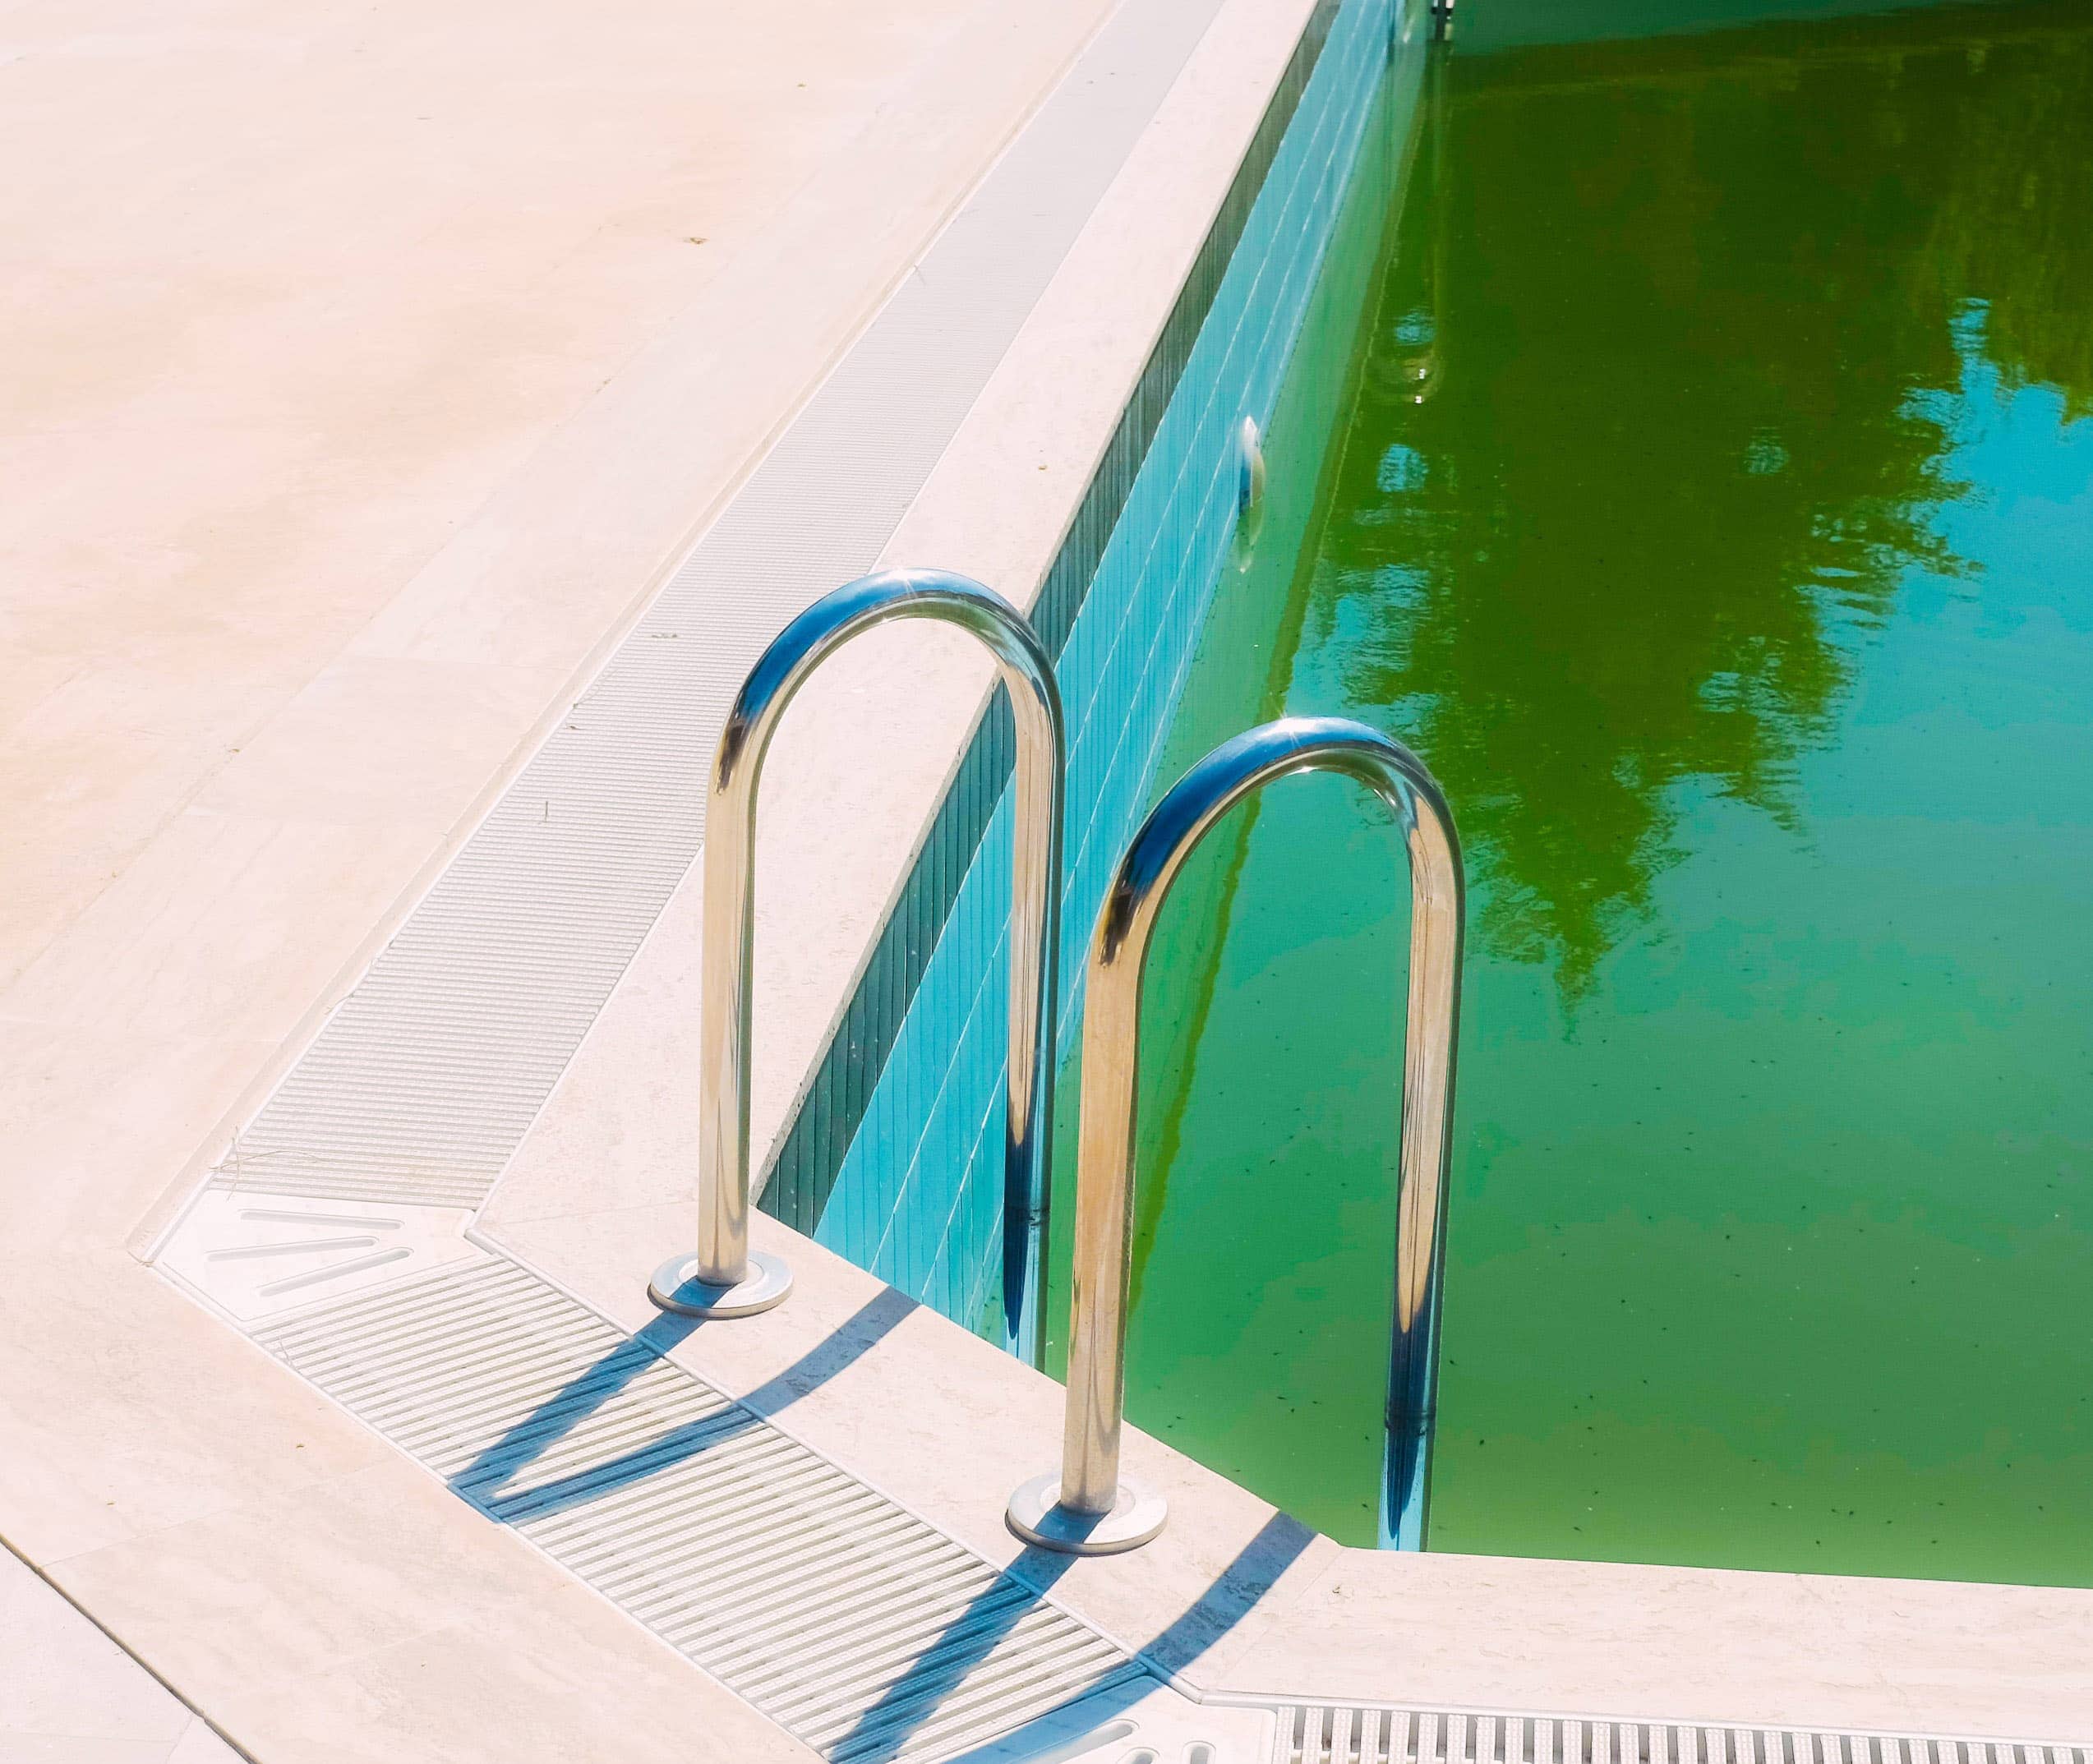
Finding out you have a green swimming pool can be a scary experience. If this is the first time it’s happened to you, it can seem like an impossible job to get your water clear again. It looks terrible, it is slimy, and it gets on everything, but it’s not all that difficult to eliminate. We are going to show you how to get rid of the green water and have your pool crystal clear and swimmable in just seven steps.
Main Cause
The leading cause of a green swimming pool is algae that has grown out of control due to a lack of chlorine or another sanitizer in your pool water. A green pool is a common occurrence after a long vacation or If you forget to add chlorine for a couple of hot days in a row. If the pool has sat for several years without maintenance, it could be really bad, but it’s still possible to get it looking new again.

The 7 Steps to a Clean Pool
Let’s break down this cleaning process into a few easy-to-follow steps.
1. Gather the Tools
These are the tools we recommend you have on hand before you start to clean your pool.
- Extendable pole
- Net
- Vacuum
- Brush
- Test strips
- Water stabilizer
- Muriatic acid (maybe)
- Baking soda (maybe)
Shock
You are also going to need a lot of shock chlorine. You can expect to use shock at the rate of three pounds per 10,000 gallons. You can purchase pool shock at any pool store, and you should always have plenty on hand.
hth Pool Shock Super Shock Treatment 6 count 6lbs
FA S-DPD Kit
To know precisely how much shock to add to your pool, you’re going to need a special test kit called FA S-DPD. This kit contains test strips similar to the ones you usually use, but made to test for high levels of chlorine, far beyond the range of daily testing strips. These test strips will allow you to monitor and maintain the high levels of chlorine we will need to remove the algae.
Taylor K1001 Basic Residential DPD Pool or Spa Test Kit
2. Remove Debris
Before you add any chemicals, you need to remove any debris that might be in the pool. Removing particles in the pool is more important if it has been sitting for years, but any leaves, seeds, or bugs, will all use up our valuable chlorine, so get as much out as you can with the net and the extendable pole. Use the brush with the extendable pole to scrub down the walls and any steps that might be inside the water.
If the pool has been sitting for a long time and is acquired dirt or silt on the bottom, it will be necessary to vacuum the pool out. When using the vacuum, make sure you vacuum to waste, so you don’t clog your filter.
3. Check the pH
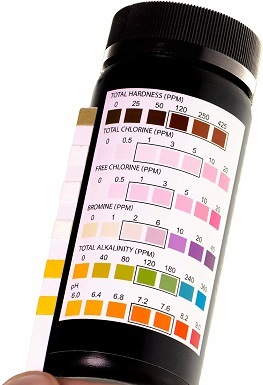
With the debris removed and the pool vacuumed, you can check the pH of your water. Chlorine works best when the pH of the water is between 7.2 and 7.6 on the pH scale. You can use your ordinary test strips to check the pH of the water to make sure it’s within the optimal range.
If the pH is too low, you’ll need to add baking soda to raise it to an acceptable level. If the pH is too high, you’ll need to add muriatic acid or sodium bisulfate to reduce it.
JNW Direct Pool and Spa Test Strips
4. Check Stabilizer
Once the pH is correct, we will move on to test the stabilizer. Chlorine stabilizer is also known as cyanuric acid or CYA. This chemical binds with the chlorine and protects it from the sun’s harmful ultraviolet rays. There is a tiny amount of CYA present in chlorine, but it is not enough to stabilize it. Adding too much stabilizer will reduce the effectiveness of the chlorine.
If we didn’t add a stabilizer to the water, the sun would burn up the chlorine too quickly. We wouldn’t be able to maintain the high-level we need to kill the algae.
Most brands of test strips will test for stabilizer as well as pH and chlorine. We recommended that you have between 30 and 60 parts per million CYA in your water. Your green pool most likely won’t have any stabilizer in it, so you will have to add it. Follow the directions carefully and don’t add too much because there’s no way to remove it. You can buy cyanuric acid in any pool store.
Clorox Pool & Spa Chlorine Stabilizer 4 lb
5. Add the Shock
In this step, we’re going to add the chlorine shock to our pool. The amount of shock you can add to your pool is directly related to the amount of stabilizer you have in your pool. We recommended a stabilizer level from 30 to 60 parts per million, and at 30 parts per million, you can add shock until it reaches 12 parts per million. The amount of shock you can add increases by two parts per million for every five parts per million stabilizer you have in your pool. Use this basic chart to help you.
Stabilizer |
Shock |
| 30-ppm stabilizer | 12-ppm shock |
| 35-ppm stabilizer | 14-ppm shock |
| 40-ppm stabilizer | 16-ppm shock |
| 45-ppm stabilizer | 18-ppm shock |
| 50-ppm stabilizer | 20-ppm shock |
| 55-ppm stabilizer | 22-ppm shock |
| 60-ppm stabilizer | 24-ppm shock |
6. Maintain Shock Level
With our chlorine level up to the proper parts per million, we need to keep it at that level until the water is clear. At first, the organic material in the pool is going to use up the chlorine extremely quickly, and you will need to check it every 3 or 4 hours and add more stabilizer. As the chlorine does its work, you will notice it gets used up at a slower rate, and you can start to check it less often.
You will notice the pool water goes through many changes after you put the chlorine in it. At first, it will turn a grayish-blue color, and that color will slowly fade as the pool becomes clear. These changes are a perfectly natural occurrence and what you want to happen.
It is going to take several days for your water to clear up. During this time, leave your pump on and continue to scrub your pool to loosen any debris stuck to the walls and the ladder or any steps. Vacuum the pool again if you notice debris settling on the floor. Hose off, or backwash the filter daily, to remove any material that’s getting stuck in there.
7. Final Test
Once the pool water has become clear, you will have to do one final test to make sure that all of the algae is gone.
In the evening, when the sun goes down, record the levels of the free chlorine and the total combined chlorine in your pool using a test strip. In the morning, before the sun comes up, do the same.
If the amount of total combined chlorine in your pool is less than .5 parts per million, and the amount of free chlorine has dropped less than one part per million overnight, your pool is clean. If the free chlorine level has fallen more than one part per million overnight, it’s still killing algae, so maintain levels, and try it the test again in the evening. Repeat this process until your pool water passes the test.
When the free chlorine drops less than one part per million overnight, your pool is clean and free of algae.
 Conclusion
 Conclusion
Now that your pool is free of algae, you can return it to normal levels of chlorine. It’s essential to keep the correct amount of chlorine in your pool to prevent algae from recurring. We recommend checking the chlorine, stabilizer, and pH levels every week to maintain a healthy pool. We also recommend brushing down the walls and vacuuming weekly. If you’re not sure what the correct normal chlorine level is in your pool, it’s also related to the stabilizer, and it’s about one-third of what you would use to shock your pool. You can use this basic chart as a guide.
We hope that you have enjoyed reading and have learned something new. If this guy helped you, please share these seven steps to clean your green pool on Facebook and Twitter.
Featured Image Credit: Yasin Arıbuğa, Unsplash
Contents
