How to Remove a Lawn Mower Blade: Tips & Tricks
-
Pete Ortiz
- Last updated:
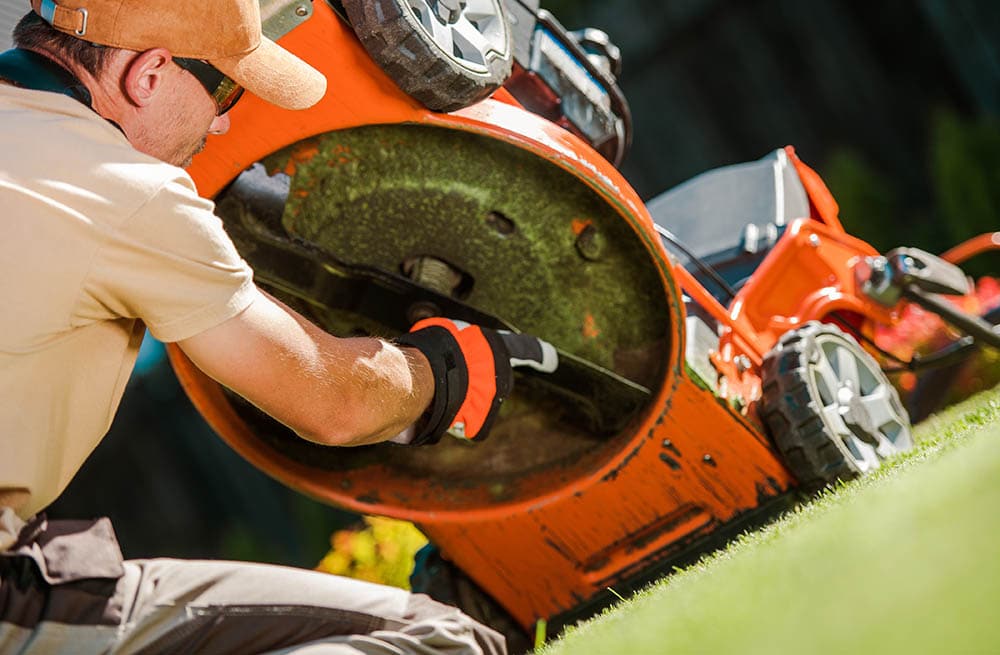
Not much is required to mow a lawn. All you need to do is push a button to turn on the machine, and then skillfully work your way around the area you need to level.
However, the process of removing a lawn mower blade must first be learned. Without the proper knowledge, removing the blade of a lawn mower might seem difficult. Even worse, you might end up incurring damages to your machine or sustaining injuries.
To avoid any mishaps, it is important to learn how to take off and replace a lawn mower blade.
 Why Do People Remove Their Lawn Mower Blades?
So, maybe you’re wondering why anyone needs to remove the blade of their lawn mower.
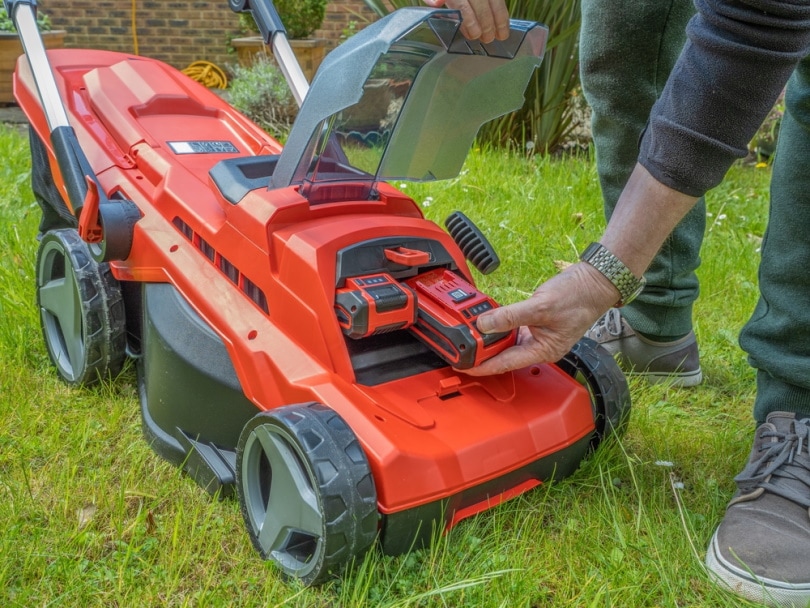
The 3 Main Reasons To Remove Lawn Mower Blades
1. In Preparation for a Replacement
Lawn mowers are very durable tools. Their blades can serve for many cutting sessions. However, it might be a great idea to replace your blade after a period of constant sharpening.
According to regulations, the blade of a lawn mower should be replaced between 12-24 months. Here are some signs that show that it is probably time to get a new mower blade;
- Your mower makes some abnormally loud sounds.
- The machine is pulling the grass out by the roots.
- The blade is sharpened constantly but keeps getting dull very quickly. This is an indication that it has lost its holding capacity.
- The blade has bent or lost its original form.
- The simple act of mowing your lawn suddenly becomes very tedious and unproductive as the machine barely does its job.
2. To Switch the Blades for a Different Purpose
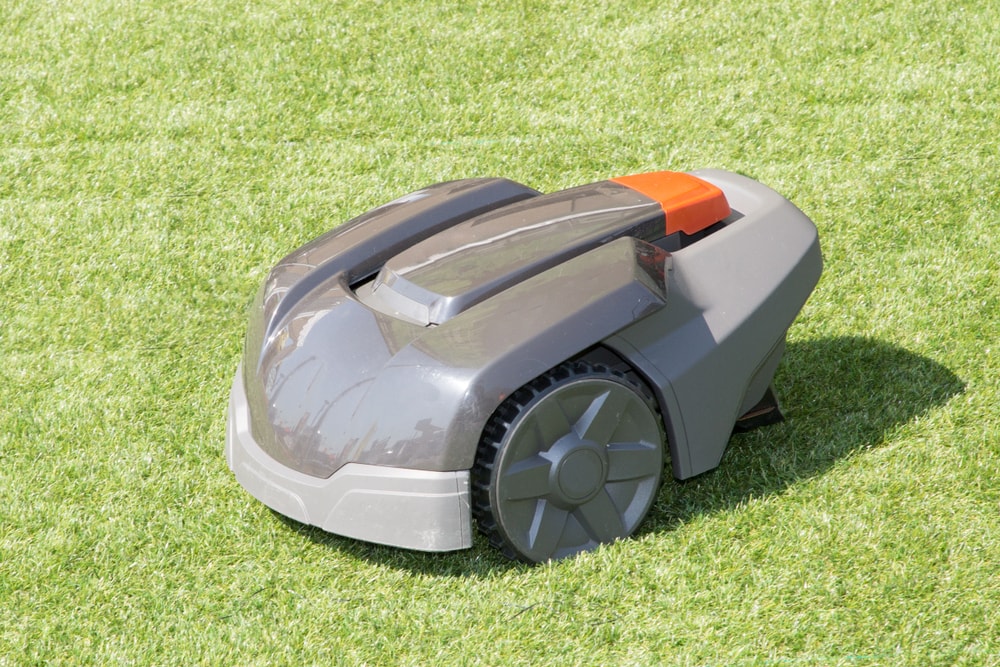
- Low-lift blade
- Medium-lift blade
- High-lift blade
- Mulching blade
- Gator blade
Each of these blades is best suited for different textures and heights of grasses. Also, each blade gives a different finished look. This means that if you have different grass patterns on your lawn, you might require more than one blade to give you the perfect cut.
This is when blade switching comes in. To insert a new blade, you need to take out the existing blade.
3. For Winter
Many homeowners, especially those who live in high humid areas, tend to “winterize” their mowers. This means they give the machines a break by putting them in hibernation throughout the winter period.
Instead of parking the mower in the garage with the gas tank half-filled and some stubborn grass hanging in between the teeth of the blade, it is a good time to clean each piece of the machine thoroughly.
This practice can make it easier for you to store the tool and also allow you to perform general maintenance on it.
To do this, you will need to remove the blade.
How Do I Remove a Lawn Mower Blade?
There is an increase in the number of individuals that sustain lawn-mowing-related injuries annually. Therefore, before proceeding with this task, safety precautions must be taken:
- Ensure that you have on heavy work gloves to protect your hands in the case of an accident.
- Ensure that the machine is completely disconnected from any source of power. For example, if it is battery powered, remove the batteries from the pack before proceeding.
- Do not do it bare feet. Instead, ensure that you have strong shoes on to give you a good grip on the ground.
Step-by-Step Guide for Removing the Blade of a Push Lawn Mower
1. Prepare the Machine:
To remove the blade, you might need to flip the machine over. Therefore, preparing the machine for this position includes activities like draining the gas tank and taking out the spark plug. Once this is completed, either raise the mower high enough to let you slide in or flip the mower to its back.
Also, get the necessary tools that you will need during this procedure.
- Screwdriver
- Vice grip
- Wrench
2. Loosen Bolts, Nuts, and Other Fasteners:
Working with turns in the right direction, you can begin unfastening the bolts and nuts that hold the blade to the machine. As you loosen the nuts and bolts, ensure that you keep them in a safe place to avoid misplacing them. You do not want to leave your mower blade with a bolt missing, as this can be hazardous.
To prevent the edge of the machine from rotating during the loosening process, you can clamp the deck of your lawn mower with a vice grip.

3. Remove the Blade:
At this point, the blade should be free from any restrictions and just about ready to come right off. Firmly hold the blade with both hands and lift it. In case it is difficult to come off, you need not worry; it might simply be stuck from being in that position for a long time. Simply use a piece of cloth, and apply a bit more pressure to get it off. Ensure that you do not add too much pressure as that can be hazardous.
Step-by-Step Guide for Removing the Blade of a Riding Lawn Mower
1. Ensure that the Lawn Mower Is Immobile:

The machine moving while you are working on it could be dangerous. To avoid this, you want to make sure that your riding lawn mower is completely immobile. Make sure it is parked, the brake settings are in place and functional, and all parts that should be locked are locked.
2. Raise the frame of the Lawn Mower:
To create ample space for you to work underneath the machine, you need to raise it high enough. Some mowers come with special maintenance frames, which can be used to support them while you work on them.
In the absence of these frames, most people use wooden blocks to support the mower. The most important thing is to ensure the machine is balanced properly and will not drop while you are working underneath it.
3. Begin the Unfastening Process:
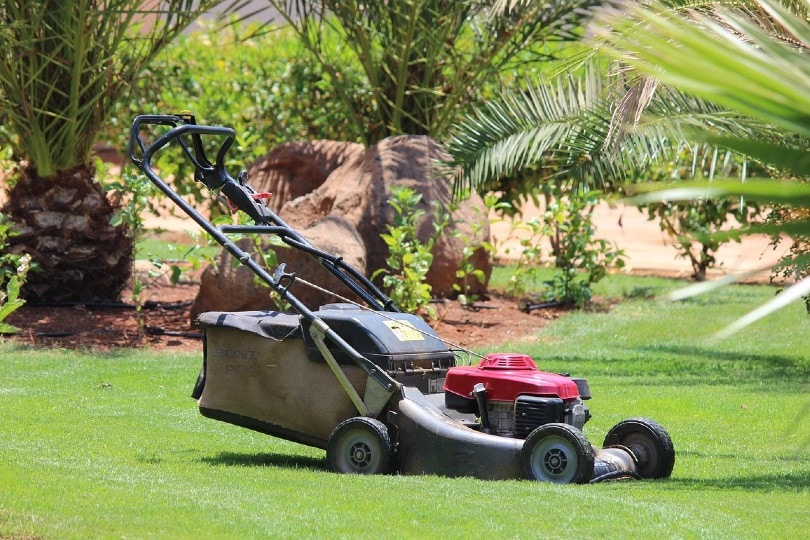
On a riding lawn mower, the bolts and nuts are larger than in a push lawn mower. This means that to unfasten the bolts, you might need a wrench. Ensure that you use the right wrench size for the unfastening process, as anything else could damage the bolts.
4. Remove the Blade:
Once all fasteners have been properly removed, the blade will be free and ready to come off. Carefully lift the blade away from the machine.
Is it Hard to Replace a Lawn Mower Blade?
This really depends on your hands-on capability. However, with a few simple steps and with some basic hand tools that are accessible, your blades will come off without hassle.
The process of removing the blade is relatively simple. However, some professionals can do this for you at a price. If you would rather keep your hands off any dirt and grease and do not particularly feel like loosening a bolt, then you can opt for professional help.
Can’t Get Your Mower Blade Off?
So, you have followed the process listed in this guide carefully, but for some reason, your mower’s blade just won’t come off. There is no need to panic.
- The blade is rusted.
- A nut is stuck and won’t give way.
- A rock or stone from your lawn probably found its way to your blade and jammed it.
- A bolt has been threaded the wrong way.
 Conclusion
There are some DIY ways to help you fix this problem. However, if you would rather not deal with more work or are not certain you can pull this through, you can request professional help. Simply contact a professional mechanic to help you continue the process.
Removing the blade of your lawn mower is a skill that will certainly come in handy. We hope this guide helps. Happy mowing!
Featured Image Credit: Virrage Images, Shutterstock
Contents

 Why Do People Remove Their Lawn Mower Blades?


