
Mold is a common issue that many homeowners face, and it can be hard to get rid of it. It looks unappealing, and it can cause multiple health issues, so it’s essential to remove it as soon as possible.
Although it’s not too complicated to get rid of mold, the task can become even more complex when mold gets into hard-to-reach and hard-to-clean places. Typically, it appears in humid, wet areas in our homes, so it commonly occurs in your shower and the caulking. If you’re experiencing this issue, but are unsure how to remove the mold from your shower caulking, continue reading below.
We will provide valuable tips and tricks to help you get rid of mold from the shower caulking in no time.

Causes of Mold on Shower Caulking
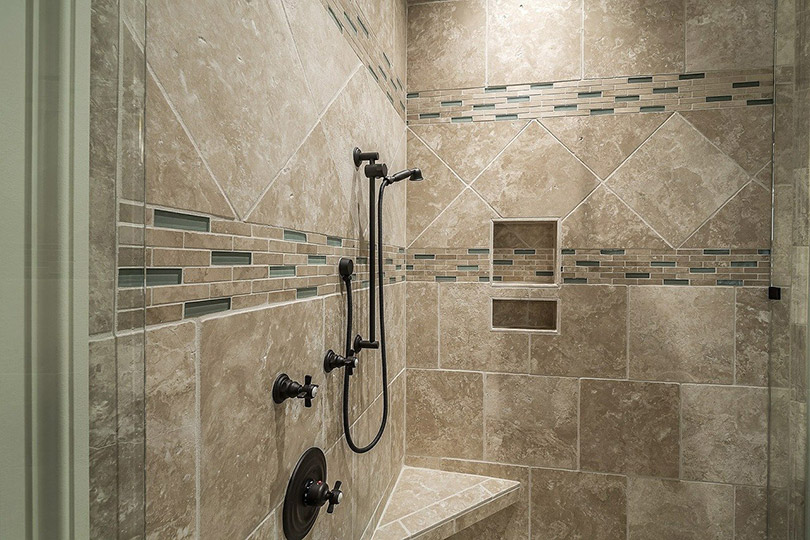
Mold prospers in wet, humid areas with high temperatures, and bathrooms check all the boxes to help mold grow. Any spot in your home that’s damp, warm, and wet will attract mold over time. In bathrooms, mold has a constant food supply and a hospitable environment where it can thrive, so the shower caulking makes the perfect starting spot where mold can spread its spores.
If you don’t address mold and mildew on time, they could spread, causing more issues and harming your health.

The 3 Easy Steps on How to Remove Mold From Shower Caulking
1. Get all the required supplies
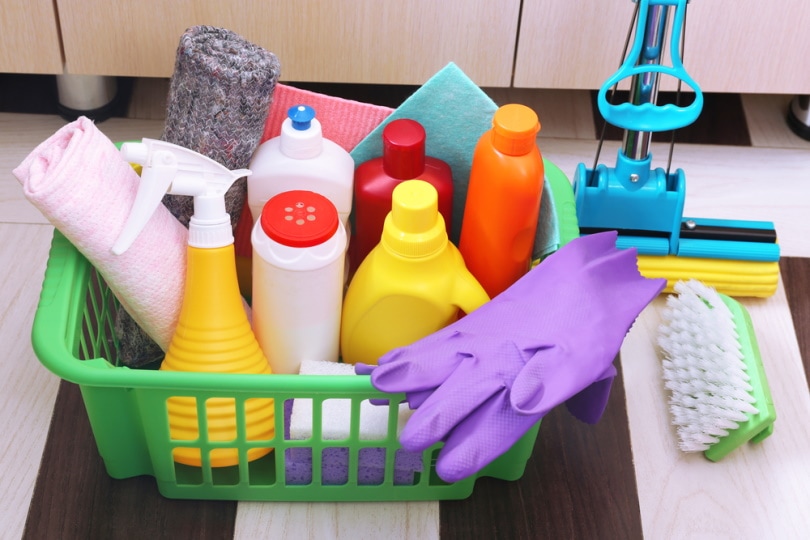
Before you begin the treatment and try to remove the mold in your shower caulking, you must get cleaning supplies and protective cleaning gear. As breathing in mold could potentially damage your health, you should wear a mask while cleaning. Also, to be on the safe side, it wouldn’t hurt to wear a pair of gloves and avoid touching the mold.
Other than that, you’ll need toilet paper or paper towels to wipe the excess mold, and you’ll need cleaning supplies, depending on which cleaning solution you’ll choose.
Another thing you should do before the actual cleaning part of the process is to air out the bathroom. Also, once your shower caulking is mold-free, we suggest airing out your bathroom every time after showering to ensure mold won’t occur again.
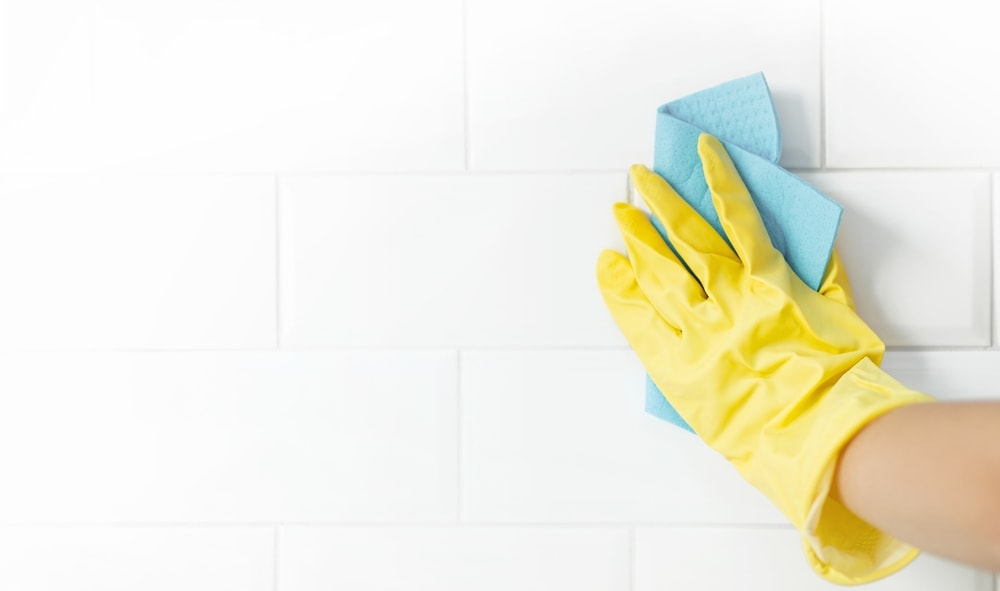
2. Apply a cleaning solution
There are different cleaning solutions you can try out. Some mold stains are more stubborn than others, so you can try out all the cleaning methods you see below and determine which one works for you. The key is to be persistent and remove all the mold efficiently.
- Bleach: One of the first things you should try out when cleaning mold from your shower caulking is bleach. When using bleach, it’s crucial to wear a mask so that you won’t breathe in toxic fumes. You need to mix ½ gallon of water and ½ gallon of bleach and leave it to sit for about 20 minutes. Once the time passes, apply the solution to the moldy caulking by using a sponge, or you can soak cotton balls in the solution and leave them to sit overnight. Rinse off the excess bleach, and the mold should be gone.
- Vinegar: Another great way to get rid of mold on a shower caulking is vinegar. It’s safer than some other solutions as it’s natural and removes and repels mold. You can use a clean vinegar solution or a diluted vinegar solution. You need to spray it on the affected area and leave it to sit for around 60 minutes. Afterward, scrub the caulking with a soft sponge or a brush, and rinse and dry the area.
- Ammonia: Ammonia is another cleaning solution that requires you to vent your bathroom correctly and wear a mask and gloves. It’s also good to leave the windows and the door open to have constant airflow and turn on your respirator. If you decide to use ammonia, you should be extremely careful as its fumes can make you ill. Mix 1 cup of ammonia with 1 cup of water, pour them into a spraying bottle and spray them on the moldy caulking. After you finish, allow the solution to sit for 10 minutes and gently scrub it with a soft brush. Rinse the area with lukewarm water and wipe it with a cloth.
- Hydrogen peroxide: You can also try out a hydrogen peroxide solution, as hydrogen peroxide is very effective at removing mold. It’s best to use a 3% hydrogen that you’ll pour on the shower caulk and leave it for about 10 minutes to do its magic. Once the time passes, gently scrub the area, rinse off the excess hydrogen peroxide and dry the caulking out.
- Borax: As borax has multiple uses, it’s also very effective at removing mold. To clean the affected area, you should mix 1 cup of borax with 10 cups of water and scrub the area with the solution. Once you finish scrubbing, rinse the area well to ensure there’s no more borax on the caulking. Wear gloves while cleaning the moldy shower caulking with borax, as it can harm your skin.
- Replace the caulk: If you’ve tried all the methods above, but your shower caulking is still moldy, it might be time to replace it. If you decide to change the caulking, go for a new silicone that’s preferably mold-resistant and waterproof. Replacing the shower caulking should be your last measure, but it will help your shower look brand new.
3. Practice prevention
If you don’t want to deal with mold on your shower caulking, you need to practice prevention so that the mold won’t occur in the first place. First of all, try to keep your bathroom dry at all times, and always vent it out after taking a shower/bath. =
Try to keep your shower products well organized, and place them on a hanging rack so that they’re not attracting mold to your shower caulk.
 Can Mold in My Shower Caulking Harm My Health?
Too much exposure to mold can be very bad for your health. Some of the most common health issues that mold causes are:
- Skin irritations and rashes
- Sneezing
- Runny nose
- Red eyes
- Fever
- Shortness of breath
- Asthma
Some people won’t have any reactions to mold, but it’s always best to remove it as quickly as possible anyway. Elderly people, babies, and toddlers are especially prone to health issues when exposed to mold, so keep that in mind.
Final Words
Mold in your shower caulking is both unattractive and potentially dangerous, so try to get rid of it thoroughly. The methods on our list are effective, and your shower caulking should be mold-free in no time. Begin with one of the solutions, and if needed, work your way up to harder substances. If nothing works, replace your caulking and practice prevention so that the mold doesn’t come back.
Featured Image Credit: GregoryButler, Pixabay
Contents
