

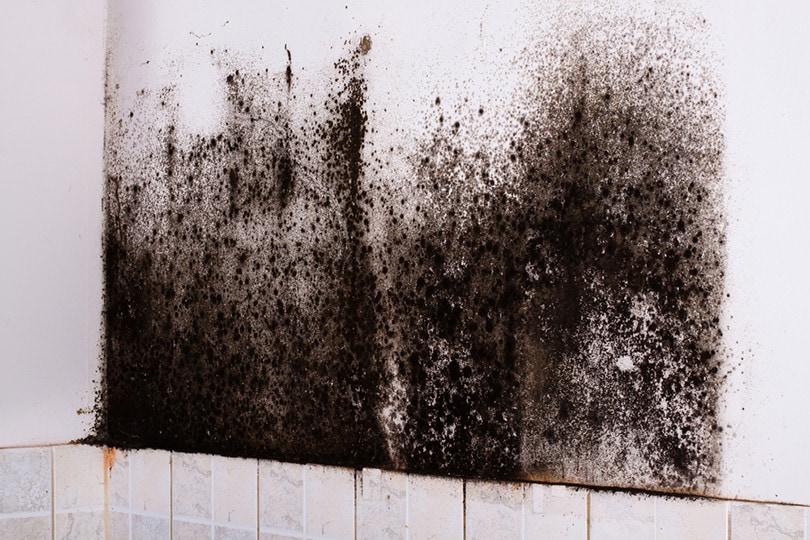
No matter how often you clean your bathroom and how carefully you maintain it, mold always seems to find its way into the room. Mold can be a safety hazard, and it is essential to clean it thoroughly as soon as it appears. Mold is a frequent guest in many houses, especially in bathrooms, where there are high humidity levels.
When you spot mold in your bathroom, such as on shower grout, it is crucial to act fast in cleaning it, and this way, prevent the mold from spreading rapidly to the rest of your bathroom.

Why Does Mold Grow On Shower Grout?
The room where mold usually and most frequently grows is the bathroom. Almost every home has had a battle with moldy bathrooms at least once. It is not easy to maintain your bathroom properly since they are usually full of steam, which causes a lot of moisture build-up. As a result, you get mold in the space between the tiles. This space is called shower grout, and it is the most common spot for mold to develop as it is constantly wet due to the daily use of the shower. Humid rooms are a perfect playground for mold to grow, as it thrives in moist areas with less air circulation.
Why It Is Necessary to Clean Mold From Shower Grout?
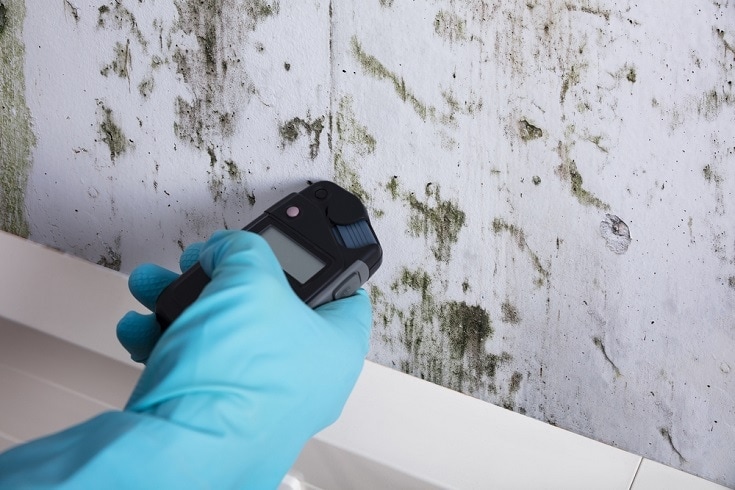
Cleaning mold regularly is necessary to prevent your entire bathroom from being covered in mold. If this situation is not handled quickly, you could have walls and tiles covered in thick, black mold. Since mold grows fast and can spread everywhere, it can be challenging to get rid of, so frequent cleaning with the right tool is your best choice. There are many reasons why mold is necessary to remove, and we will list some of those reasons below.
Mold Is Dangerous When Inhaled
Inhaling mold can pose a health risk, leading to severe allergies and even severe breathing problems such as asthma. Spending every day in areas infested with mold can be hazardous. If you spend too much time in moldy rooms, constantly breathing in mold spores, your sensitivity can increase and it may lead to serious illness.
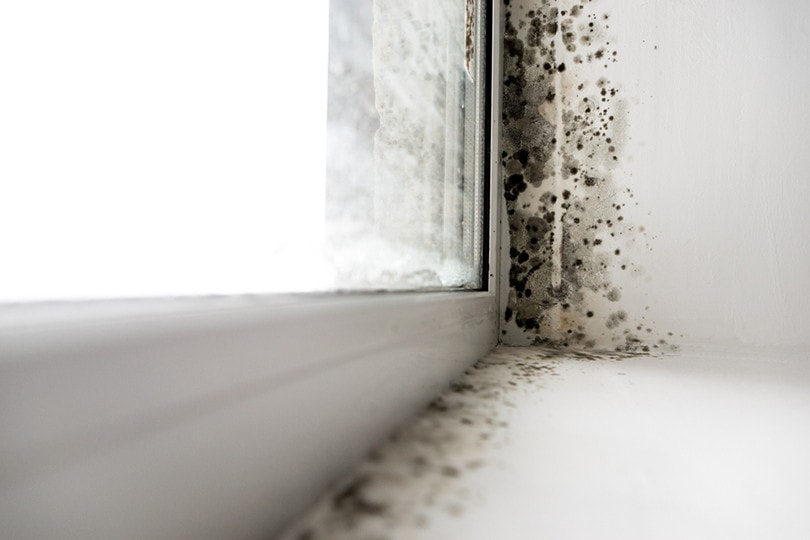
Mold Can Severely Damage Your Walls
The worst part about mold is that it spreads very fast, and there is a big chance of mold appearing again after you clean it. If you let mold develop enough, it may even spread to the rest of your home and cause severe damage to your walls due to the moisture.
Moldy Shower Grout Looks Dirty and Worn Out
Once mold develops on your tiles, corners of the bathroom walls, and grout, it will give your bathroom a sloppy and dirty look, which you cannot fix without removing the mold first. Black mold is very visible and can even leave a stain on your white bathroom walls. After you clean your shower grout, you will notice a vast difference, as your shower will look fresh, polished, and spotless.
Mold Has a Strong Odor
Letting mold grow all over your shower grout will make your bathroom have a strong odor that will be difficult to eliminate. As mentioned above, this strong odor is not only very unhealthy to breathe in, but it can also make spending time in the bathroom very unpleasant. It will only worsen over time; more humidity and warmth will accumulate inside the bathroom walls as you use the shower.
The 6 Steps for Removing Mold From Shower Grout
1. Safety comes first
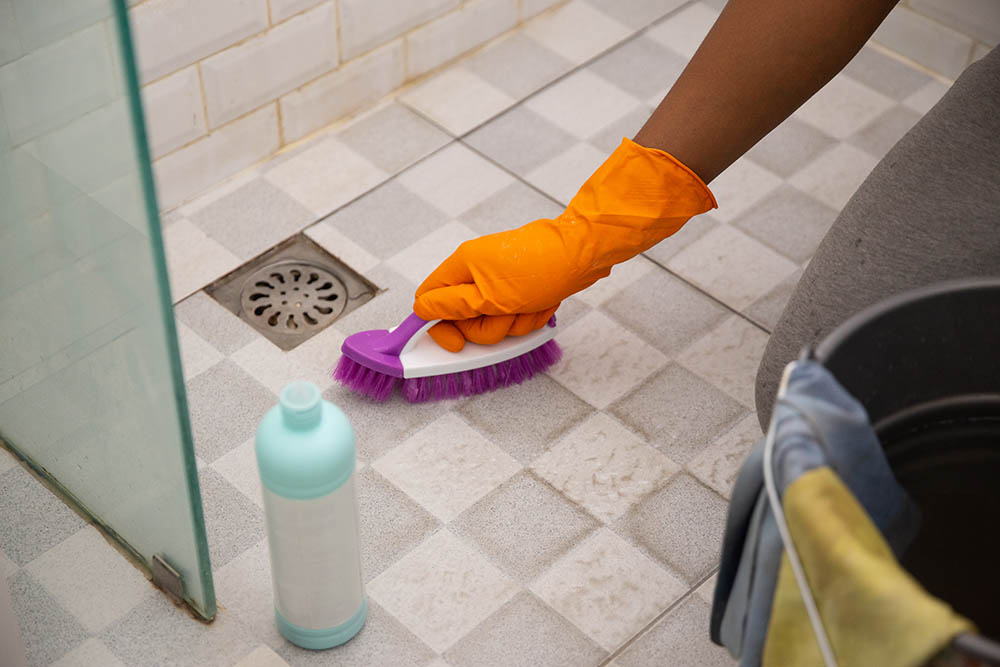
Before starting with this project, it is crucial to ensure your safety because most products that eliminate mold contain powerful chemicals. You must use a protective mask, gloves, and glasses. It is important to protect your hands because they will be in direct contact with the chemicals and protect your eyes from any potential splashing.

2. Ensure good ventilation and airflow in your bathroom
Ensuring good ventilation is another crucial step to take when it comes to safety. It is important to leave good air ventilation even after cleaning, to allow the bathroom to dry faster, and to eliminate strong odors as soon as possible. You will be working with very powerful chemicals to remove mold, and breathing them in can cause severe allergic reactions or even breathing problems.
3. Scrub the mold with warm water
The first part of getting rid of mold from your grout is to scrub it with warm water. For this step, you can use a toothbrush or any stiff and firm brush that will be strong enough to eliminate the surface layer of mold. You will be surprised how much mold will come off even after this first step, but it will be necessary to clean it with a strong solution to ensure it doesn’t appear again in the same spot.
4. Choose the best ingredient for cleaning mold
There are many recipes for a homemade mold blend, and some of these include bleach, baking soda, white vinegar, or borax. Almost all of the solutions for cleaning mold are very strong, so make sure to use them with caution.
Bleach
Create a mixture of one part bleach and four-parts water, and with a sponge, gently rub on the moldy areas. Bleach is best for applying on surfaces such as tiles, grout, showers, or toilets. Let it sit for 30 minutes.
Baking Soda
Add half a cup of baking soda to four teaspoons of water, and create a paste that you will be able to spread on your shower grout. Let it sit for 15 minutes.
White Vinegar
Pour vinegar into a spray bottle, and apply it all over your shower grout. After letting it sit for 30 minutes, you can scrub it with a toothbrush.
Borax
Mix borax with water until it dissolves, and pour it into a spray bottle. Spray your shower grout with this solution and let it sit for several minutes before washing.
5. Wash with warm water again
After you’ve created the solution of your choice, and applied it to the shower grout, let it sit for a certain time. Depending on which solution you choose, it should sit on the shower grout for several minutes up to half an hour. Rinse the solution with warm water again, and if you decide to use stronger mixtures like bleach, make sure to clean your shower grout thoroughly.
6. Wipe and dry the shower grout with a towel
After you finish cleaning your shower grout, it may take some time to dry thoroughly, so to speed up this process, you can wipe it with a dry towel. As we’ve mentioned above, it is essential to maintain good air circulation, which will help dry the grout faster.
Tips on Preventing Mold From Reappearing
- Keep air constantly circulating through your bathroom
- Wipe your tiles and grout with a dry towel after every shower
- Spray your grout once a week with an anti-mold solution
- Don’t allow the mold to sit for a long time
- Clean the mold as soon as you notice it
- Clean your bathroom often, thoroughly
- Seal your grout once a year
Final Thoughts
Many people struggle daily with preventing and removing mold. Luckily, many products are available on the market for removing mold or mildew. Still, homemade anti-mold solutions have also proven to be very effective in the fight against mold. Make sure to research your options before choosing the correct one, or try mixing several different solutions to create the best cleaning method for mold.
We hope this article has helped you with cleaning mold from your shower grout safely.
Featured Image Credit: SritanaN, Shutterstock
Contents
