
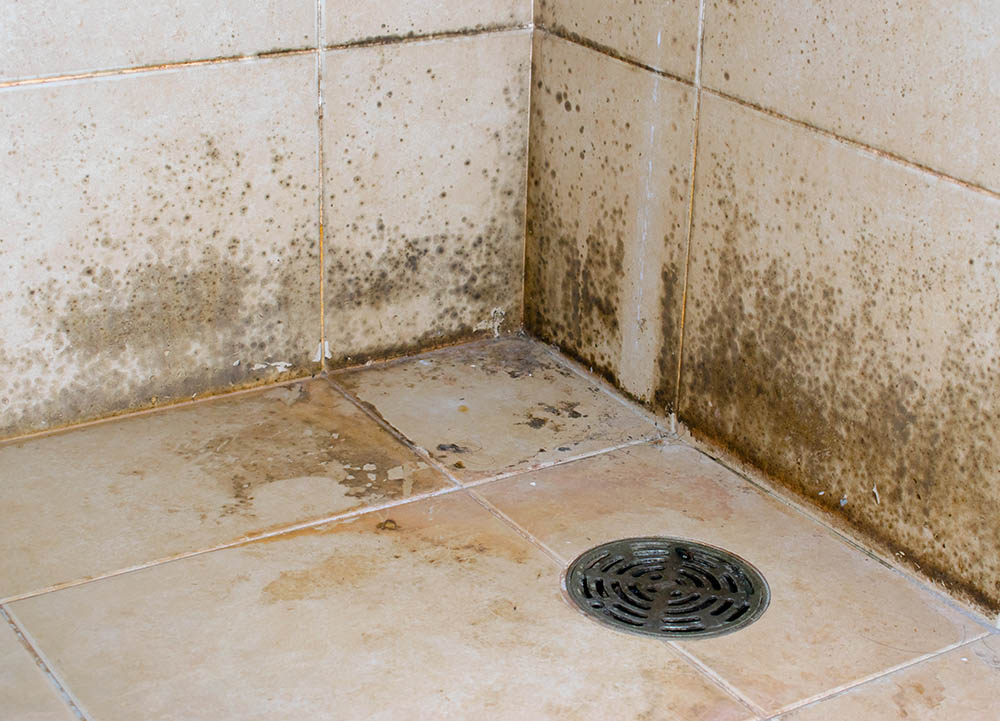
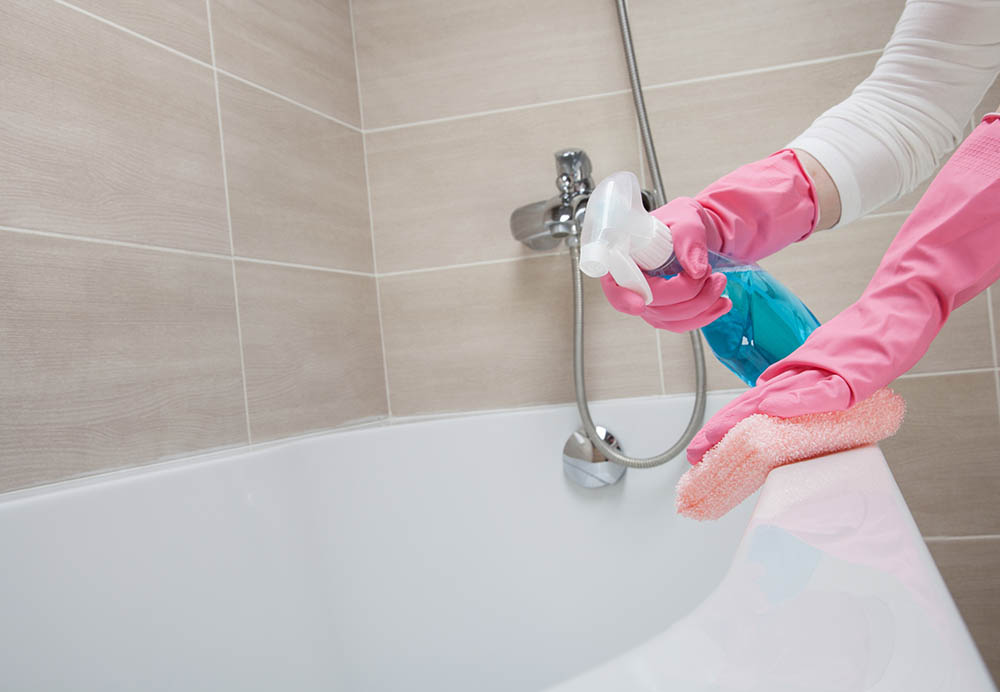
Mold is something that no one wants to deal with, but it can be quite common in many areas of the house, especially the bathroom. Many people struggle to remove it because they don’t want to use harsh chemicals, but many traditional cleaning methods don’t seem to work. If this sounds like your situation, keep reading as we provide you with a step-by-step guide to getting rid of mold in your bathroom. We tell you what tools to bring and explain how to create a cleaning solution using ingredients that you probably already have. We also provide you with a few tips for preventing its return.

Before You Begin
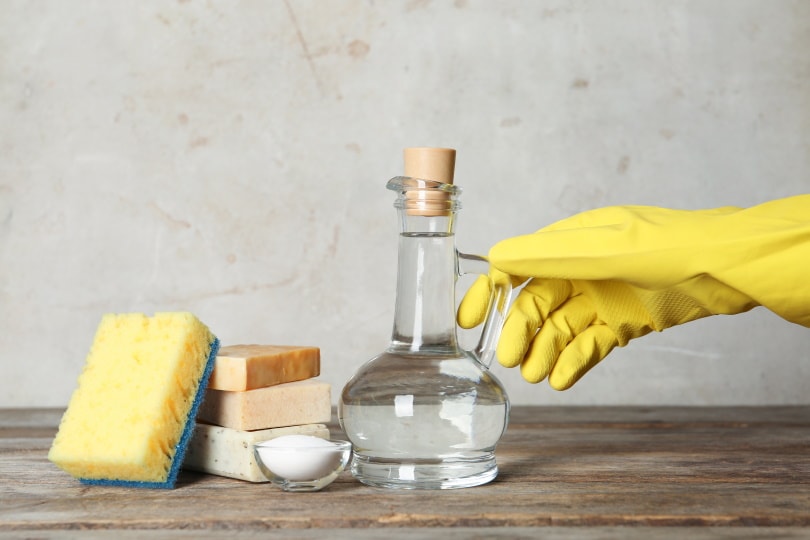
Collect your materials
We highly recommend getting everything together before you start so you don’t have to make any unexpected stops to gather materials. Luckily, you don’t need much to complete this task, and you likely already have most of these items.
Safety equipment
Safety is a major concern when tackling any DIY project. For this task, it’s important to remember to wear eye protection because you will be spraying the cleaner into the air. If you have sensitive skin, you will also want to make sure you’re wearing protective gloves.
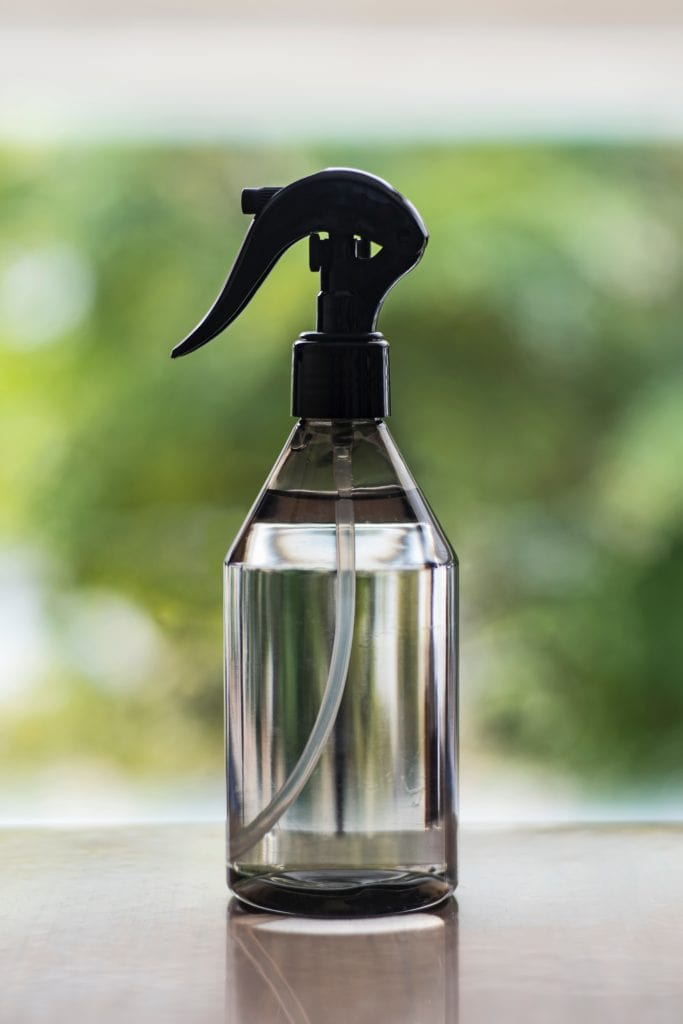
- Spray bottle
- Rubber gloves
- Safety glasses
- White vinegar
- Hydrogen peroxide
- Scrub brush
- Sponge
- Soft cloth
The 8 Steps for Getting Rid of Mold in the Bathroom
1. Open Windows

Even when using mild cleaners like white vinegar and hydrogen peroxide, it’s important to ensure that there is plenty of ventilation. We highly recommend opening any windows, turning on any vent fans, and even using freestanding fans to provide plenty of moving air. This will also help dry the area when you finish.
2. Remove Objects
Since you will be spraying a liquid cleaner, we recommend removing any movable objects from the bathroom, like carpets, knick-knacks, garbage cans, etc. It will help keep them clean, make it easier to see any mold, and give you more space to move.
3. Create Your Cleaning Solution
Create a cleaning solution using white vinegar and water or hydrogen peroxide and water. If using white vinegar, mix about ½ cup into 1 quart of water. If using hydrogen peroxide, especially 3%, you can use it straight or mix it with equal water. Fill a spray bottle with your cleaning solution.
4. Wipe Down the Area
Once you are ready to go, quickly wipe down the entire area with a damp cloth to get a good look at the mold. In many cases, mold can hide in the shadows by blending in with dirt and grime, and cleaning will give you a chance to expose it.
5. Spray and Let Sit
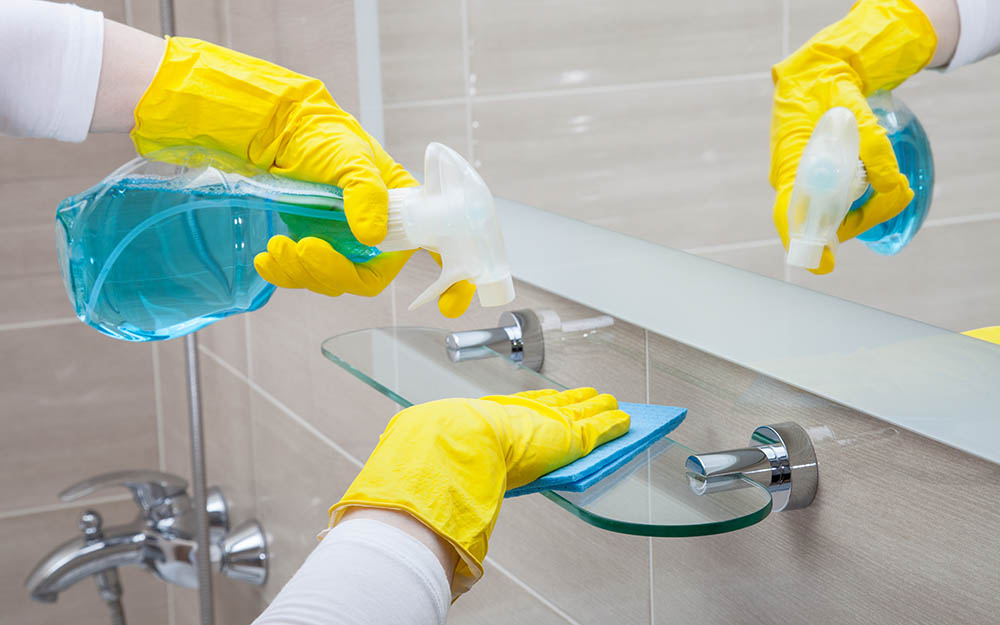
When you can see all affected areas, give each a spray with your cleaning solution and let it sit for several minutes. You shouldn’t spray so much that it drips or puddles. Your goal is to wet the surface so the white vinegar or hydrogen peroxide can destroy the mold.
6. Scrub the Area
In many cases, you will see a significant change in the mold after a few minutes, and a few more sprays should eliminate the problem. However, in some cases, the mold will be more resilient, and you will need to use elbow grease and a gentle scrub brush to work the cleaning solution into the mold to remove it. Don’t use anything too abrasive that might scratch tile or damage paint — a soft bristle brush can do the trick.
7. Rinse
When you finish scrubbing and the cleaner has had time to work, you can use another spray bottle filled with water and a clean cloth to rinse the area and check your progress.
8. Repeat
If any mold remains, you’ll need to repeat these steps until it is all gone.

How Can I Prevent Mold From Returning?
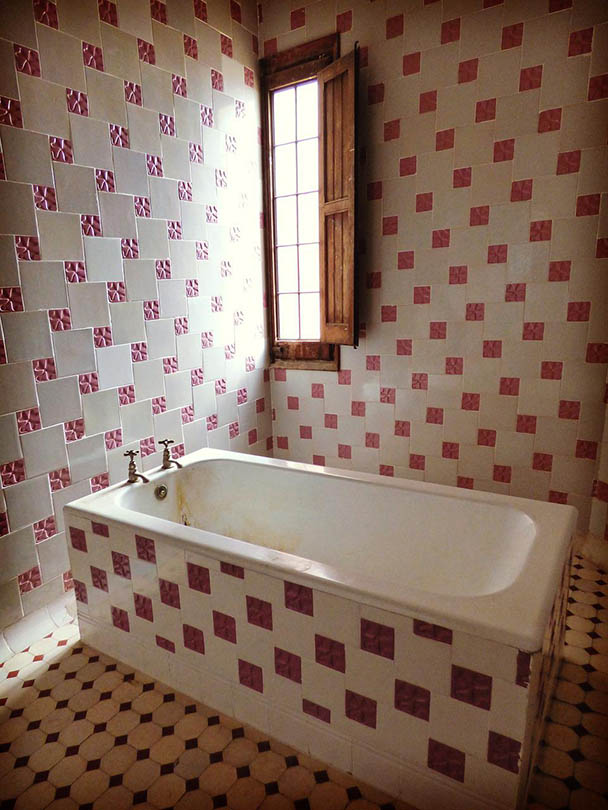
Increase Lighting
One of the best ways to prevent mold from returning is to increase the natural lighting in the area. Many people put shades or curtains over their windows, reducing natural sunlight and enabling mold to grow. If opening windows reduces your privacy, try to do it when no one is in the room so the sunlight can get in when it’s empty. There are window coverings that can protect your privacy while allowing natural light to enter the room.
Increase Ventilation
One great way to prevent unwanted mold from growing is to increase the ventilation in the room. Mold thrives in high humidity, so you often find it in the bathroom, where you take baths and showers. If you keep the windows and doors closed, the air will be quite still and moisture can remain. Opening the doors and windows will enable dry air to move in, which can prevent mold growth.
Allow More Time Between Showers
To prevent mold from growing, allow more time between showers to reduce moisture. For example, if you have several people living in your home who use the shower throughout the day, the air may constantly contain moisture. Timing your showers so they all occur one after the next will allow time for the room to dry out and mold will be less likely to grow.

Conclusion
White vinegar and hydrogen peroxide are both effective at removing mold from any surface because it kills it at the root. Both are more effective than bleach and are less toxic to your skin and lungs. However, we still recommend wearing protective clothing while cleaning. In most cases, a few sprays are all that you will need, but if the mold is hiding in cracks or old grout, you may need to repeat the steps a few times and use a gentle scrub brush to get it clean.
Featured Image Credit: SritanaN, Shutterstock
Contents
