
A cactus is one of the easiest houseplants to take care of. They enjoy sunlight, they don’t require a lot of water, and they don’t need repotting as often as some other species of plants. That doesn’t mean they never need a new home. Considering the slow growth rate of cacti, transferring to a new pot only happens every 3 or 4 years.
Luckily, the process isn’t hard and can easily be done by those new to the gardening world. If you’re seeing the roots of your cactus poking out to say hello from the bottom of its pot, then that time has come. These 6 tips and tricks can help you get this job done quickly and efficiently. Let’s take a look!

Before You Begin
When working with cacti, it’s important to be prepared. Most cacti have spikes which can cause quite a bit of pain if they come into contact with the skin. If the spikes become embedded, they can be difficult to remove. In hopes of avoiding these types of issues, it is best to use protective equipment when working with these plants. You’ll also need the right pot. A cactus is resilient and can grow easily in most pots. The key is choosing one that works out well for you, the gardener. Let’s take a look at what type of tools and materials you’ll need so your cactus can continue prospering.
Gloves
If you love gardening, you most likely have a favorite pair of gardening gloves. Unfortunately, they may not be suitable for use with cacti. The spikes on most species of cacti can easily penetrate through your normal fabric gardening gloves. To work with these plants, we suggest buying a pair of canvas or leather gloves. You should still be careful and try to avoid the spikes as much as possible, but these types of gloves offer better protection than fabric ones.
Tongs, Newspaper, and Towels
While the gloves are great tools to help avoid contact with the spikes on a cactus, there are other things you can use to make your life easier. A pair of basic kitchen tongs can be used to grip the cactus when removing it from the old pot or placing it in a new one. You can also use a rolled towel or rolled-up newspaper. Using either of these additions along with your gloves should keep you safe when handling your cacti.
The Right Pot
As we’ve already mentioned, a cactus can flourish in almost any container as long as it has drainage holes in the bottom and is spacious enough. But what about you? Are you someone who overwaters your plants? If you tend to do this, it may be best for you to choose a pot that can absorb the excess moisture. Unglazed clay pots are excellent for this. If you like making sure your plants aren’t thirsty, sticking with terracotta or unglazed pot may be your best option for a healthy cactus.

The 6 Tips to Repot a Cactus
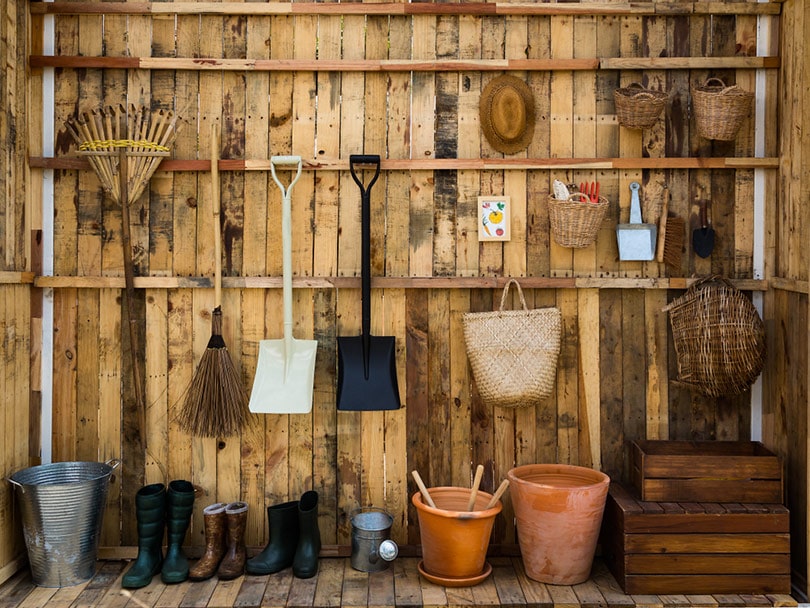
1. Get Prepared
Before you start working with your cactus it is important to find an adequate workspace. Choose an area that is spacious enough for your needs and easy to clean up. When you have the perfect work area chosen, gather your tools and materials so you can stay focused on the task at hand.
- Protective gloves
- Kitchen tongs
- Newspaper
- Towels
- Trowel (small gardening shovel)
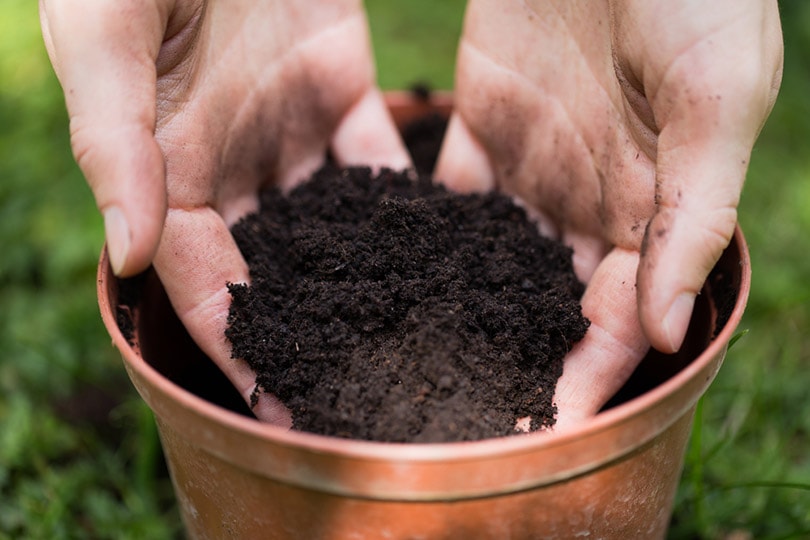
- Cactus/succulent soil mix
- New cactus container
2. Removing the Cactus
Removing the cactus from its old container can be tricky. This is especially true for cacti with spines. While wearing your protective gloves, use the trowel to loosen the dirt around the edge of the pot or container. Then use the kitchen tongs to carefully grip the cactus and pull it free from the container. According to the size of your cactus, you may need more help. This is where the rolled towel and newspaper come in. If you can’t grip the cactus with the tongs, simply use either of these items to pull the cactus free of the container then lay it flat on your work surface.
3. Prepare the Root Ball and Toss the Old Soil
After the cactus is free of its old container, the root ball will need a bit of attention. You should carefully, to avoid damaging the roots as little as possible, loosen the soil of the root ball. This can take a bit of time and is a delicate process to keep from damaging the roots. Once you’re finished, simply discard the old soil.
4. Check the Roots and Trim If Needed
While your cactus is free of a container, it’s a great time to check the roots for signs of problems. Carefully hold the cactus while you check for signs of disease or pests. Cut back any damaged or dying roots and use a fungicide if you see issues. This will help your cactus be healthy and strong in its new home.
5. Plant Your Cactus
Finally, it’s time to repot your cactus. Place the cactus soil mixture in the bottom of the new container. You’ll need to add the right amount to have your cactus planted at the same depth it was in its old pot. Using the tongs, towel, or newspaper, place the cactus in the pot. Make sure you hold it in place while you fill the remainder of the space in the pot with cactus soil.
6. Clean Up the Work Area
Once your cactus is safely in its new environment all that’s left is the clean-up. Discard spilled dirt, wipe down your area, and pack away all your tools and materials. Keep in mind, however, that spikes from the cactus could be on the towel, your work surface, and potentially your gloves. Remain diligent until everything is back in order then you can sit back to enjoy your cactus in its new home.
 Things to Remember
 Things to Remember
Now that your cactus is in its new pot, there are a few things to remember when it comes to caring for your cactus and the adjustment period it needs after repotting. Let’s take a look below.
Watering
Your cactus shouldn’t be watered immediately after it is repotted. It needs a little time to become accustomed to its new environment. Instead, it is best to wait a week or so before you resume your normal watering schedule.
Sunlight
A cactus indeed loves sunlight. Is it safe to place them in direct light after repotting? That answer depends on the health of your plant. If you noticed any issues with the root system, it may be best to keep your cactus in a darker area for a few days. This will avoid issues with evaporation at the stem. If it’s too hot in this darker area, you can spritz your cactus occasionally to keep it healthy. After a week or so, when you’re ready to water again, your cactus should be ready to relocate to its permanent location.
Settling
During the first week or 2 after repotting your cactus, you may notice the potting soil settling. This makes it appear as if your container isn’t full. Simply add a bit more soil when this happens. Within 2 to 3 weeks your cactus should be more stable in its new home.
In Conclusion
As you can see, repotting a cactus isn’t that difficult if you’re prepared. If you follow these 6 easy steps and keep the added tricks we’ve mentioned in mind, your plant should transfer easily. Keep your eyes open for new growth. With a successful transfer, new things should start springing up within the first couple of months.
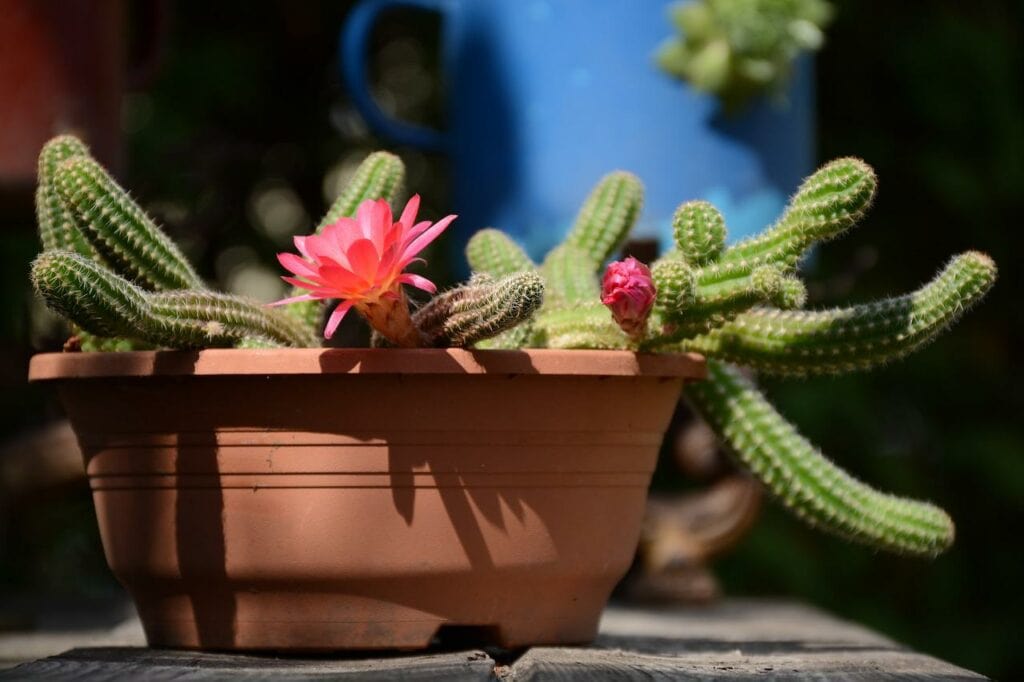
Featured Image Credit: Hanka, Pixabay
Contents
