
If you’re a big fan of house plants, but you notice they’re outgrowing their cozy space, it might be time to move them to a larger pot. Or you might just want to place some other decorative piece that you found while you were bargain shopping. Either way, it’s time to transfer.
Regardless of the reason you want to put your plant in a bigger pot, we’ll go over how to carefully and proficiently do this without damaging your plants or disturbing the root system. Let’s get right to it.

The 8 Tips & Tricks on How to Repot Plants
1. Take Note of the Growth Habits of Roots
Depending on the plant, roots have very particular growth patterns, so they are predictable if you know what to look for. To successfully repot plants and care for certain species in general, it’s best to learn as much as possible about their growth habits.
If soil is ultra-rich and correctly fertilized, roots develop rapidly in most cases. Roots have everything to do with how well a plant will grow and its lush appearance.
Typically, if a plant’s roots are shallow, it indicates that it isn’t being watered correctly. You should always water plants by the roots, not just around the soil. Roots drink directly from the water source and grow better with direct contact with water rather than absorbing it in soil.
It’s pretty typical of store-bought houseplants to have shallow roots because of a lack of individual care. But once they are repotted and secure in a suitable environment, the roots should flourish.

Identify Root Systems
If you have grown house plans, you know that root systems grow differently depending on your plant type. Some roots grow crazy and out of control, quickly filling up a pot with intertwining pieces. Others are slower growing with more shallow roots. And some plants don’t route at all.
So, before you get started, it’s essential to know the type of plant that you have to learn important aspects like what size pot to plant them in, how to care for the roots upon transition, and what type of soil to use when you report.
Some of your houseplants won’t have a robust or deep root system. Others outgrow pots quickly.
Types of Root Systems
You see two main types of root systems in plants—taproot and fibrous.
- Taproot – Taproot consists of one main root. Taproots generally have deep roots, and they grow vertically.
- Fibrous – Fibrous roots, or monocots, grow close to the surface and tend to have shallow roots.
Some plants have both systems, but most of the time, plants have only one.
2. Choose the Right Pot for Replanting
Picking a new pot might seem like a no-brainer, but there are some things to consider. After all, you don’t want to shock, cramp, or weaken your plant. Make sure that you are getting the proper pot for the job.
When to Change the Pot
If you want a plant to retain its size, you can actually keep them in the same pot, although you will want to swap out the soil for a fresh start occasionally. If you want to continue growth, make sure not to exceed three inches wider in diameter, depending on the current size of the pot.
It might seem like you’re giving your plant more space to get as large as it wants. But it isn’t the case—so don’t make that mistake with a houseplant you adore. If you place a plant into a much larger pot, it won’t get the amount of airflow it needs to thrive, which can have dire consequences.
- Size of New Pot – It might be tricky to repot a plant at first. You might think it best to move it into an extensively bigger pot. That’s actually not the case. You should choose a new pot that is one to two inches wider in diameter than the old pot if it’s under 10 inches. If the pot is over 10 inches, the diameter should be two to three inches wider instead. But try not to exceed that.
- Material of Pots – There is a wide variety of planter pots on the market. They range in materials, consisting of ceramic, terracotta, glass, plastic, and porcelain. While many materials are considered sufficient, we recommend porous planters because they dry more evenly.
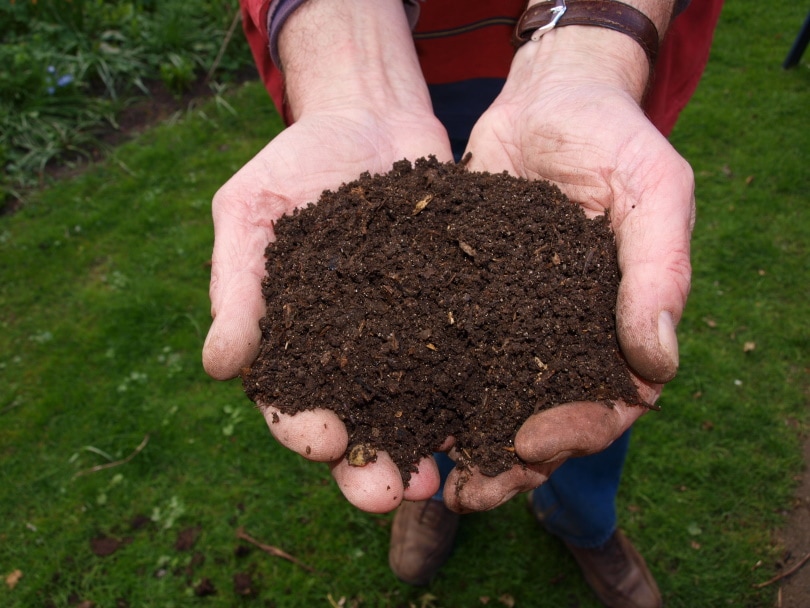
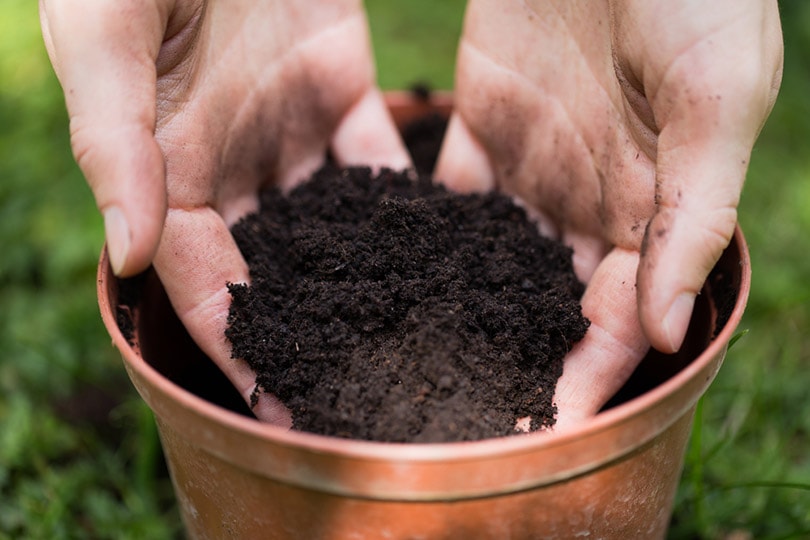
3. Choose the Right Soil
Whether you’re repotting a recently purchased plant or an existing one, you want to replace the current soil with a quality replacement. Houseplants need a well-draining environment that is aerated. The soils should be rich in nutrients and organic matter.
- Soil Additives – When choosing soil, it’s crucial to get a brand that includes soilless mediums in the bag like perlite, sand, wood fibers, or peat moss. You can also buy soil that has a ton of essential nutrients included that your plant can benefit from.
- Soil pH – Traditionally, most houseplants need the pH of the soil to be between 6.0-7.0.
- Soil to Avoid – Even though potting soil might sound like the ticket, these options are usually much denser than potting mix and do best in flower beds and garden areas instead. Using this type of soil for houseplants can cause the plants to get waterlogged without adequate drainage, which can lead to root rot.
4. Separate Soil from Pot Rim
As you make your way around the pot, you might notice that the soil becomes looser. Carefully place a flat-edged piece around the perimeter of your pot. This will gently but efficiently separate the soil from the outer rim, making it easy to remove the planet without yanking or damaging it.
Be sure to get as close to the pot as possible, so you don’t disturb the roots. If you damage the roots during the transition, it could weaken or distress your plant, leaving it vulnerable to damage.
If your plant is in a flimsy pot, like those made of thin plastic, you should be able to gently squeeze the sides of the pot to separate it from the roots.
5. Remove the Plant
To remove the plant from the pot, gently tip the plant over, completely supporting it with one of your hands. The plant should smoothly come out of the pot in a solid clump. You can wear gloves for the rest of this process, but it’s not a necessary step.
Have the new pot ready for immediate planting, so you don’t have the plant out any longer than necessary. Let the plant fall into your hand without tugging, pulling, or forcing. Be very careful not to damage leaves or stems during this part.
- Stuck Plant – If you tilt it upside-down and realize the plant isn’t giving, you might have to put it back and continue loosening the soil. If you yank on the plant or try to force it out, you can rip roots, leaves, stems—you name it.
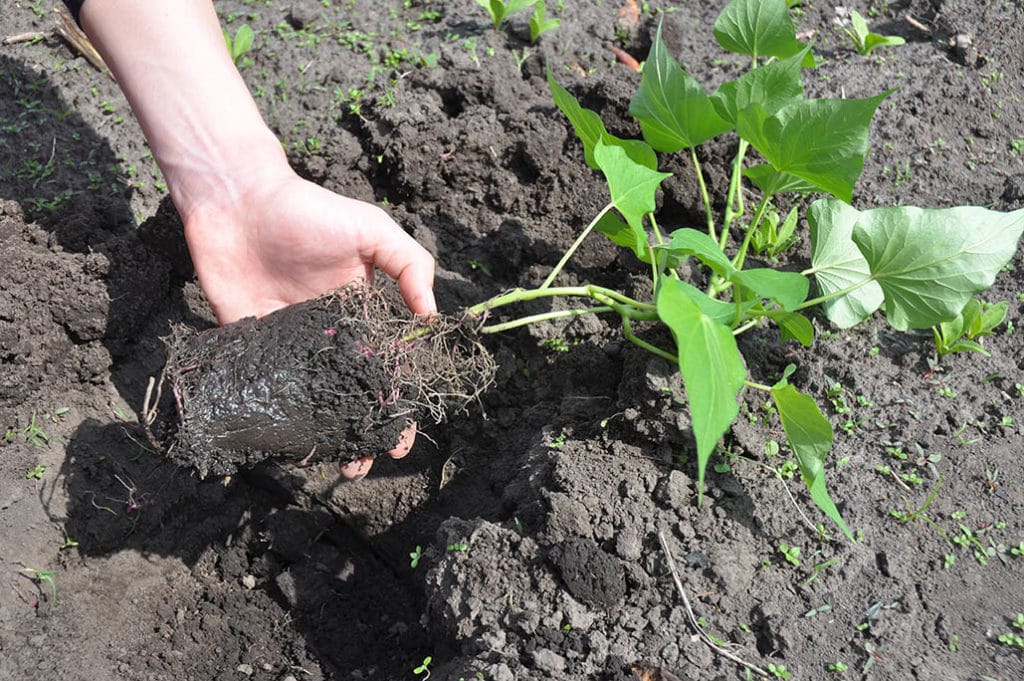
6. Shake Roots Loose
Next, you will need to free some roots by loosely removing the soil around the outside of the root bulbs. Gently tilt the plant upright and lightly touch the bottom and sides of the plant to loosen the soil.
If the plan is already growing in nutrient-rich soil, you might not need to shake most of the soil out first. However, if you bought a plan in very low-quality soil, you’ll want to get as much of that off as you can without damaging the roots in any way.
Transplanting Existing Plants
If you are transplanting existing houseplants and using the same potting mix, you won’t need to remove as much of the soil. But make sure that you buy nutrient-rich replacement soil so they can reap the benefits of new organic matter.
Once a plant has been in a pot for so long with the same soil, it depletes all the resources like natural vitamins and minerals.
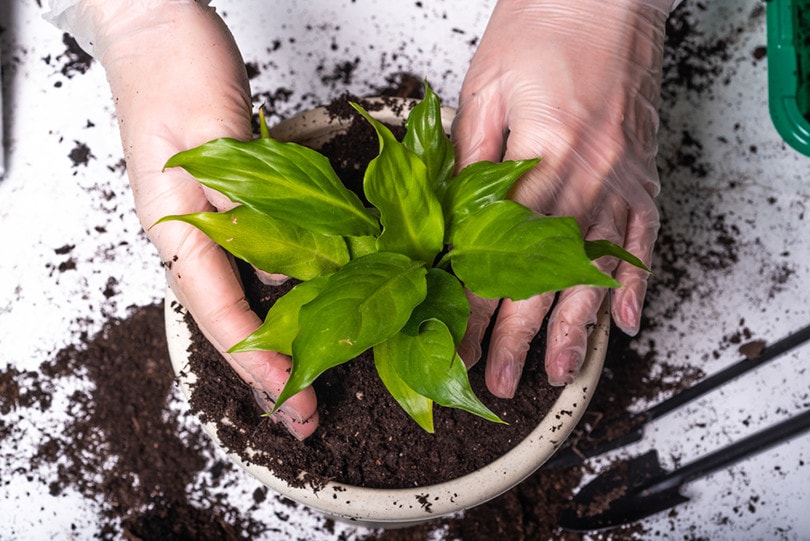
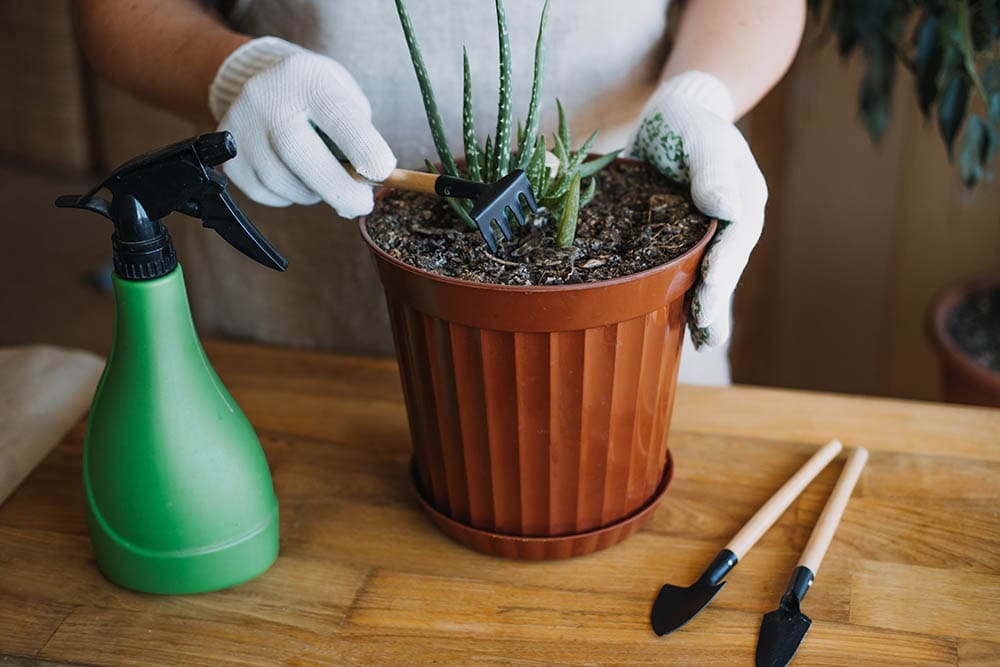
7. Place Plants in New Pot
Gently place the plant into the new pot. If the pot is too deep, you can line the bottom with the soil before placing the plant inside. Once your plant fits comfortably within the pot, you can scoop the soil out of the bag and fill the sides, letting the soil fall around the plant.
If you notice any soil falling down into a pit, you can fill these spaces as these are air pockets. Once you fill up all the air pockets, you can gently press down on the soil to ensure everything is filled in correctly.
Once you press down the soil, you’ll probably need to keep filling it up until you reach the base of the plant. Once you have filled and lightly packed the soil, fill in any uneven or sunken spots.
Flushing the Soil
When you fill the part completely with new soil, you will want to saturate the contents if the plant is arid. This will flush out the soil to get rid of any air pockets, and two help the soil become compact and rehydrate the contents.
However, if you’re replanting an existing plant, you should water a few days thoroughly beforehand. That way, the soil is nice and moist to make it easier to replant—plus, it helps keep the plant hydrated to prevent stress.
Once you replant, you can water the roots lightly to acclimate them without overwhelming them.
8. Monitor the Plant’s New Environment
It’s imperative to monitor your plants a few days after replanting. You’ll likely notice no change, but shock is also really common after repotting—and it can be deadly in some circumstances. Some plants take repotting just fine, not skipping a beat.
You might notice that your plant is a little droopier or not as firm as usual. It can somewhat shock your plants to be replanted, so it may take a few days before they adjust to their new environment.
In some cases, it can be a lack of water or if you replant a plant out of season. Most plants should be replanted during the springtime when they are biologically the most “awake” and ready to grow.
- Changing Soil – If you have changed the soil the plant was used to, it can cause a shock. For instance, if your plant is growing in a subpar environment and it suddenly gets an influx of hydration and nutrients, it might take a few days to regulate the change. If the environment has improved, your plant will thrive in no time.
- Root Damage – Some plants are much more sensitive to root damage than others. There is a chance that if your plant starts to decline after repotting rapidly, the roots might have been damaged. If the roots react badly enough or can’t recover, it will cost the whole plant. To prevent root damage, taking your time and letting the plant naturally fall from the container into your hand without pulling or ripping the root system is best.
- Check for New Growth – You might notice that your plant is getting new growth a few weeks after planting. This is a fantastic sign that your plant is acclimating to its environment. If the pot is bigger, this is to be expected and anticipated.

Continue to feed the plant valuable nutrients and water on a species-specific schedule. Some of your plants might need to be watered on alternative schedules, and that’s okay! Each plant is particular in its daily needs, and you should care for it accordingly.
When you see new little buds developing, it’s time to celebrate the success of your repotting! And once you get used to the process, it will become second nature when you replant your plants.
 Conclusion: It’s Necessary to Report
It might not seem like it matters too much, but pants need pots changed to grow to their full potential. Even if you want to keep the plant in the same pot, changing out the soil sometimes replenishes the plant’s nutrients to stay healthy.
Remember to take your time, so you don’t damage the roots, stems, leaves, or blooms. Once you transplant a few plants to new pots, you’ll be a pro in no time!
Featured Image Credit: marcegaral, Pixabay
Contents
